This cowboy bib sewing tutorial is perfect for beginning sewers! These make excellent gifts! They are made using a fat quarter and some backing material. Let’s get to making!
Once my children got the concept of “baby” and “big boy (or girl)”, bibs were out the window. The thing is, toddlers still need bibs! Our many Sundays with Imogene eating egg drop soup at House of Lu can attest to that! But try to get a bib on her and she’s in the floor, because you’ve offended her. You have just called her a baby without words! We were eating out one day, and Aidan really needed a bib (spaghetti!). He refused to wear a bib, but happily wore the cloth napkin tied around his neck, because he said he was a cowboy! *Lightbulb!* So, that is how we accomplish this?! The cowboy bib is born!

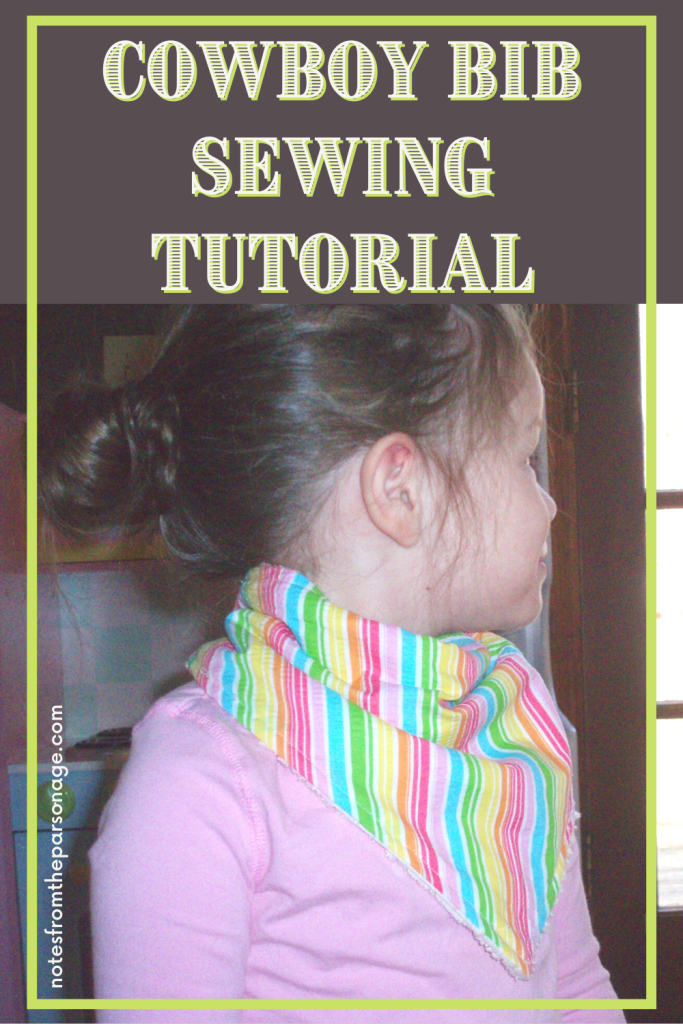
Now, this bib is multi-functional. If your kids are like mine, meal time is not the only time they’ll want to wear this bib. They’ll want to wear it ALL THE TIME! You’ll have to pry it away for washing when they go to sleep! You’re going to need several of these babies, so go ahead and cut out a few! (An added bonus, if you use a warm lining fabric, you’ve got a built in neck warmer when they refuse to replace it with their scarf.)
Sewing Your Own Cowboy Bib
You can easily make a cowboy bib out of fat quarters! (I love things that can be made with a fat quarter! You can avoid buying full yards of that oh-so-cute-but-expensive designer fabric!) One fat quarter is enough fabric for two bib fronts. If you are using yardage, you need at least half a yard of fabric, which will make 4 bib fronts. For the bib back, you’ll need half a yard of something nice for backing. You can use flannel, chenille (my personal favorite), minky, terry (my least favorite option), or fleece. A half yard of backing fabric will make 4 backs.
You’ll also need closure of some sort. I use plastic KAM snaps. If you are not so fortunate to own a snap press or pliers, you could do a button closure or velcro. You could also add some ribbon into the ends to make it tie. I like snaps because they are easy for a kid to use. Easy on and off. And in the event their sister traps them by the bib in the door jam of the closet, they can get free. (Velcro would have a similar advantage, only with the added disadvantage of being velcro and snagging everything in reach.)
Cutting Fabric for the Cowboy Bib Sewing Tutorial

The first thing you are going to do is cut your fat quarter in half. You’ll end up with two rectangles that are 18″ x 11″. (If you are using yardage, you’ll need one 18″ x 11″ rectangle for the front of the bib. I cut my yardage into fat quarters, then go from there.) **If you’ve never used a fat quarter before or have no idea what I’m talking about, a fat quarter is a piece of quilting fabric (usually cotton) sold at fabric and quilting stores. A fat quarter measures 18″ by 22″. It is half a yard of fabric, cut halfway between the selvedges- thus it is the amount of fabric in a quarter of a yard, but in a more usable amount- since it isn’t a long, thin strip.**

Pick one 18″ side to be the top of the bib. (If you’ve got a directional pattern, this will be important.) Fold the bib in half (right sides together). From the top, on the open edge, mark 3″ down. (Just a little line at the 3″ mark.)

Now, use a ruler (or straight edge) to draw a line from your 3″ mark to the center bottom of the fold. (In the picture above, my top is to the left and the folded edge is to the top.)

Cut along the line from the 3″ mark to the corner.

Open it up and it looks like this! Go ahead and press it to make it look all nice and get that center crease out as much as you can.

Cut your backing fabric to match. (You can either mark and cut as you just did, or you can use your bib front as a template.)
Sewing the Cowboy Bib

With right sides together, sew around the edges- leaving a hole to turn the bib right side out. Trim the corners, so when you turn it they’ll be corners, not rounds. Turn your bib right side out, using a pointy object to push your corners out. (If your using ribbon to close your bib, you’ll want to pin it in place between your front & back and sew it in during this step.)

Topstitch around the edges, overlapping at the ends.
Add Closure to the Cowboy Bib

Add your snap (or button closures) and you’re finished!

This pattern was made by me. You may use it if you want, but don’t sell the design- that’s just wrong. You may sell bibs you make from this tutorial, I just ask that you give me credit for the design. Thank you. And you’re welcome!
[…] Cowboy Bib Sewing Tutorial […]