My boys love neckties. They get it from their dad. We’re talking real neckties. They very much dislike clip on neckties. They seem offended by them. They get that from their dad, too. I have made quite a few neckties for my boys and finally found the absolute easiest way to make a real necktie.

Grab your supplies. You’ll need about 1/3 of a yard of two fabrics. I like contrasting ones. One will be on the inside and will only peek out a tiny bit, so it can be anything, really.
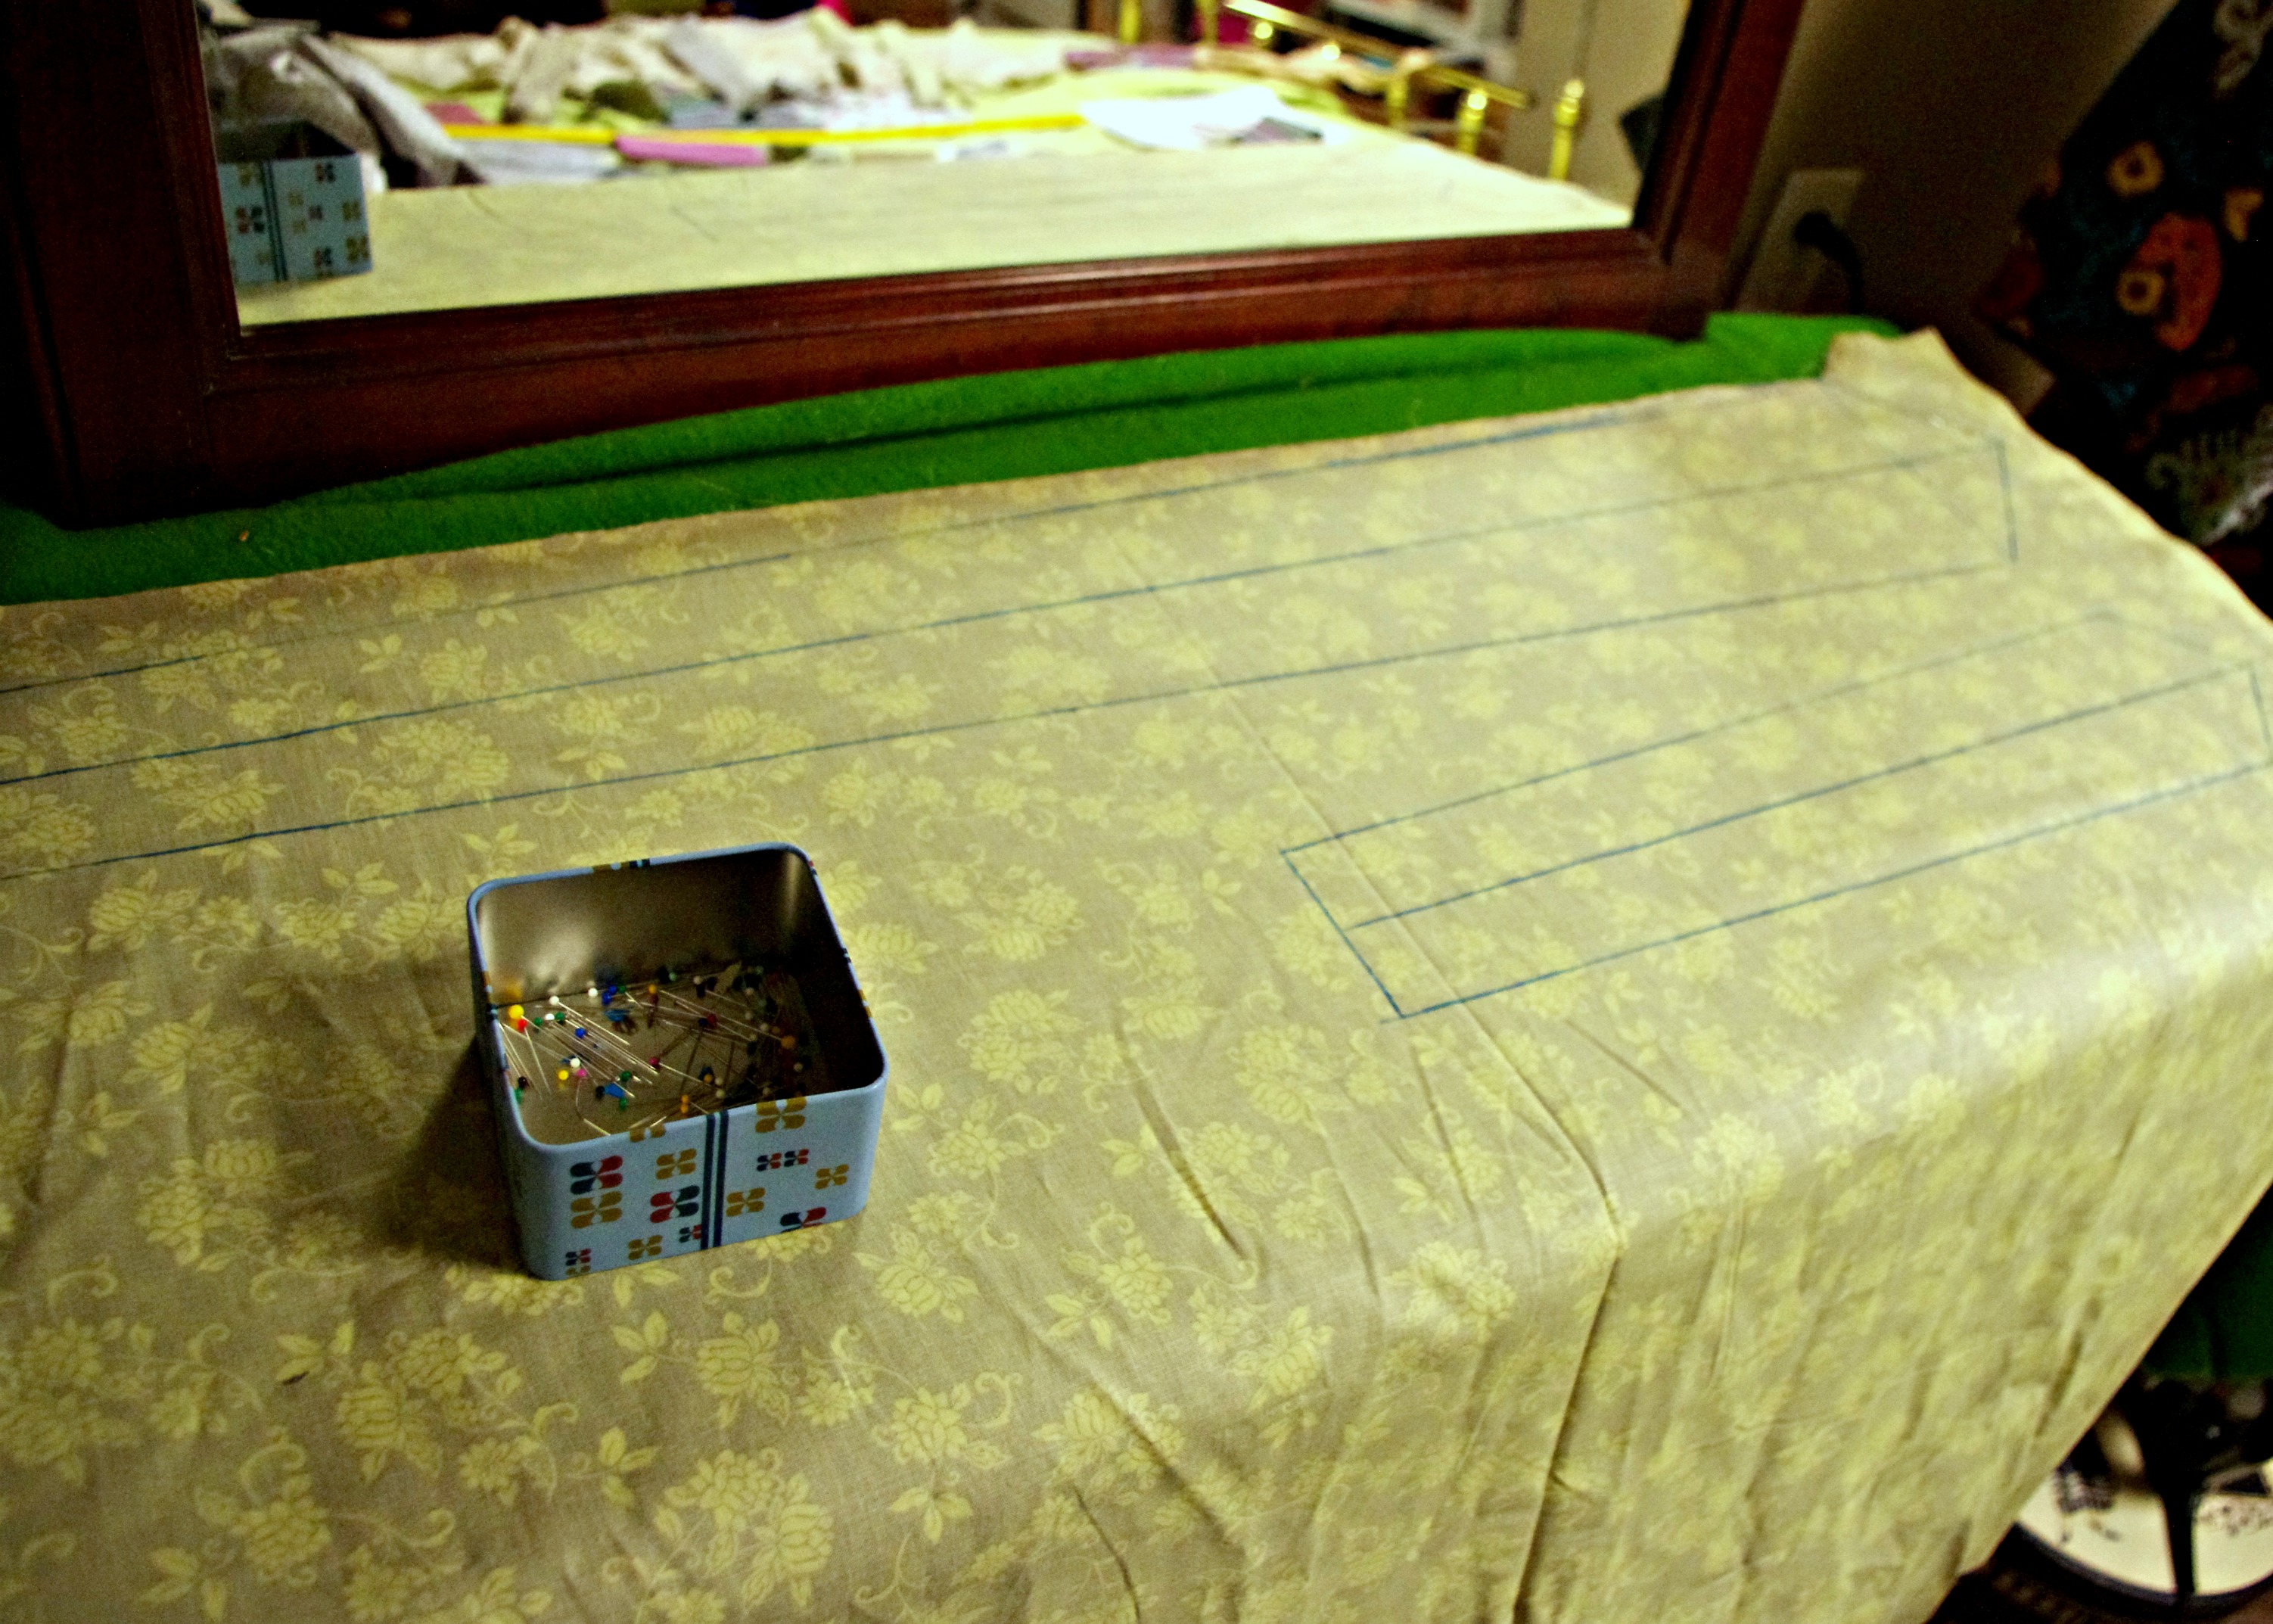
Essentially, this is what you’re doing. You’re going to use a yard stick to make a straight line across the width of your fabric. Then you’ll draw in your points, connect the dots, sew, flip, sew, flip, and you’ll have a tie. Super easy. After you make the first one, you’ll see.
Place your contrast fabric right side up on you cutting surface (ironing board, floor, whatever you use). Place your main fabric right side down, lining it up with the contrast fabric. (If you’re using a dark pen or marker on light fabric, you may want to put the main fabric on bottom and the contrast on top so you won’t see the marks through your fabric. It really doesn’t matter as long as you know what you want to be the main fabric.)
Using a yard stick (or whatever straight edge you’ve got), draw a line from one side of the fabric to the other. If you’re making this for a toddler, 36″ in long enough. For a bigger boy, you’ll want to use as much width as you can. (Also, check out the variation at the end of this tutorial for making older boy and man neckties using this same method!)
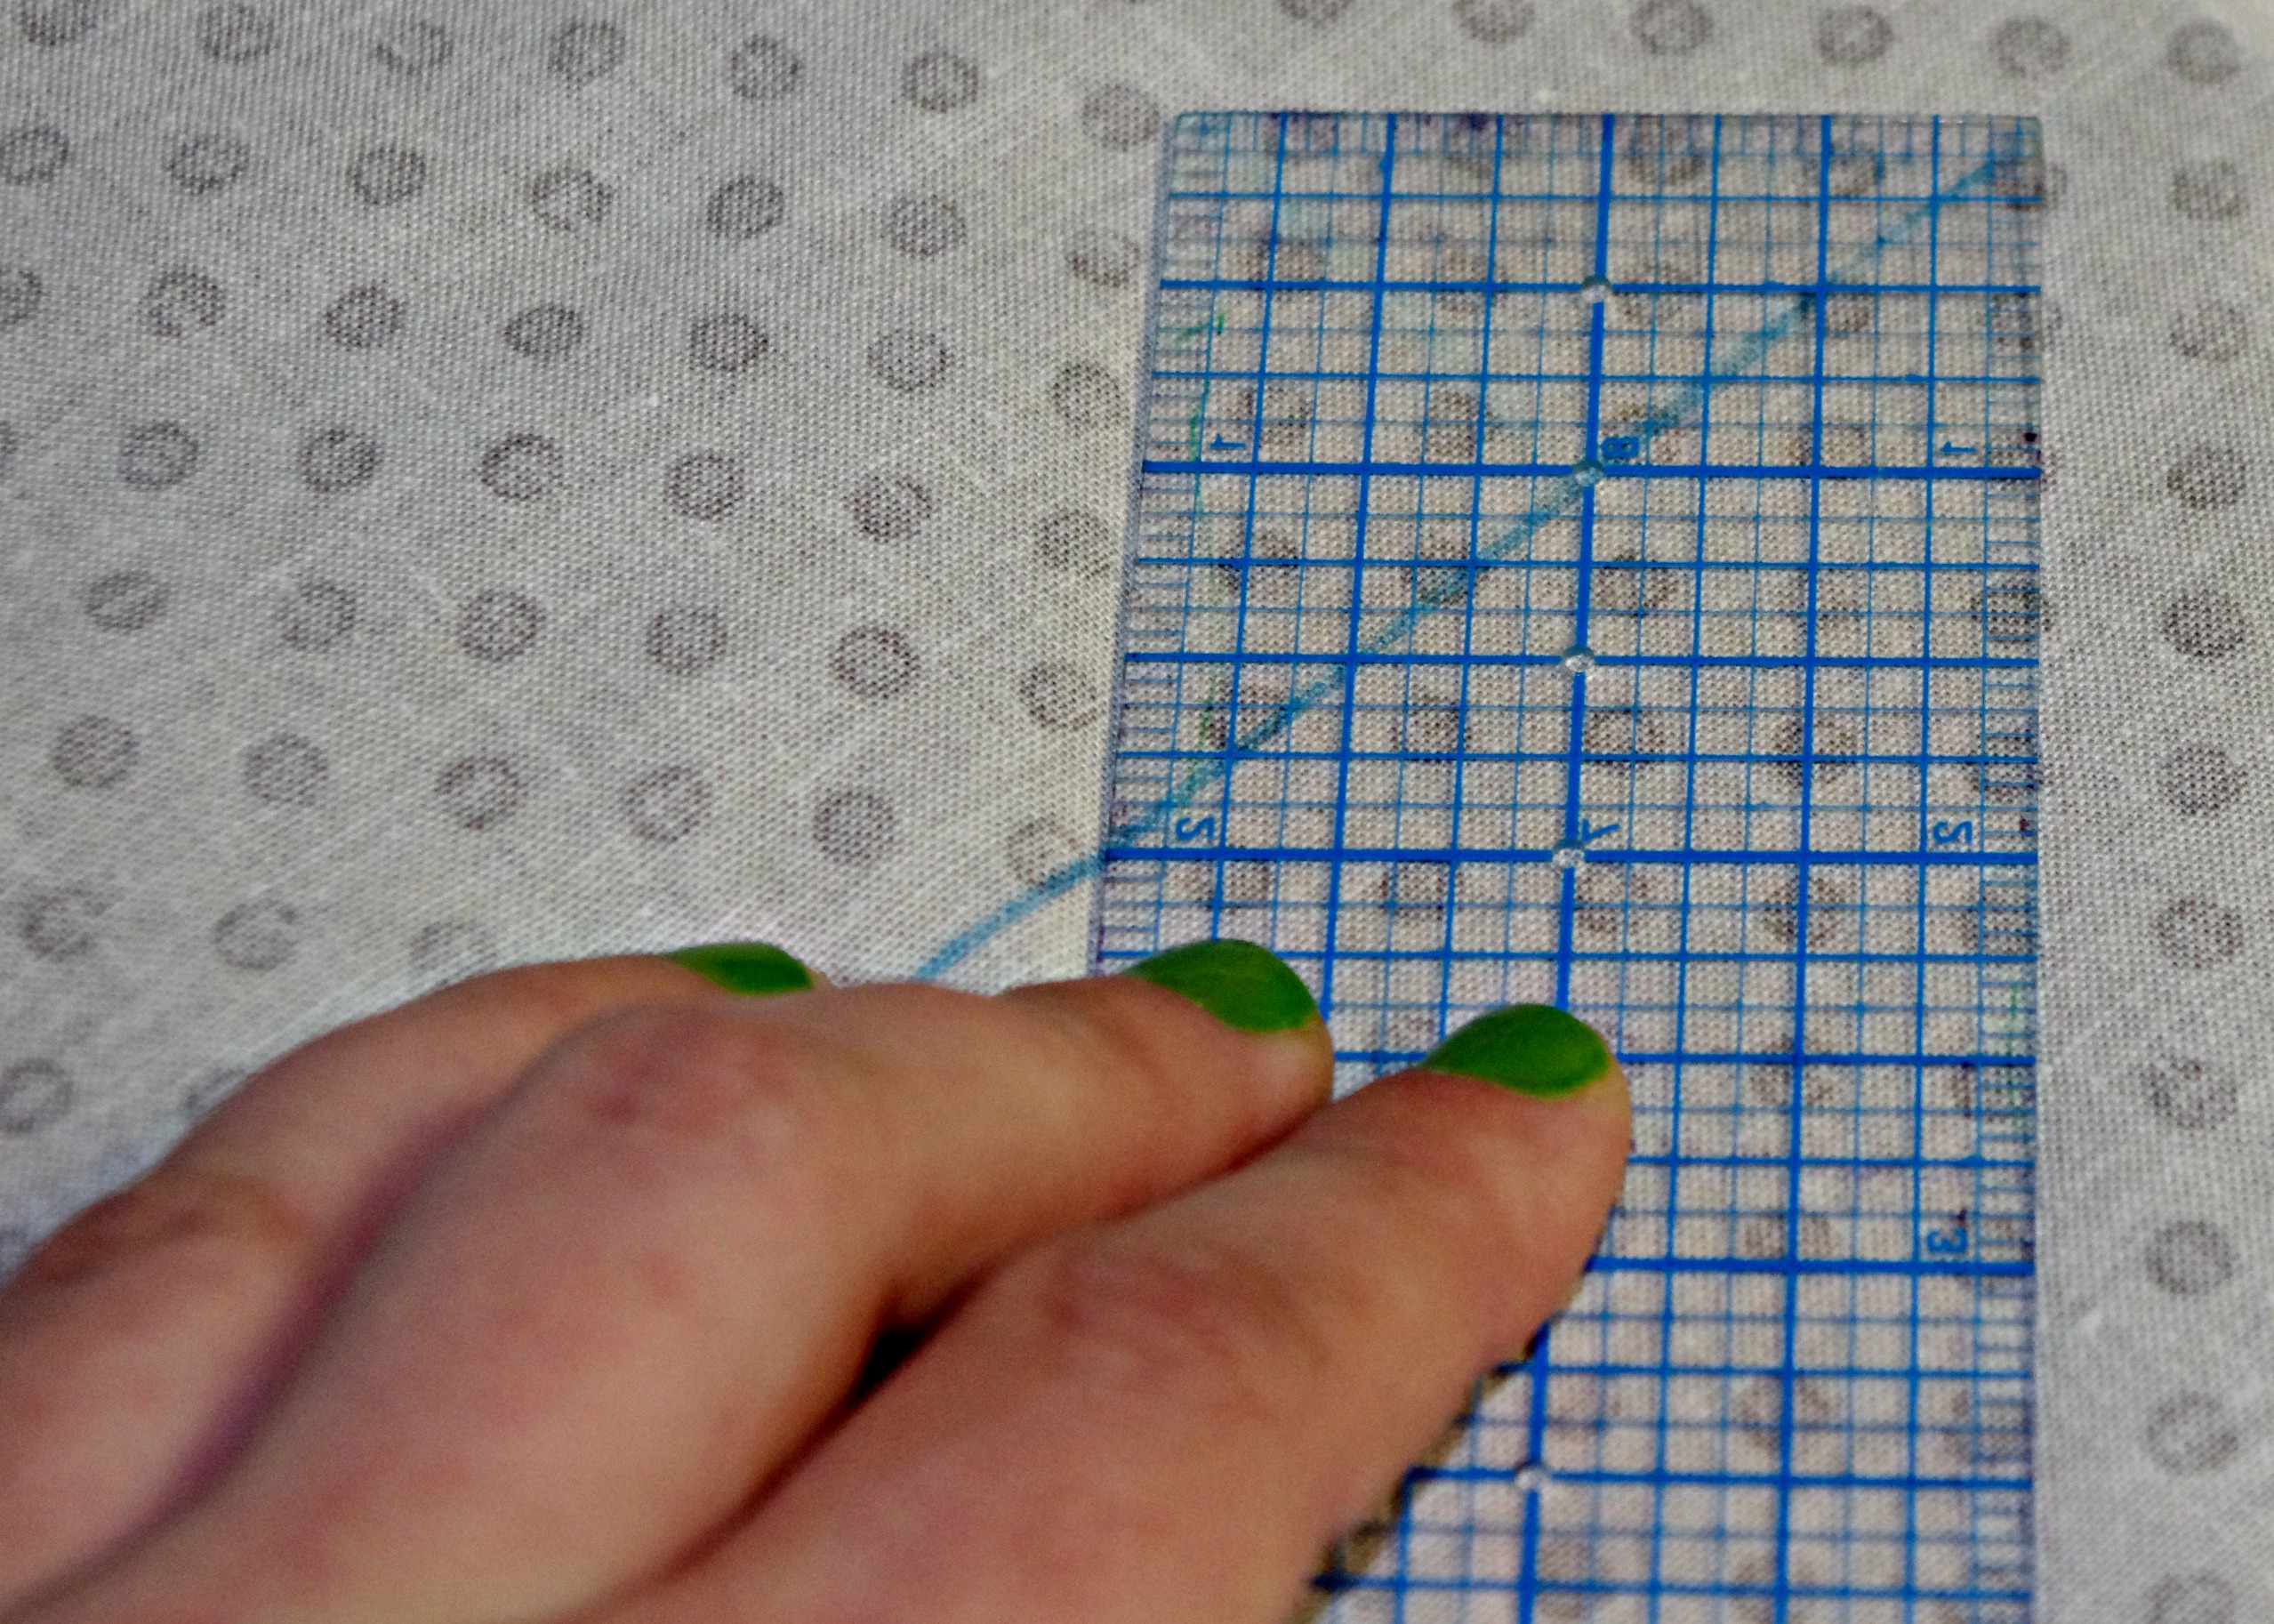
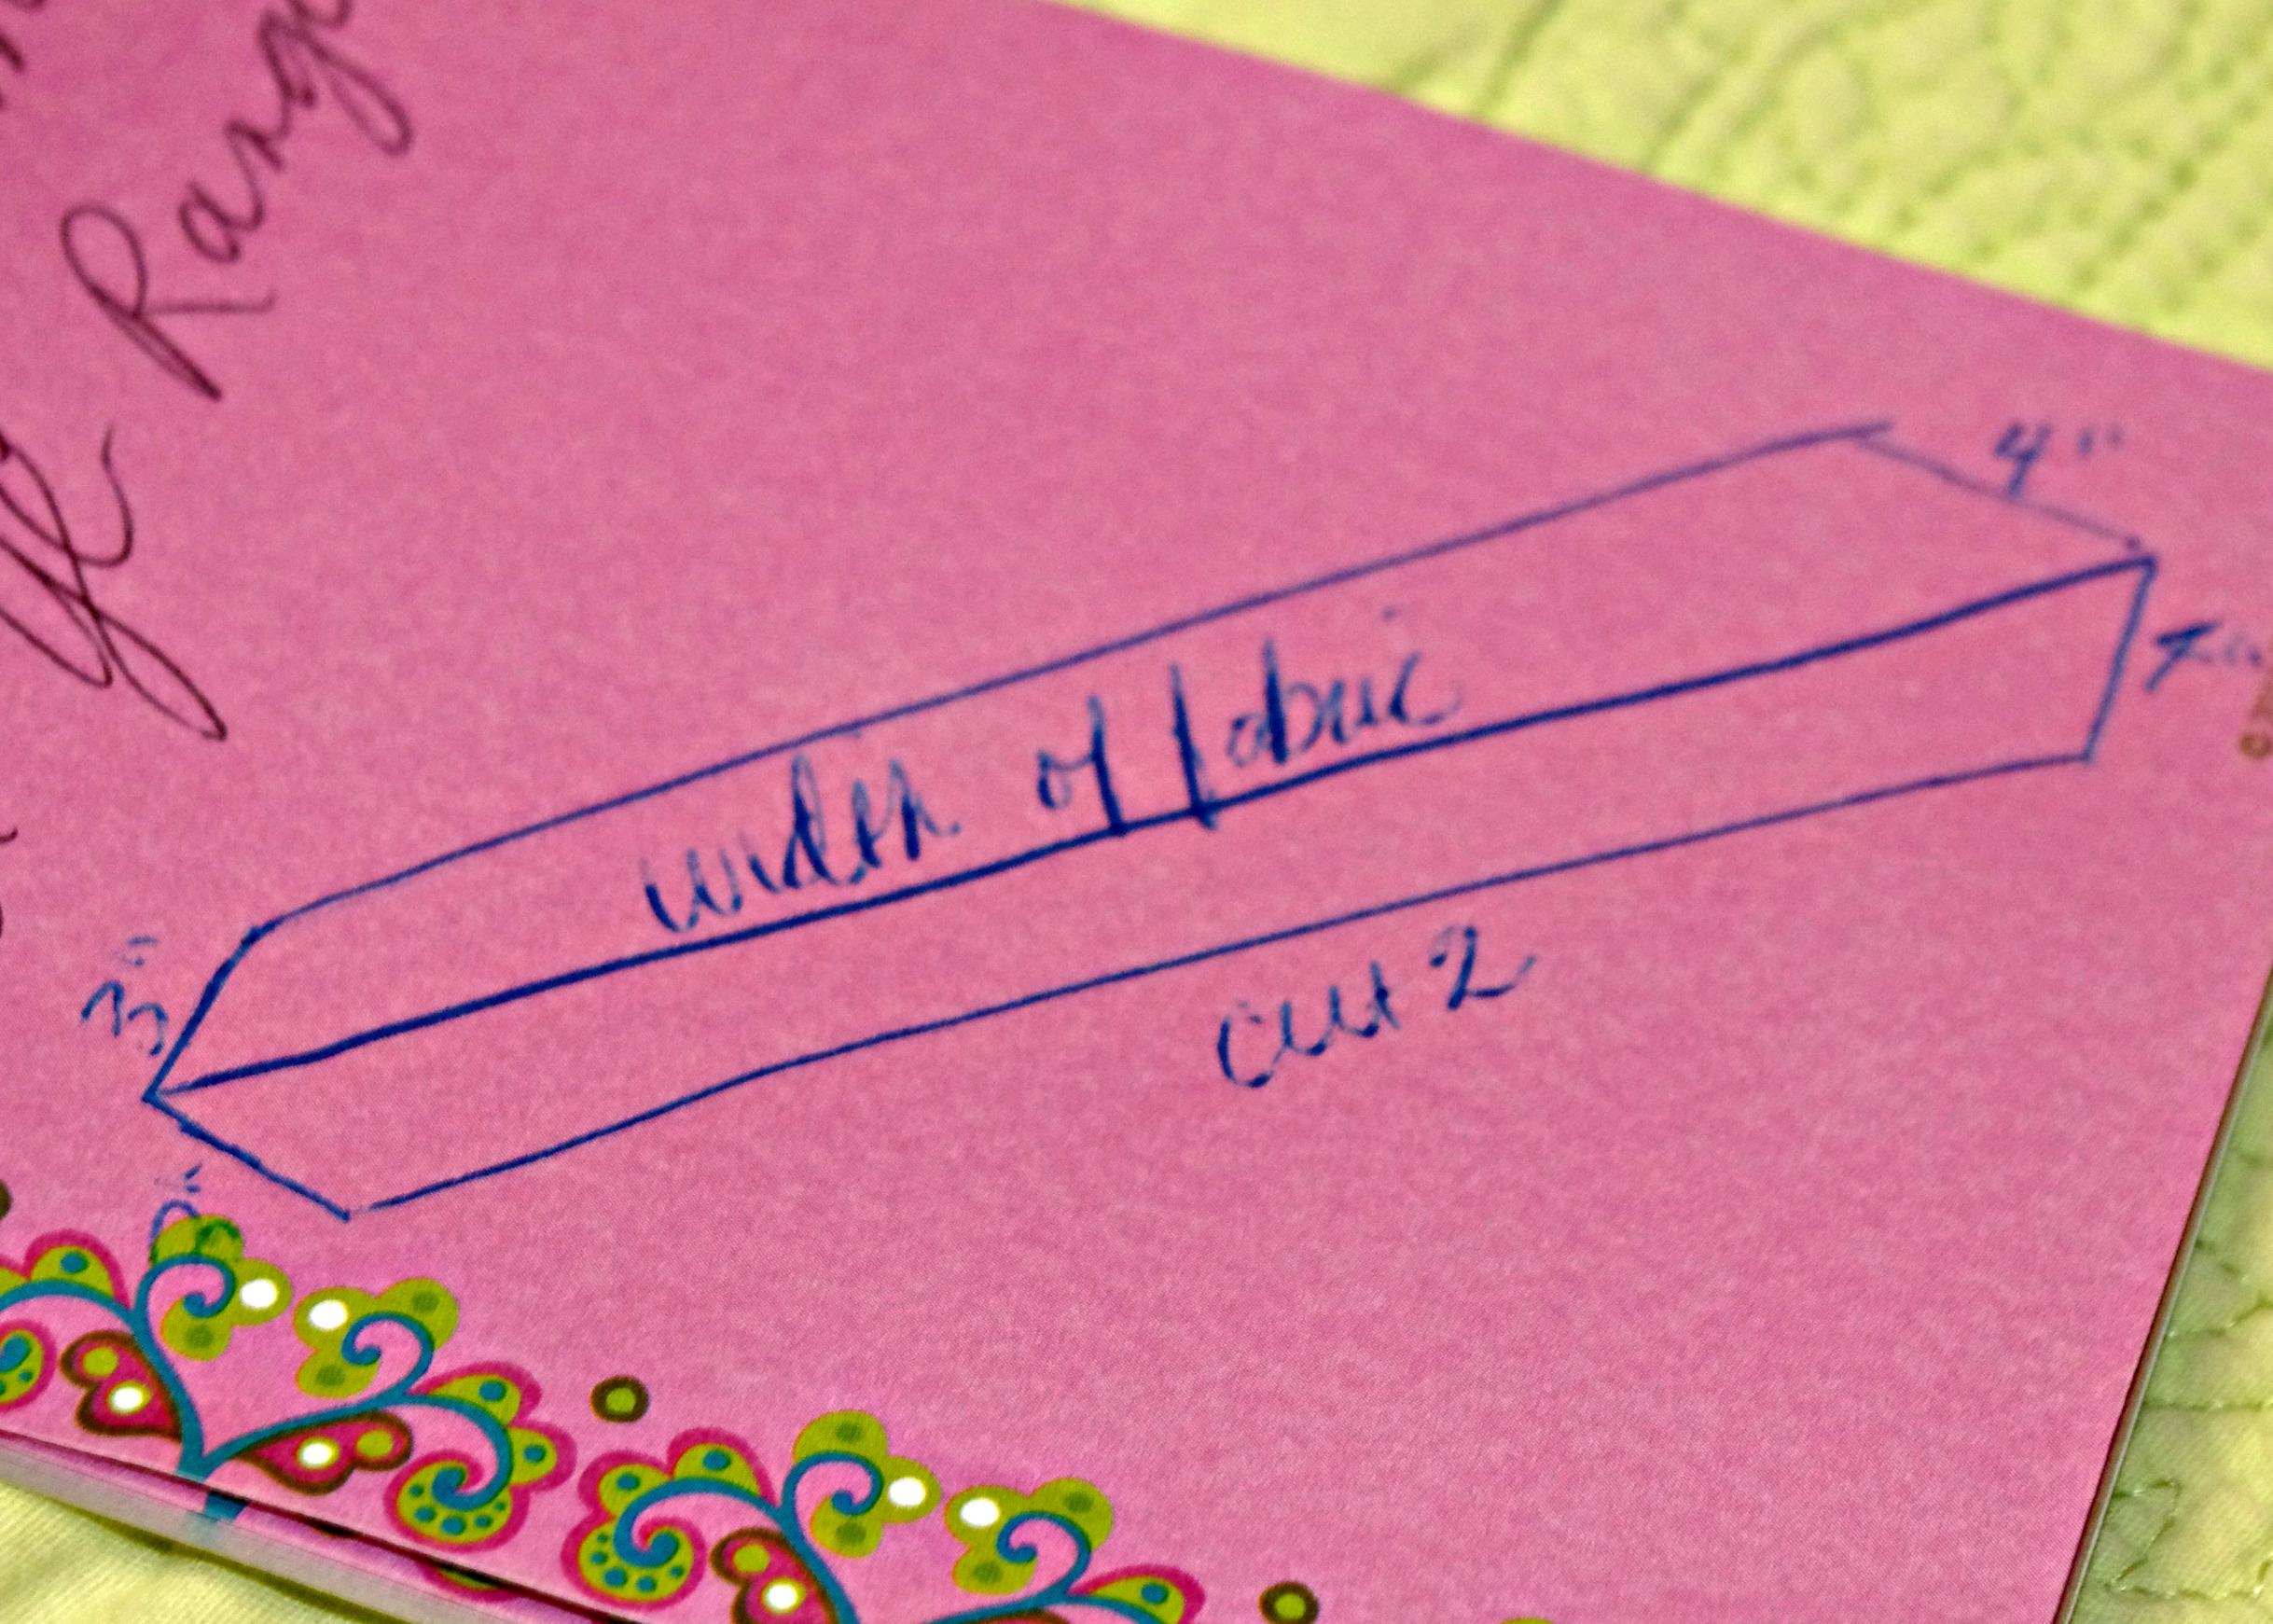
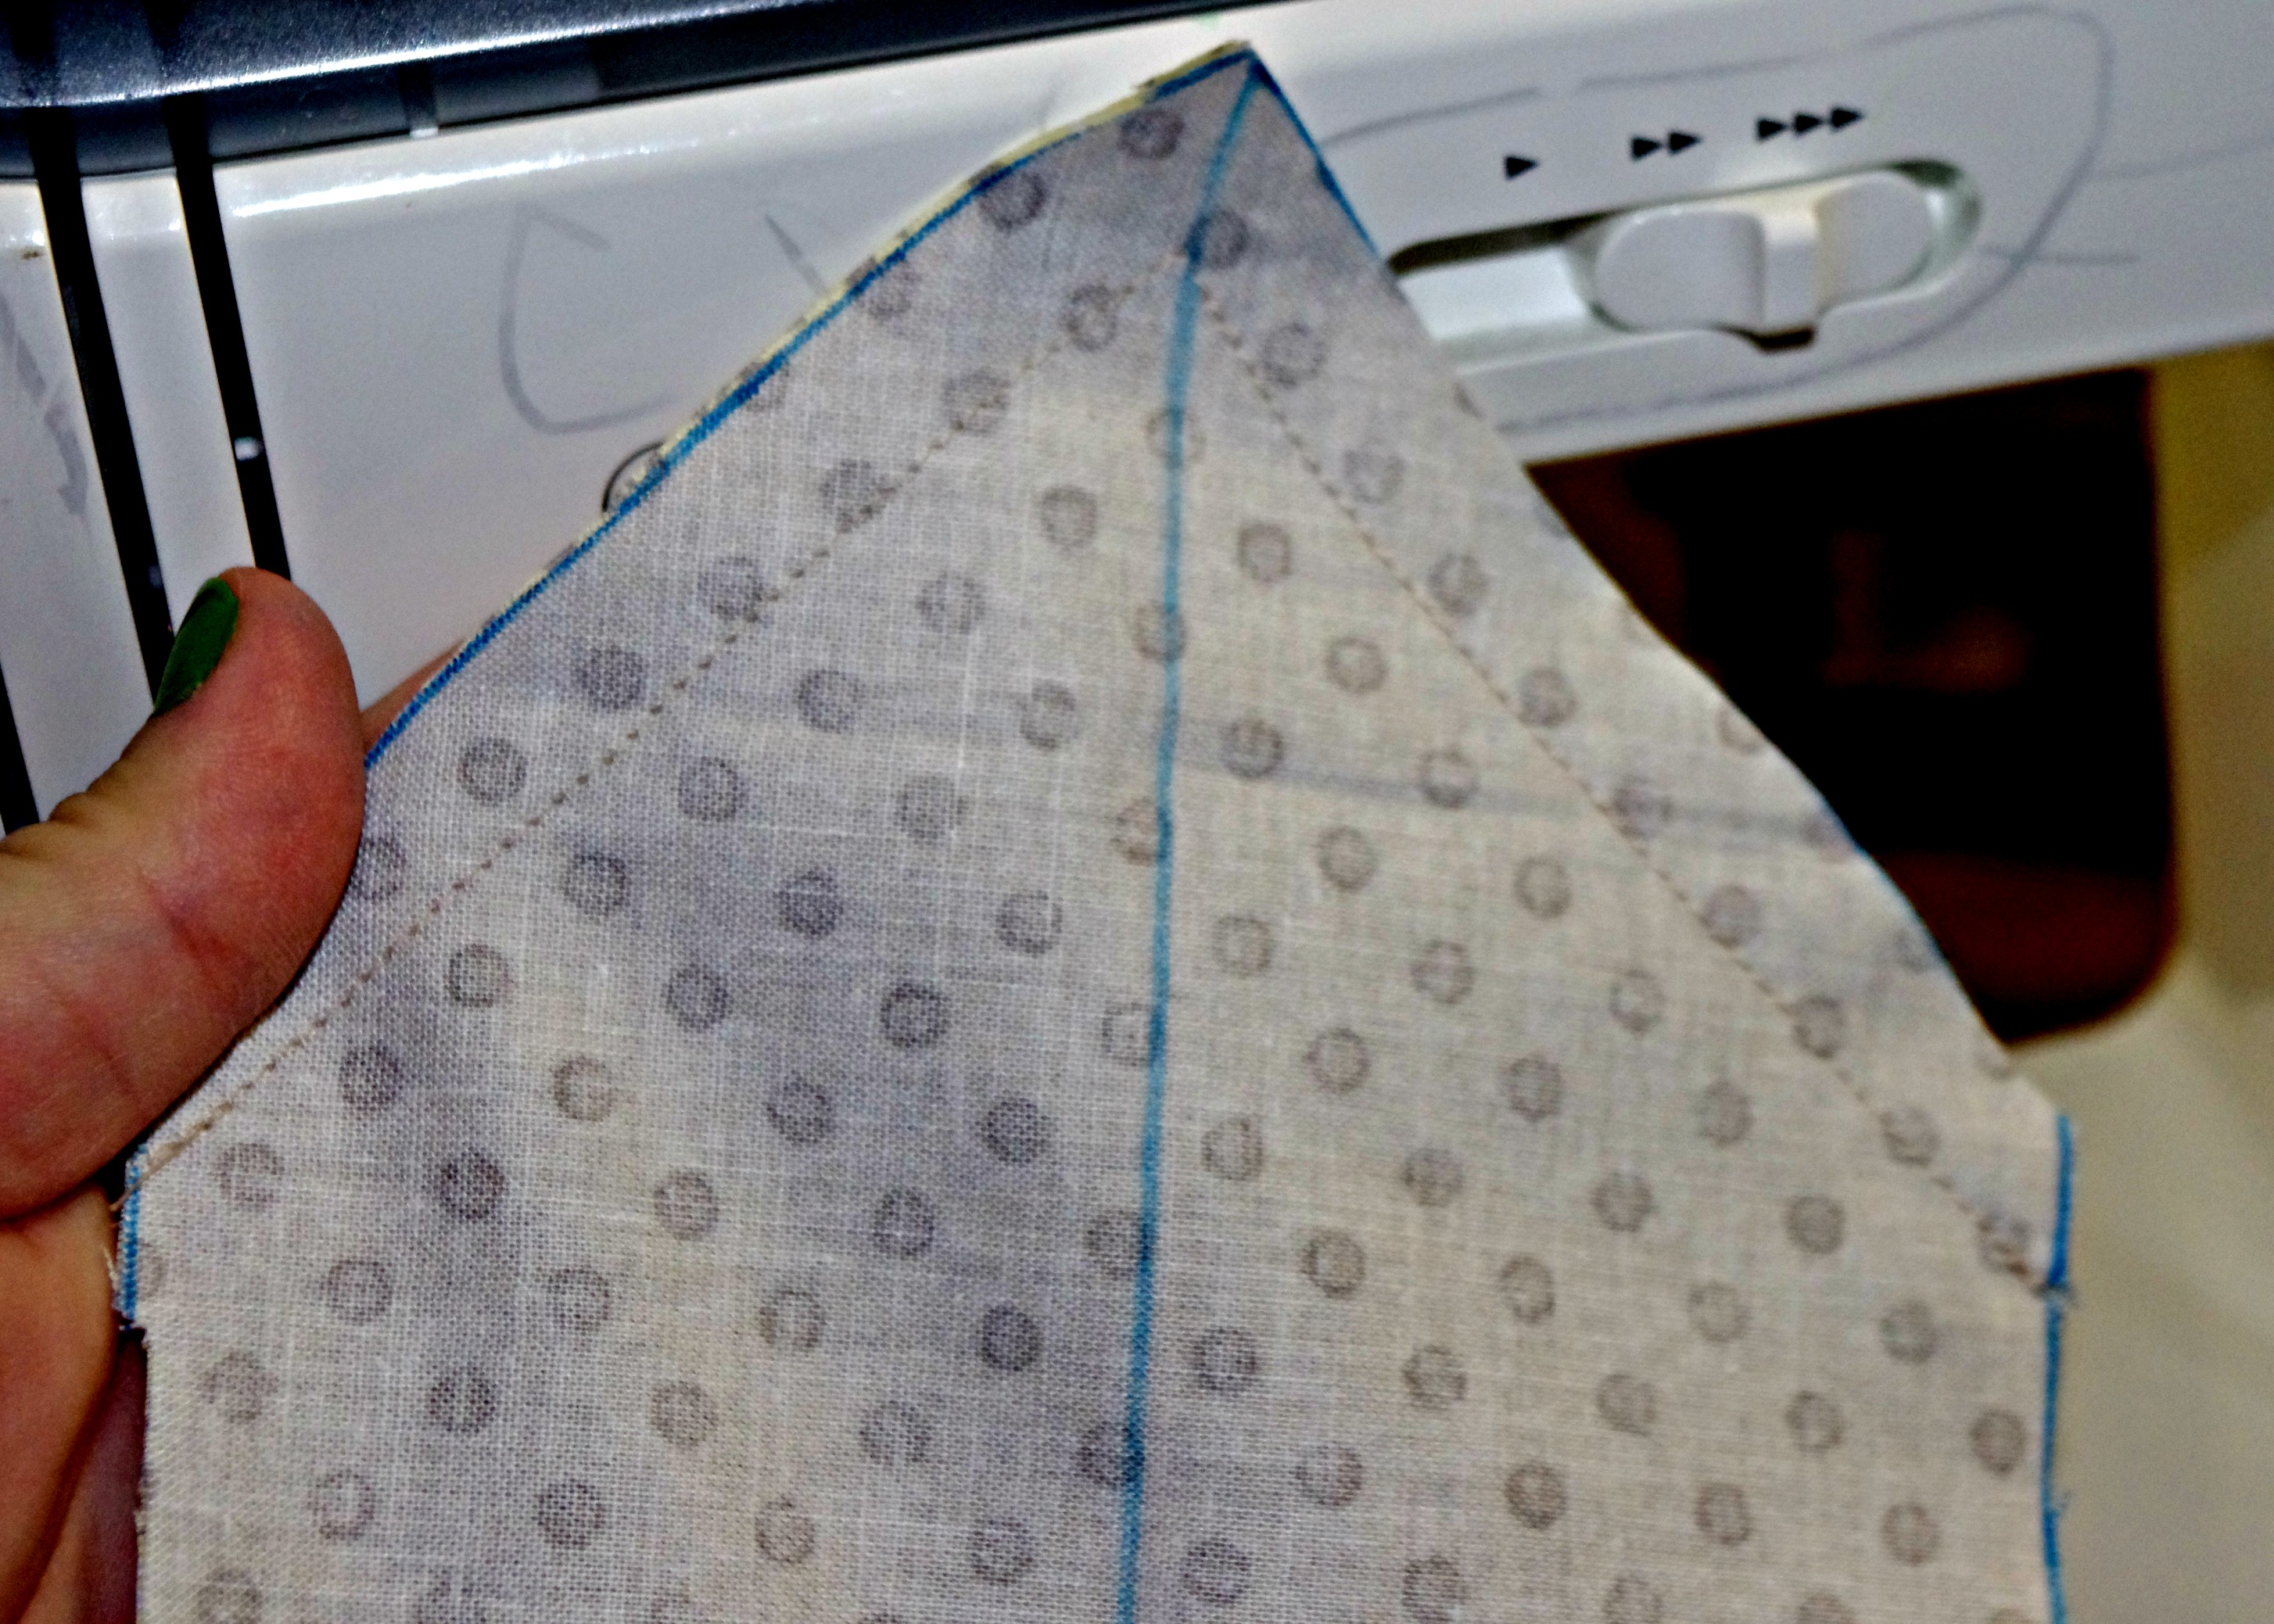
Using a quilting ruler, line up your ruler so you’ve got a right angle going on at the tip. (See the photo.) Make a line 4″ long from the center.

Using your quilting ruler, line up the other side. You want the tip of the tie to be a 90 degree angle. (See photo for help lining it up.) Mark 4″ in that direction.

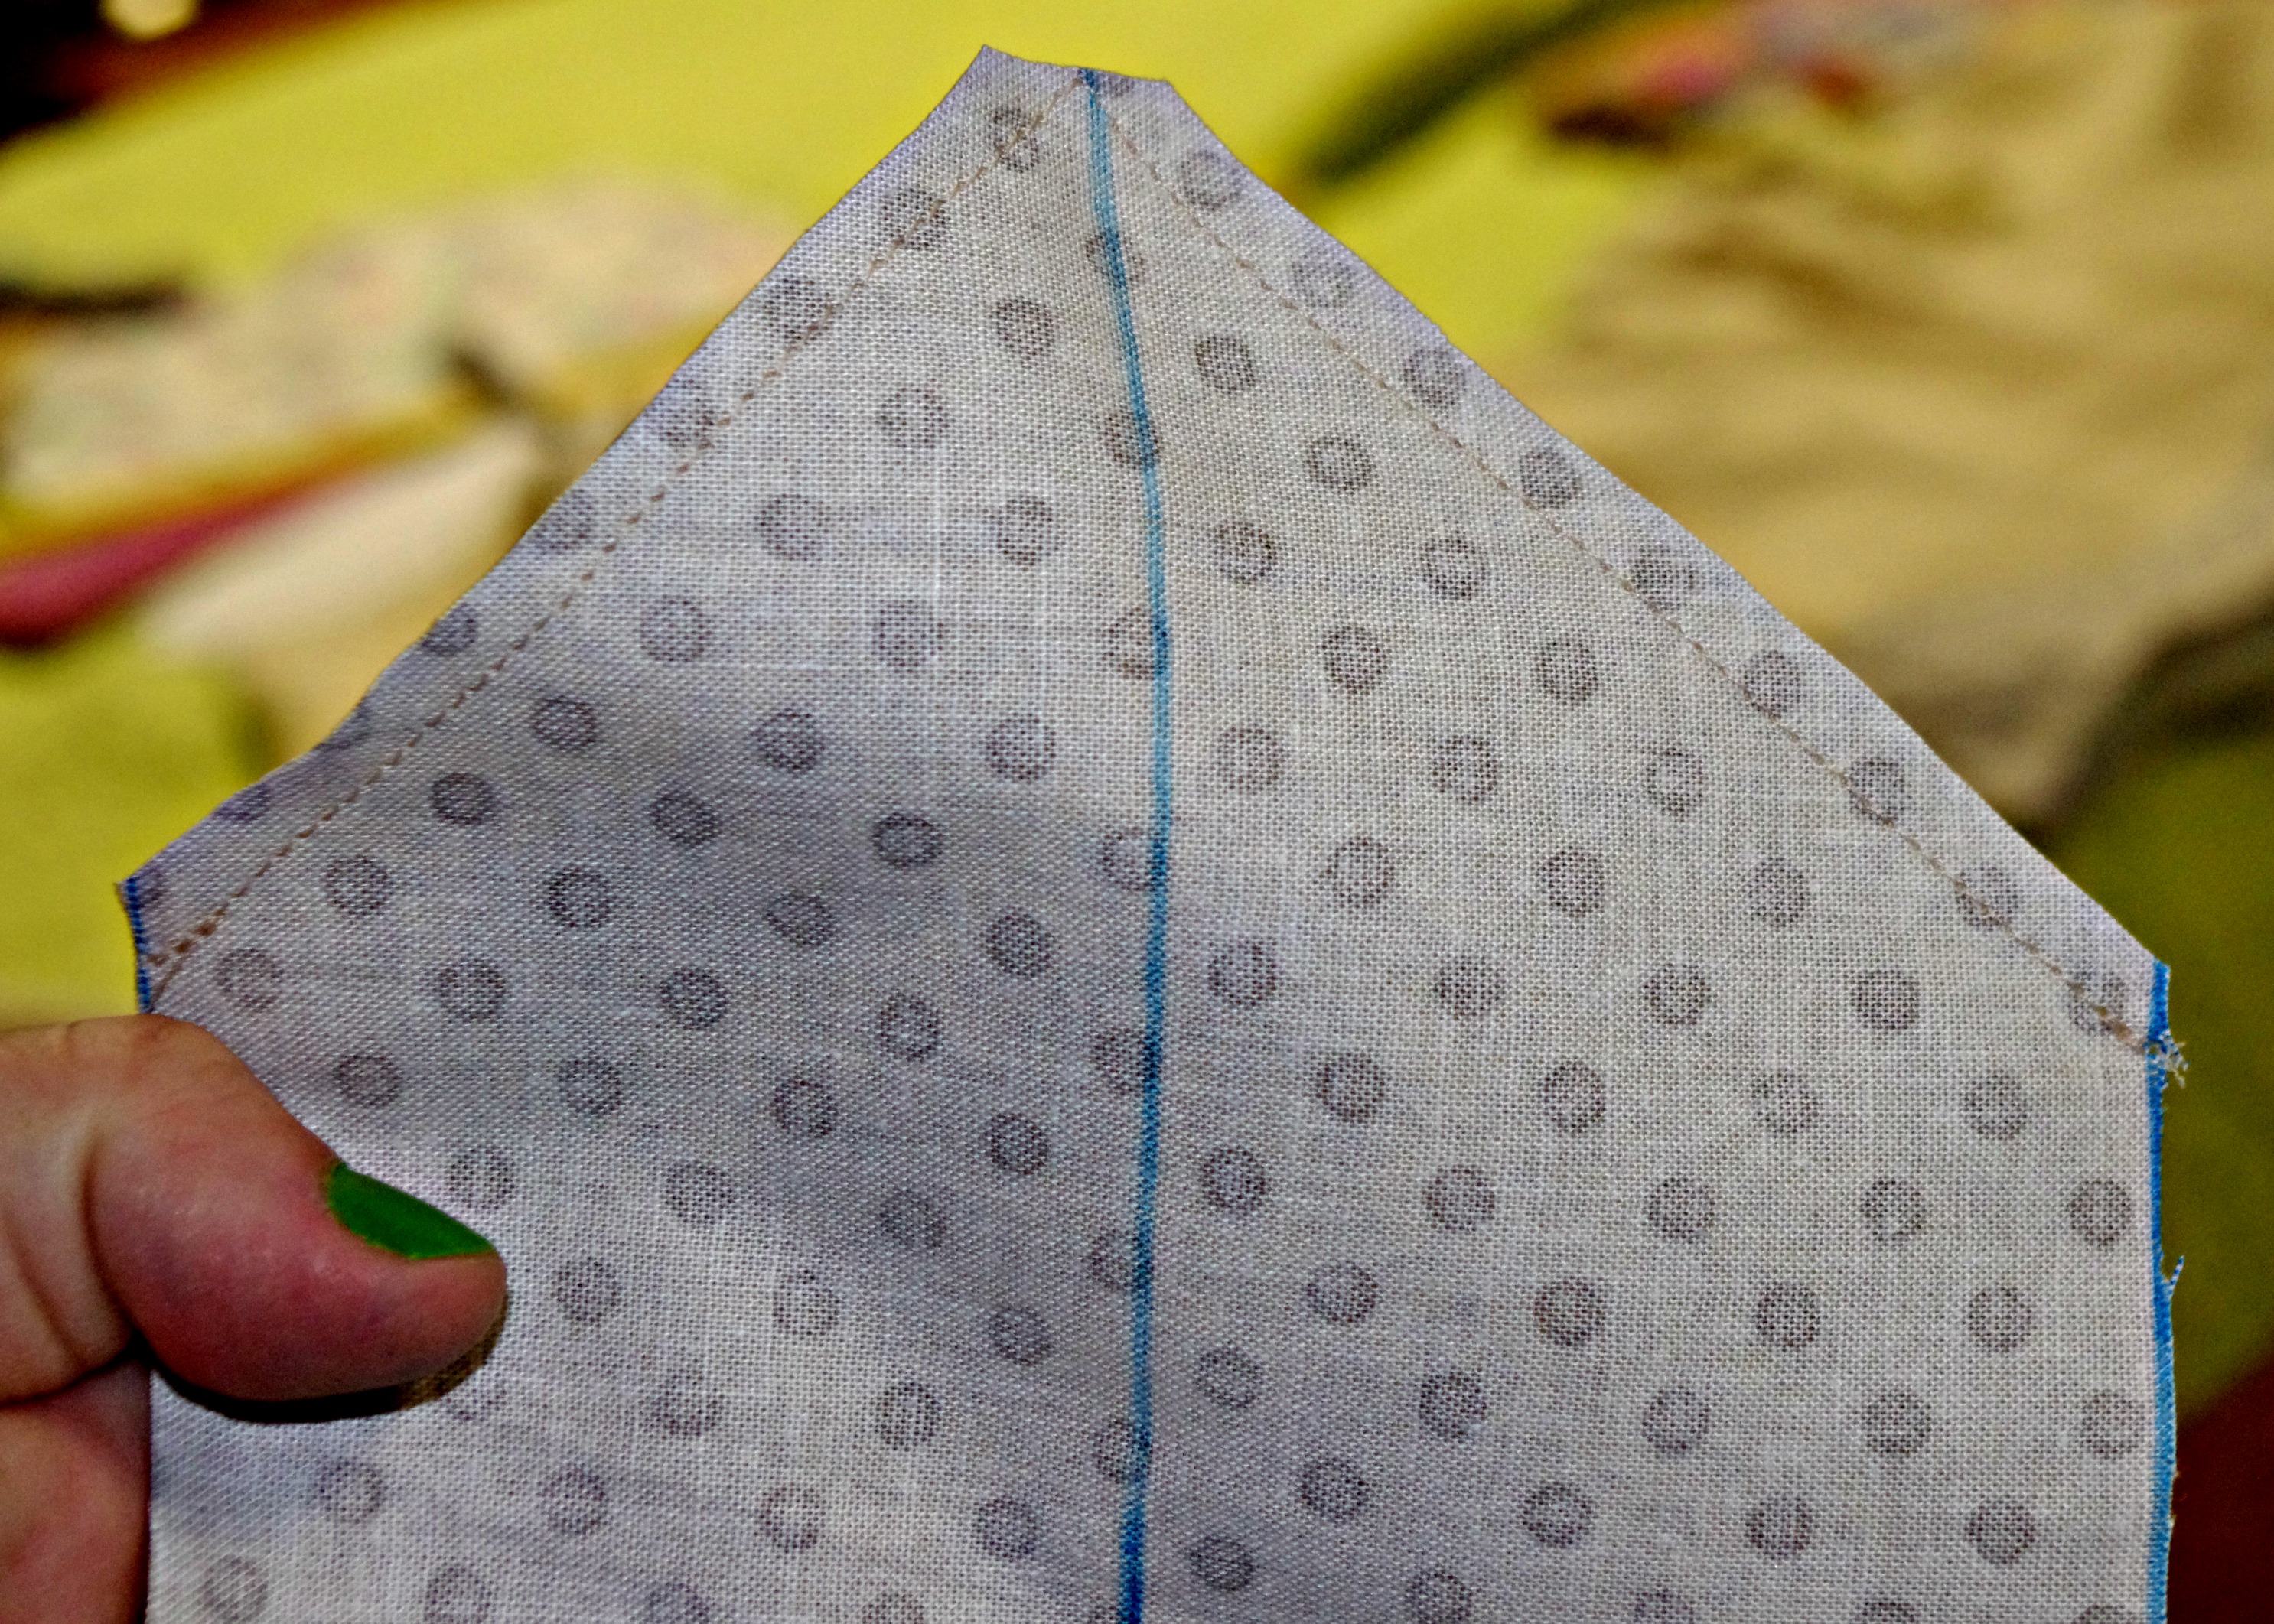
At the other end of the line across your fabric (also known as the other end of your tie), do the same thing, only mark that side 3″ from the center line. Make sure the tip is a 90 degree angle.
Use your yard stick to connect the ends of your 4″ line to your 3″ line. This is the side of the tie. It should look something like the picture.
(You can tweak the measurements if you want a fatter or more narrow tie. I do 4.5″ for an adult tie. 3.5″ for a toddler tie. Just don’t make the small end smaller that 2″ or you’ll be kicking yourself when you try to turn it.)
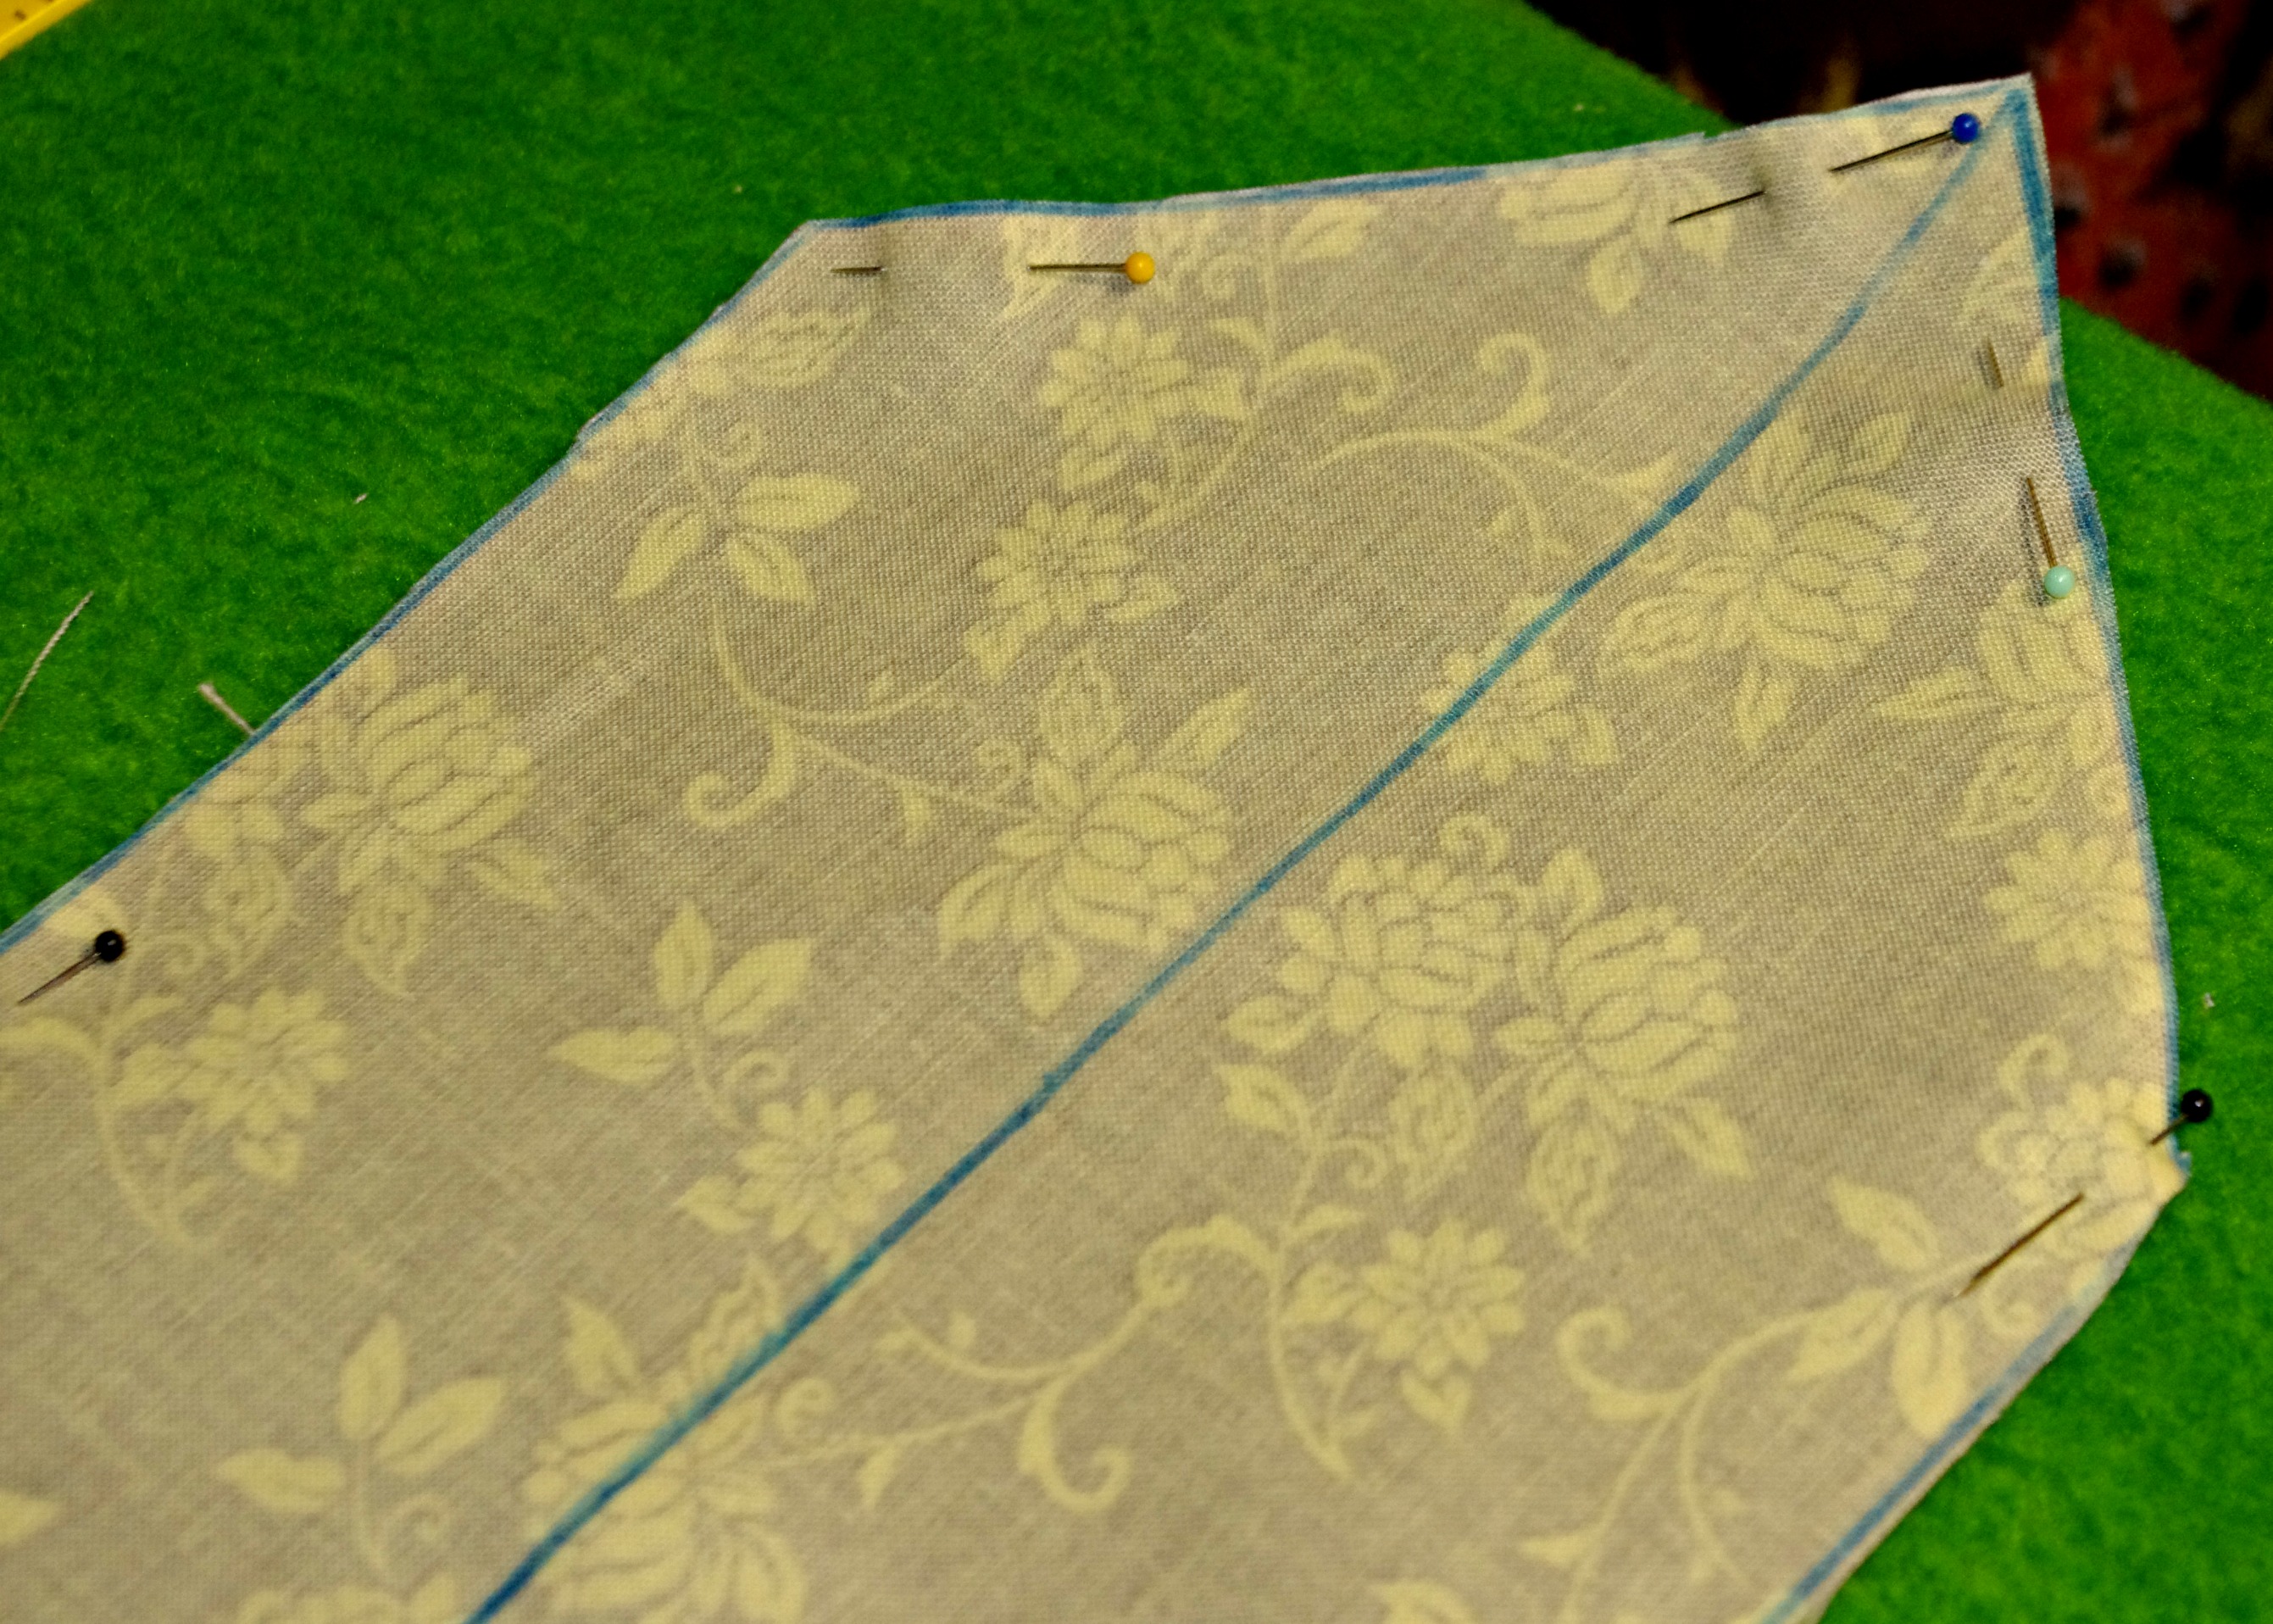
Pin your two layers of fabric together around the drawn on pattern. (Believe me, this makes your life a little easier here in a minute.) Cut out both layers of fabric together.
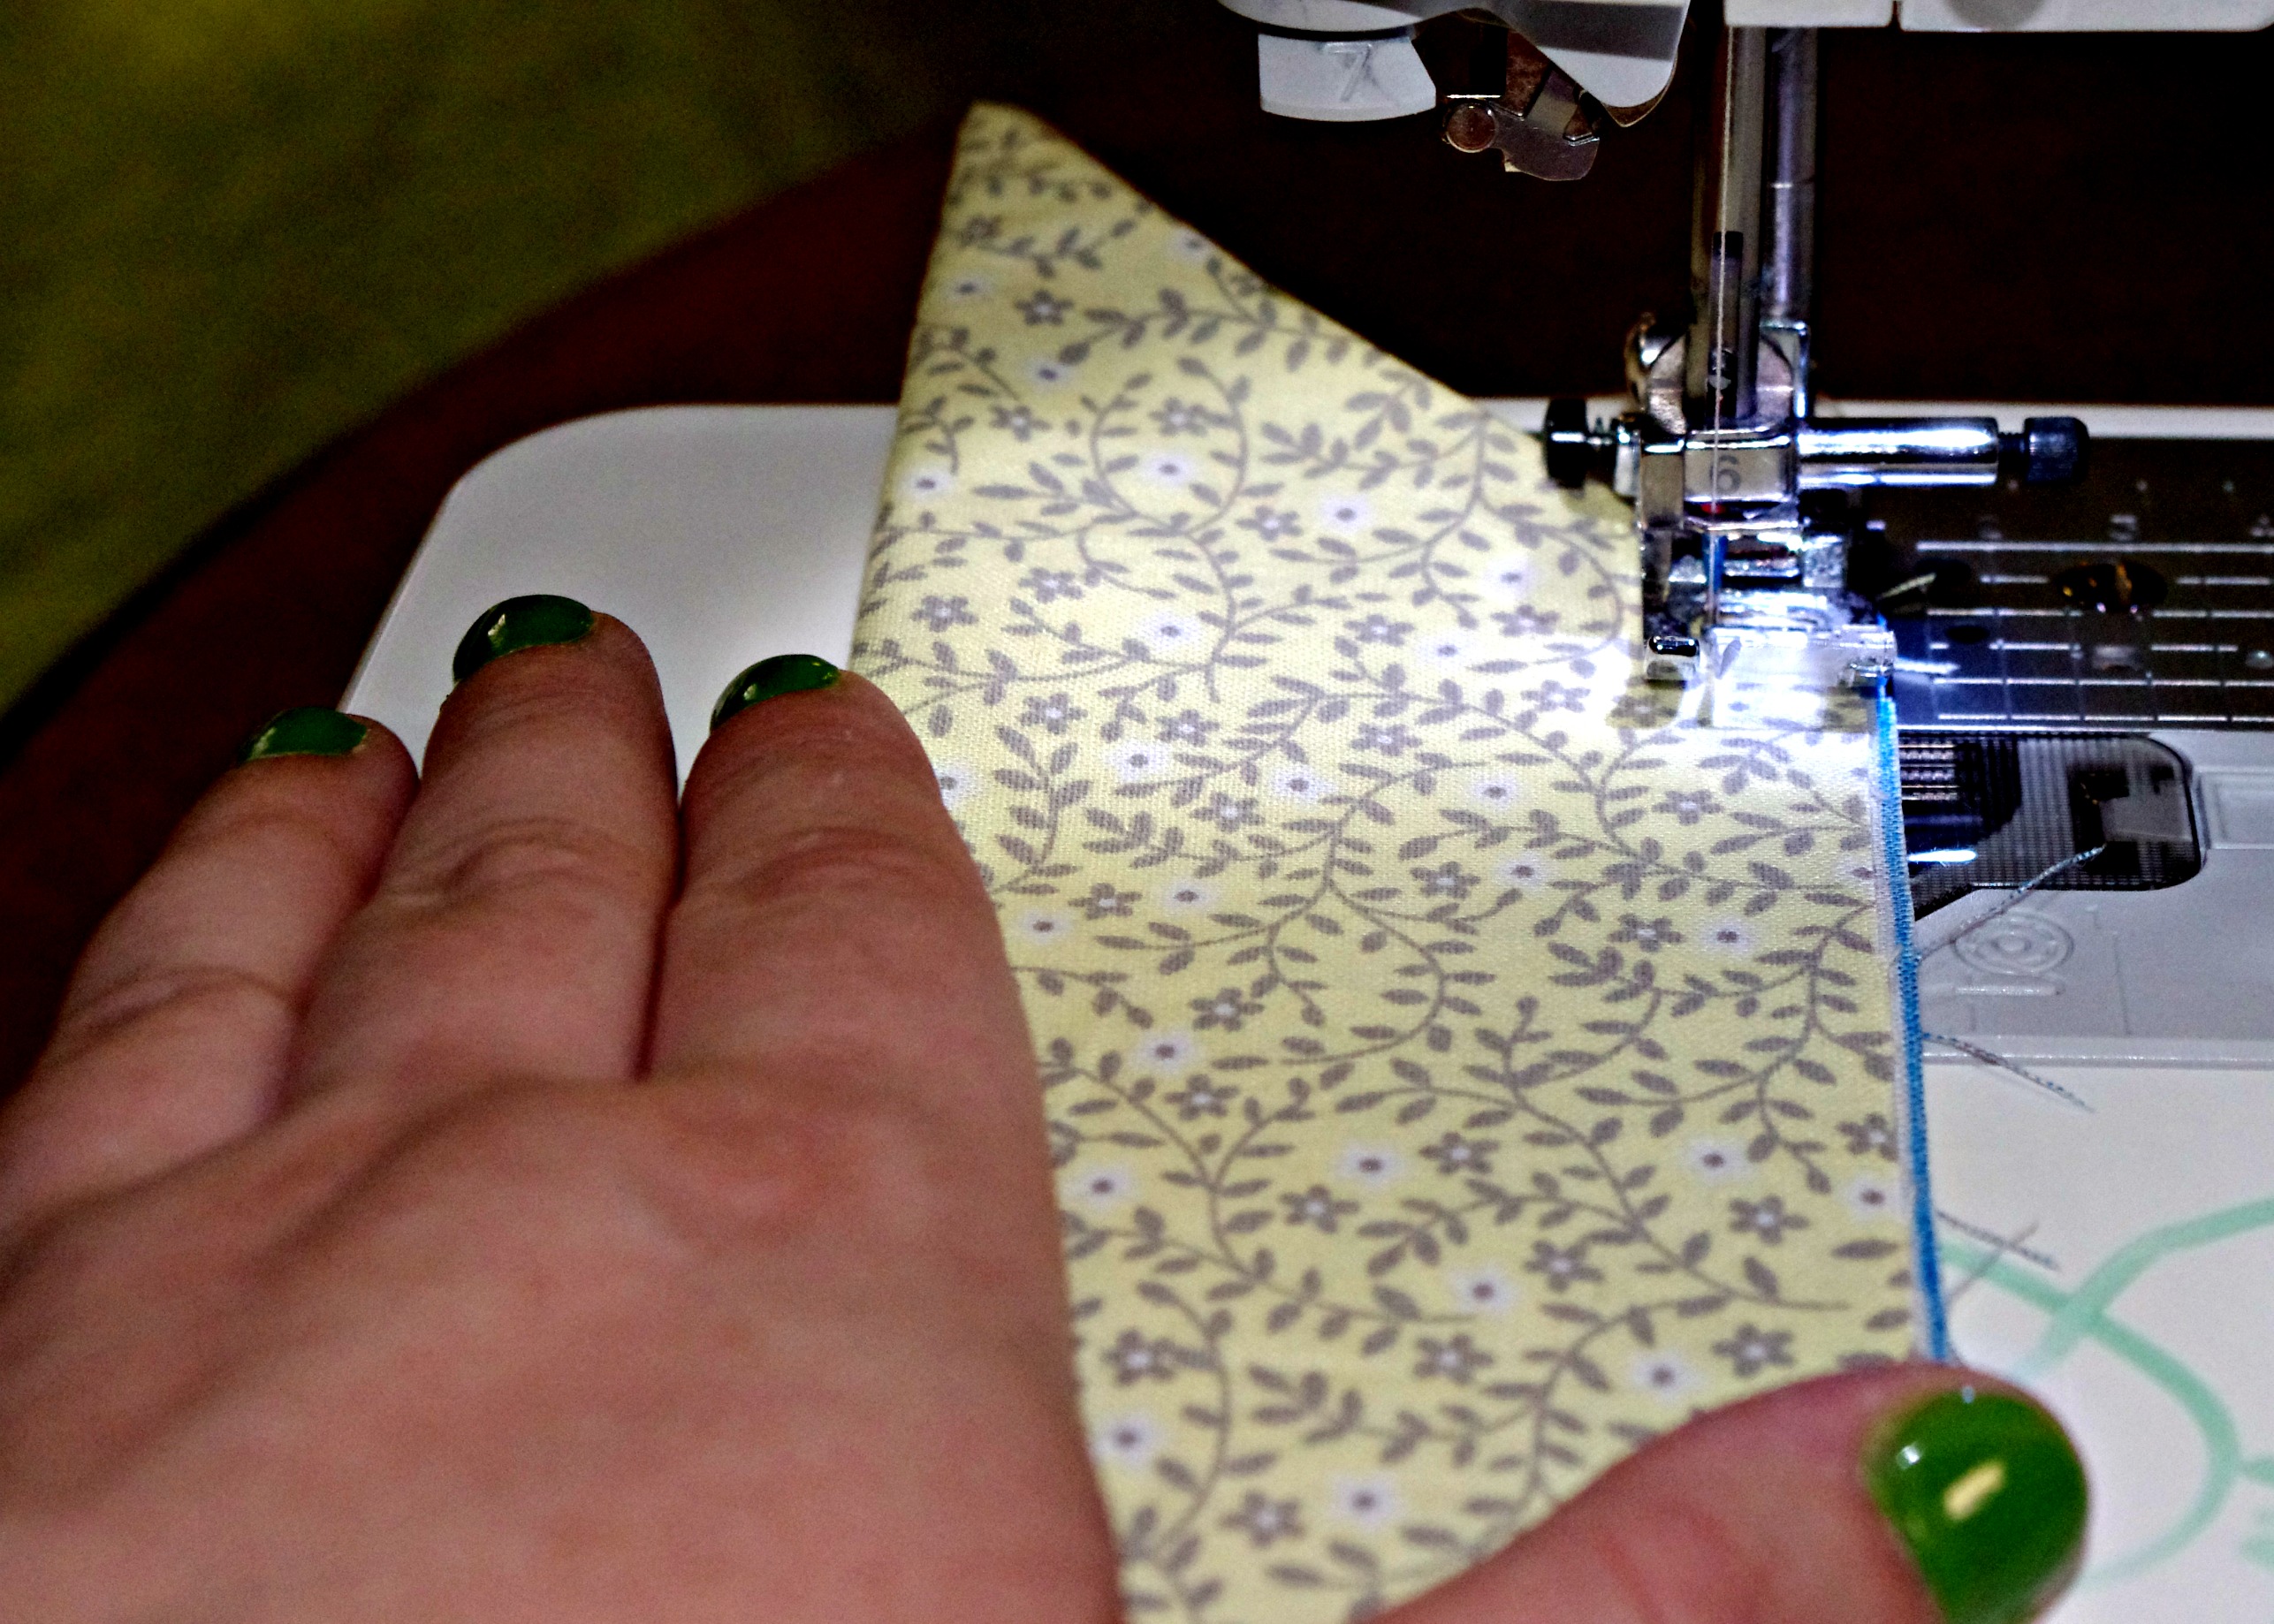
You’ve already got the right sides of the fabric together. It is already pinned. You’re ready to sew! Sew the end of the tie. Just the end. (Do not sew the sides yet. It only seems weird the first time.)
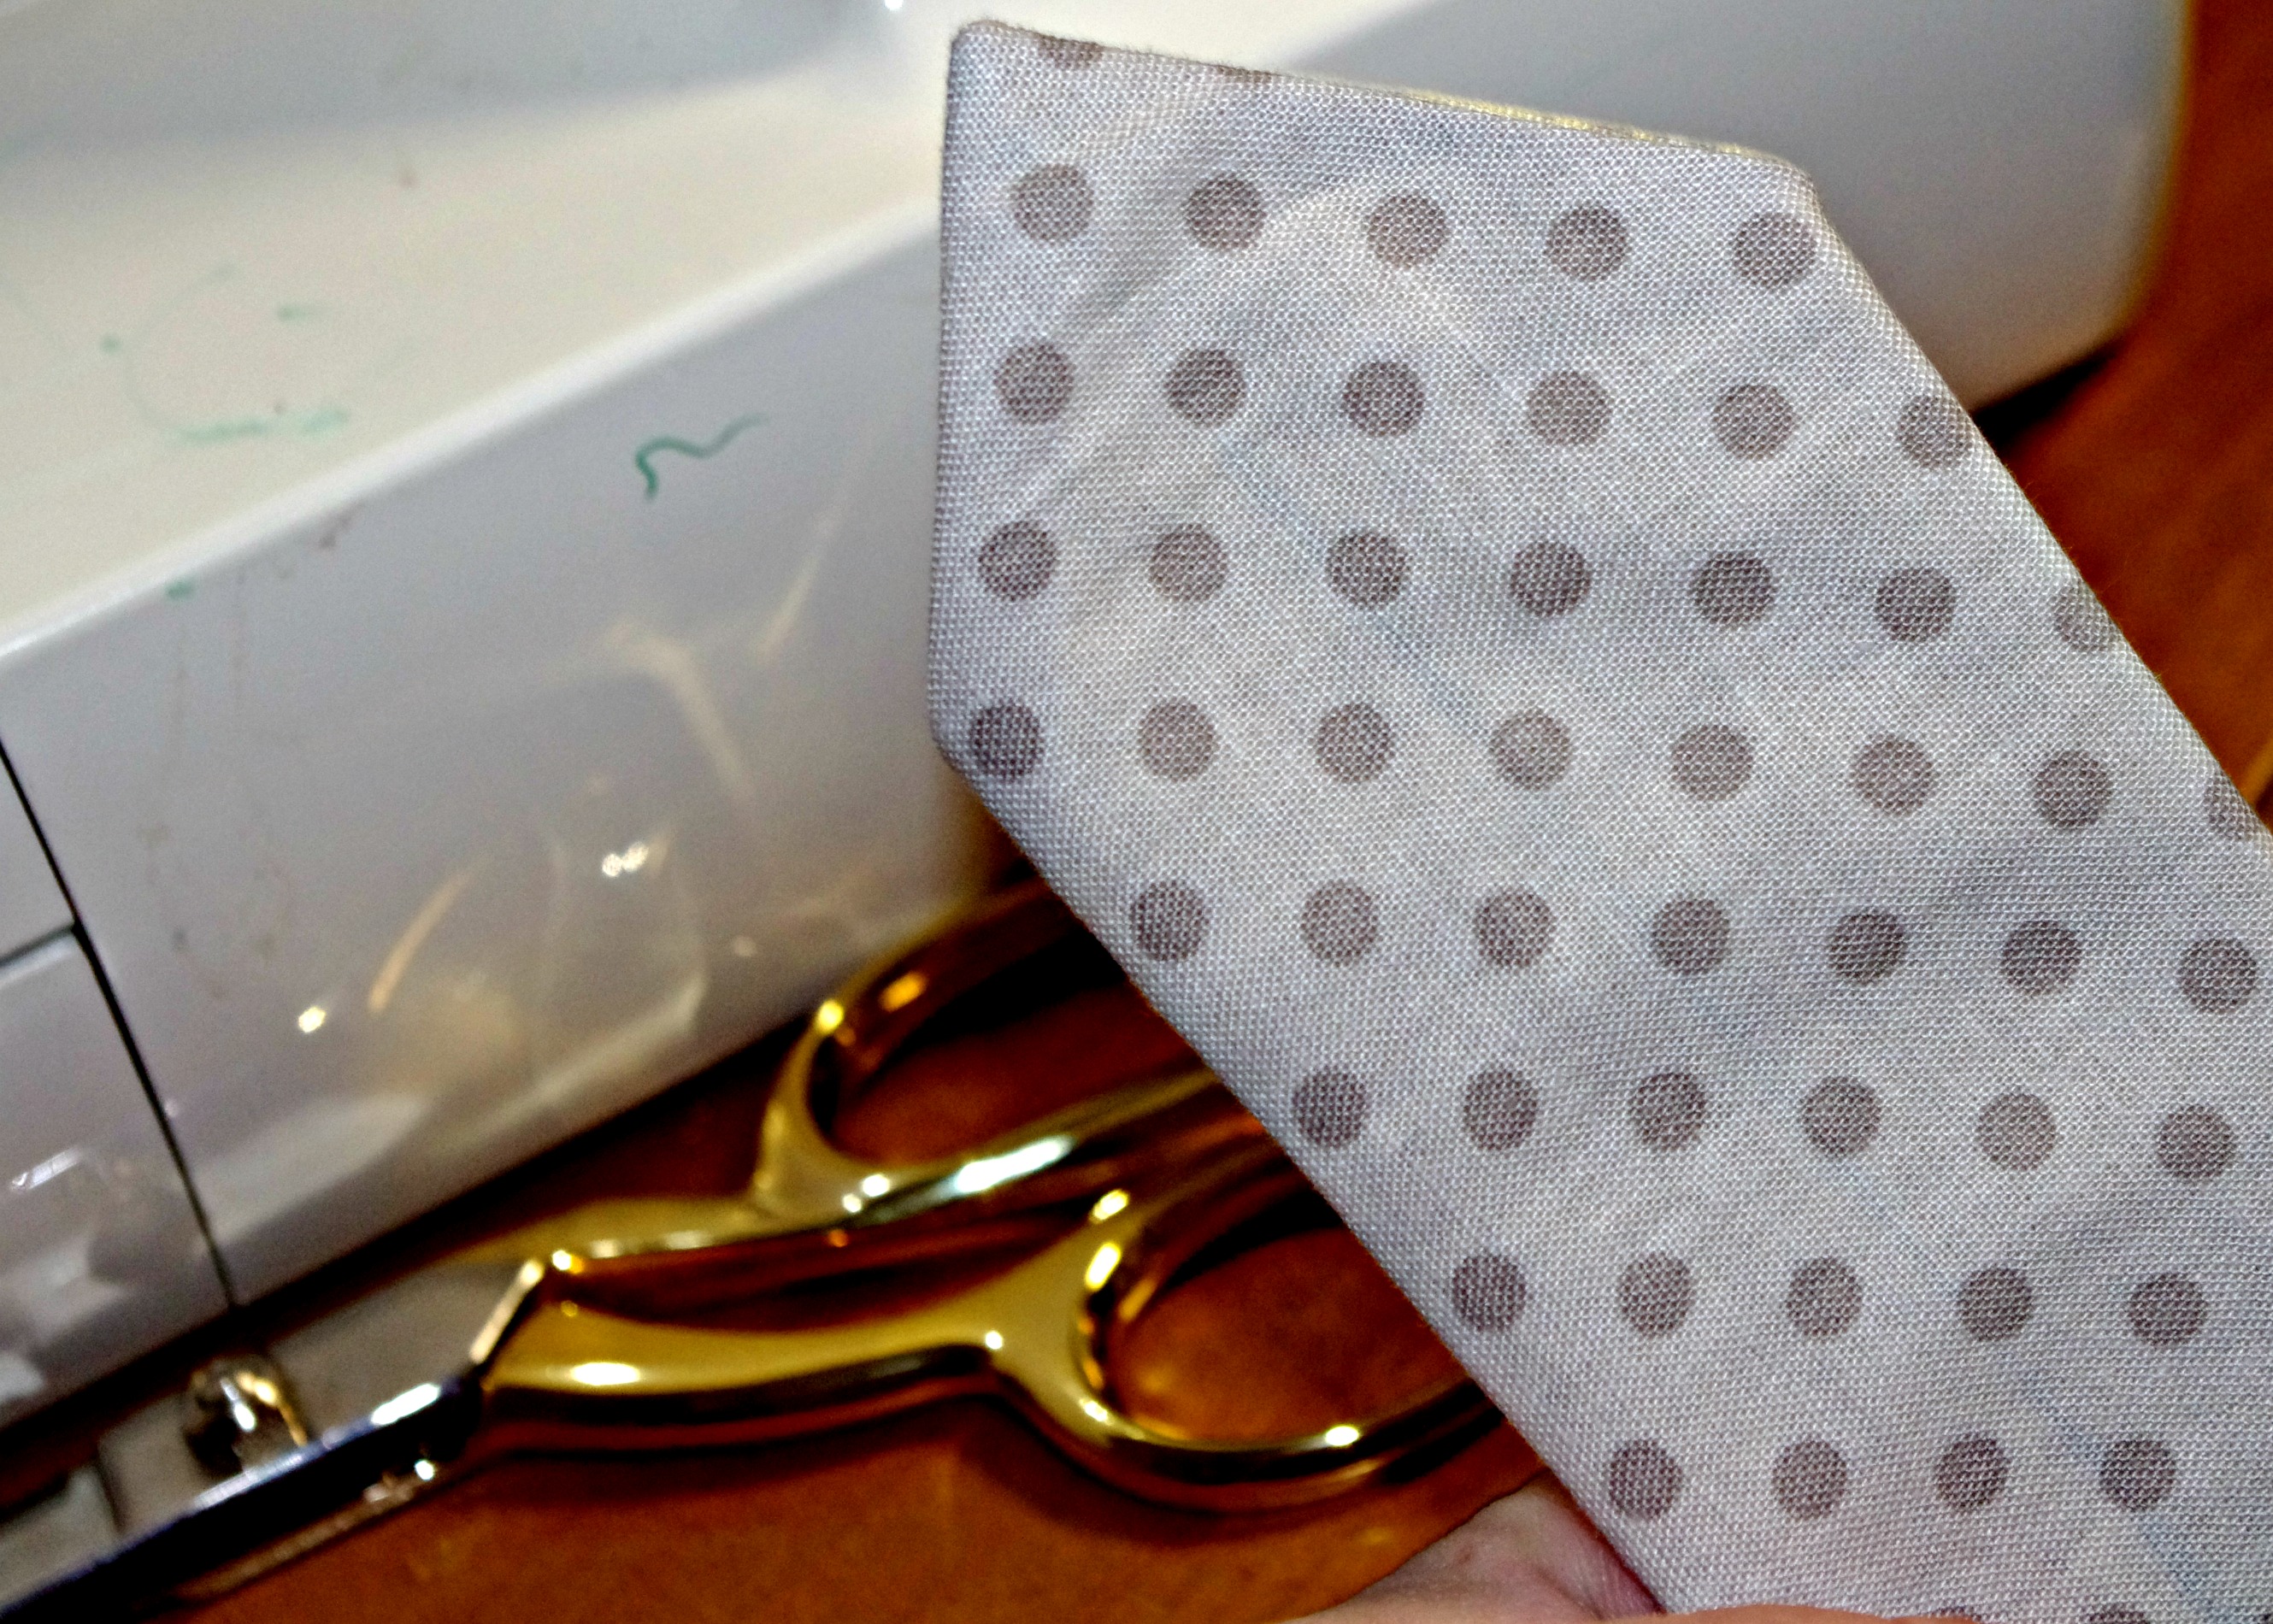
Clip the edges.
Repeat for the other end of the tie. Once again, just the end! Not the sides.

Turn your tie right side out, pushing out the points. Press. The sides are still unfinished at this point. You’ve only sewn the two end points together.
Fold the tie in half, matching up the unfinished sides. (You’re sewing the center seam that will run down the back of the tie.) Whichever fabric is your main fabric should be on the inside of the fold. You should be looking at your contrast fabric as you sew. Sew the entire length of the tie, matching the unfinished sides together.
Flip your tie right side out. Press it into the tie shape. The seam should be running down the center back. You can be done here. I do a little extra step because The Pastor (who is the tie expert in my house) says it makes a big difference in how a tie feels.
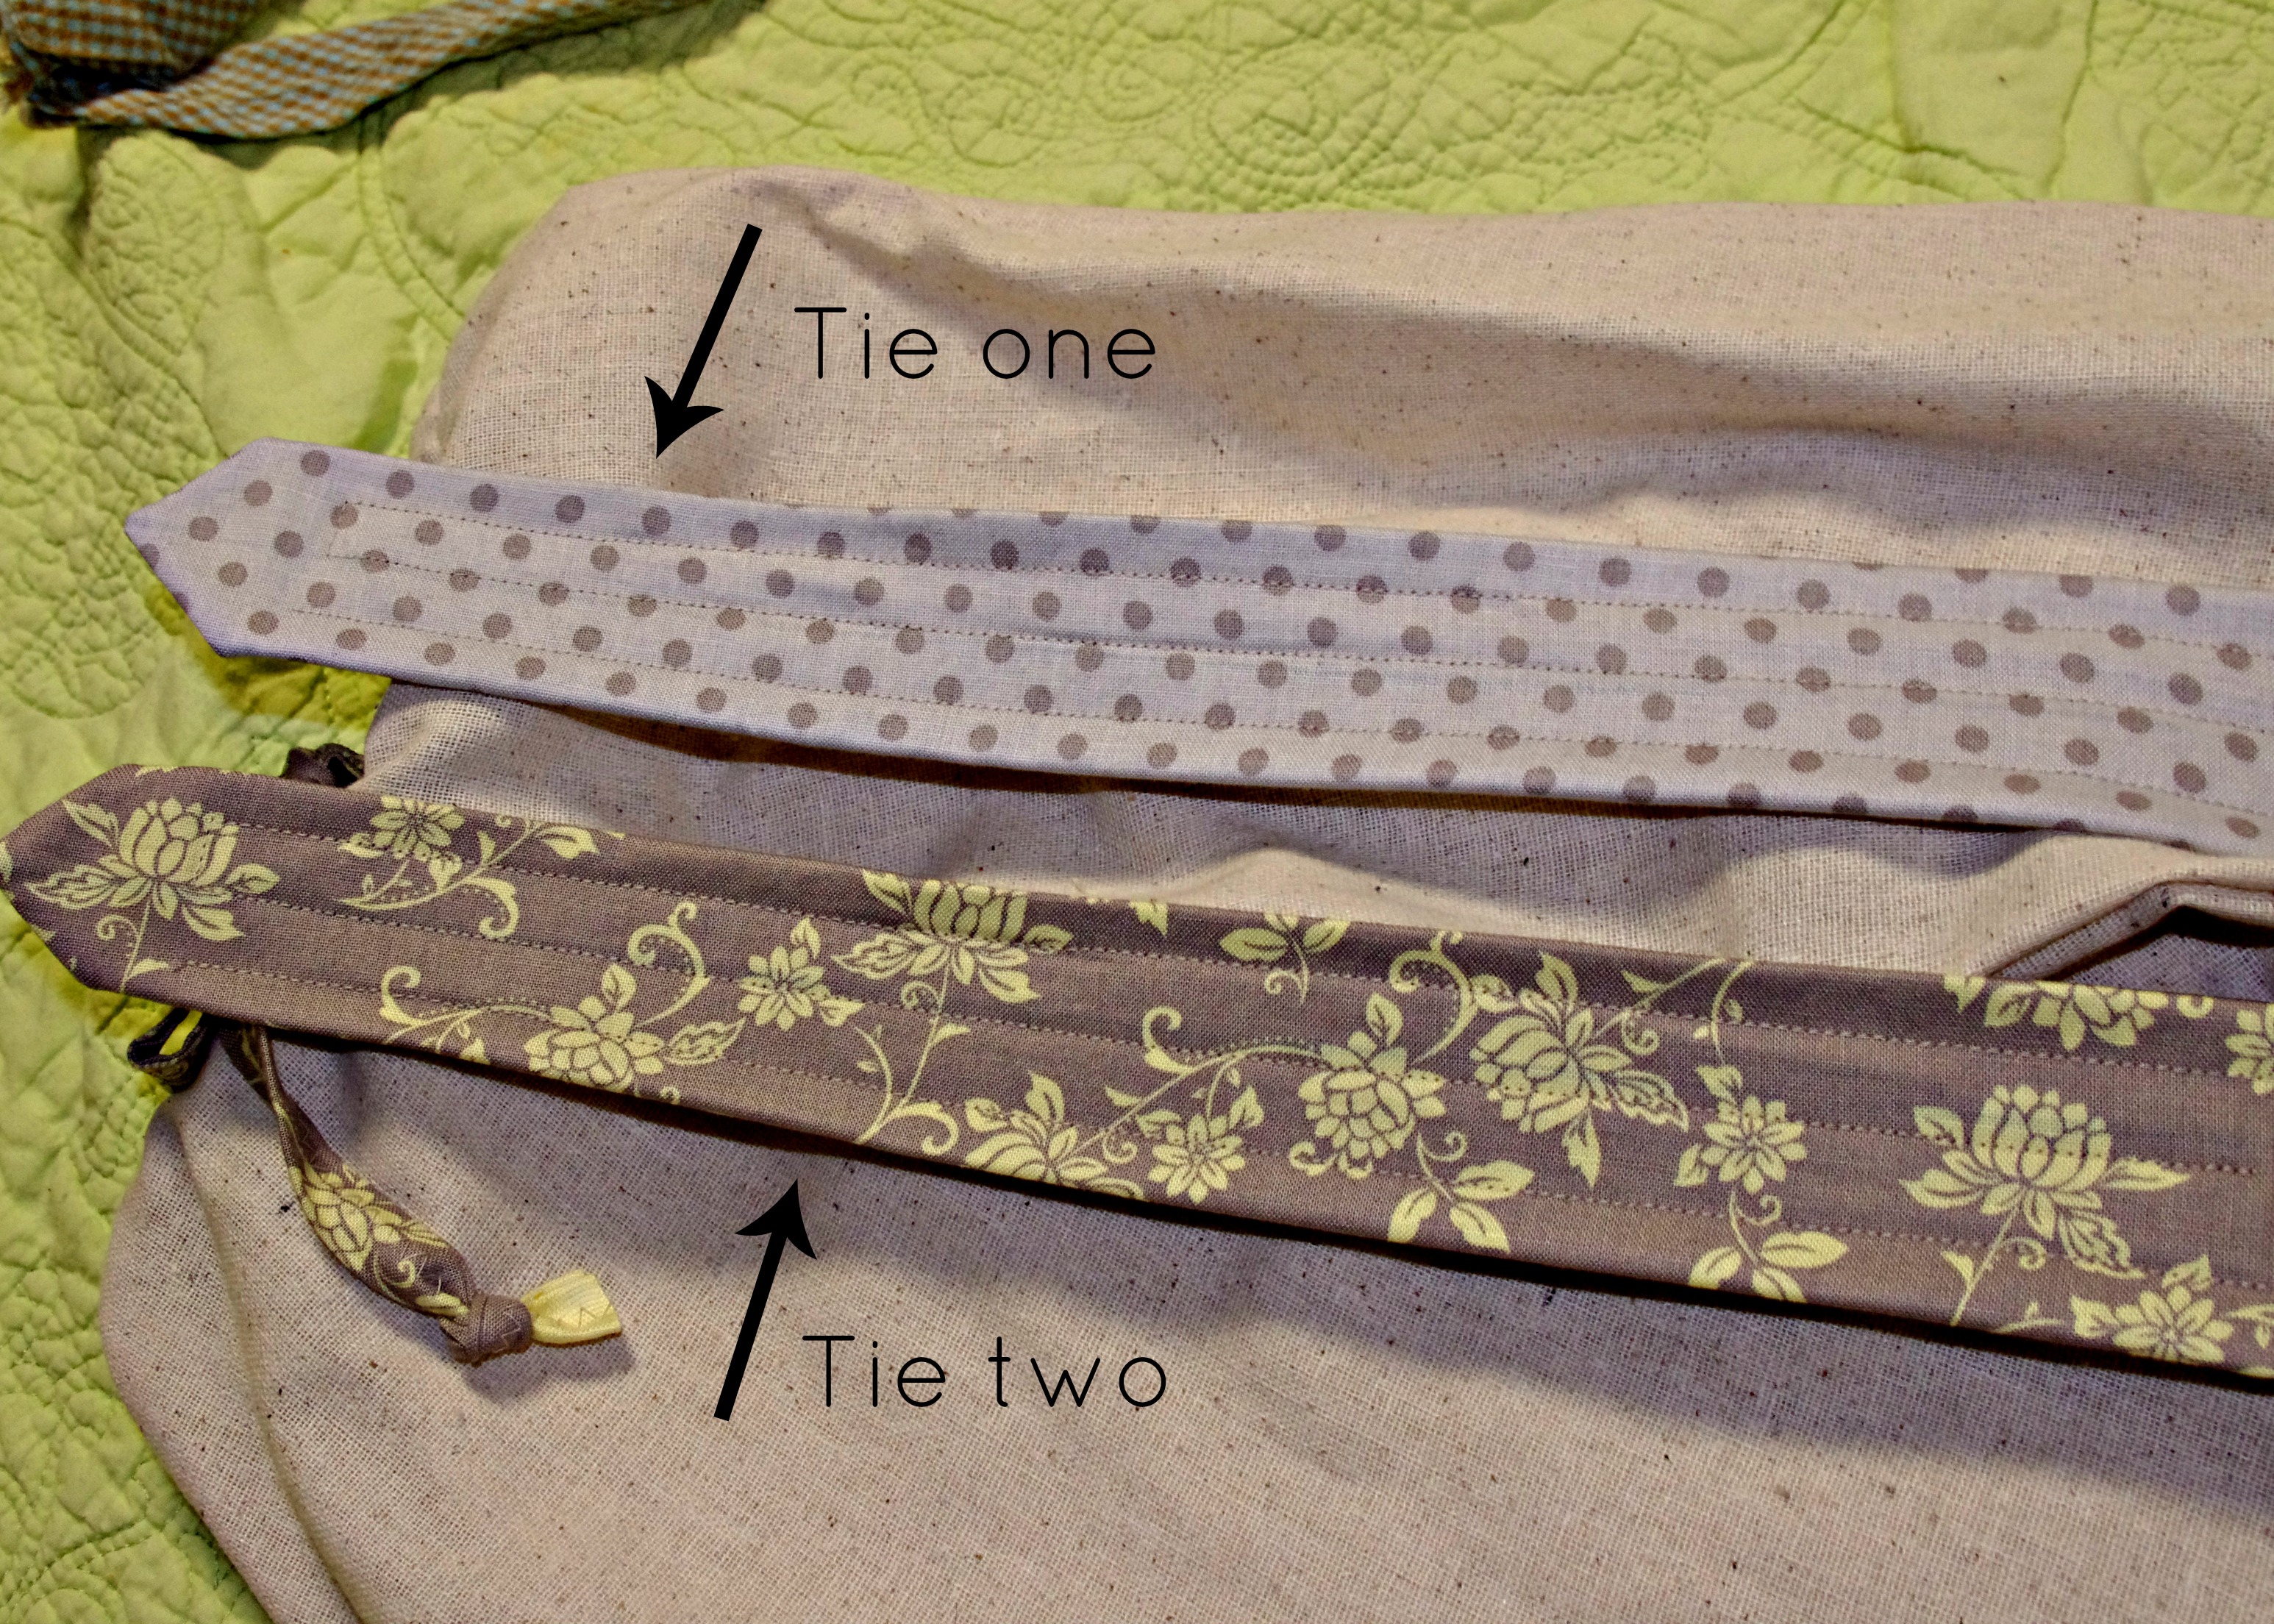
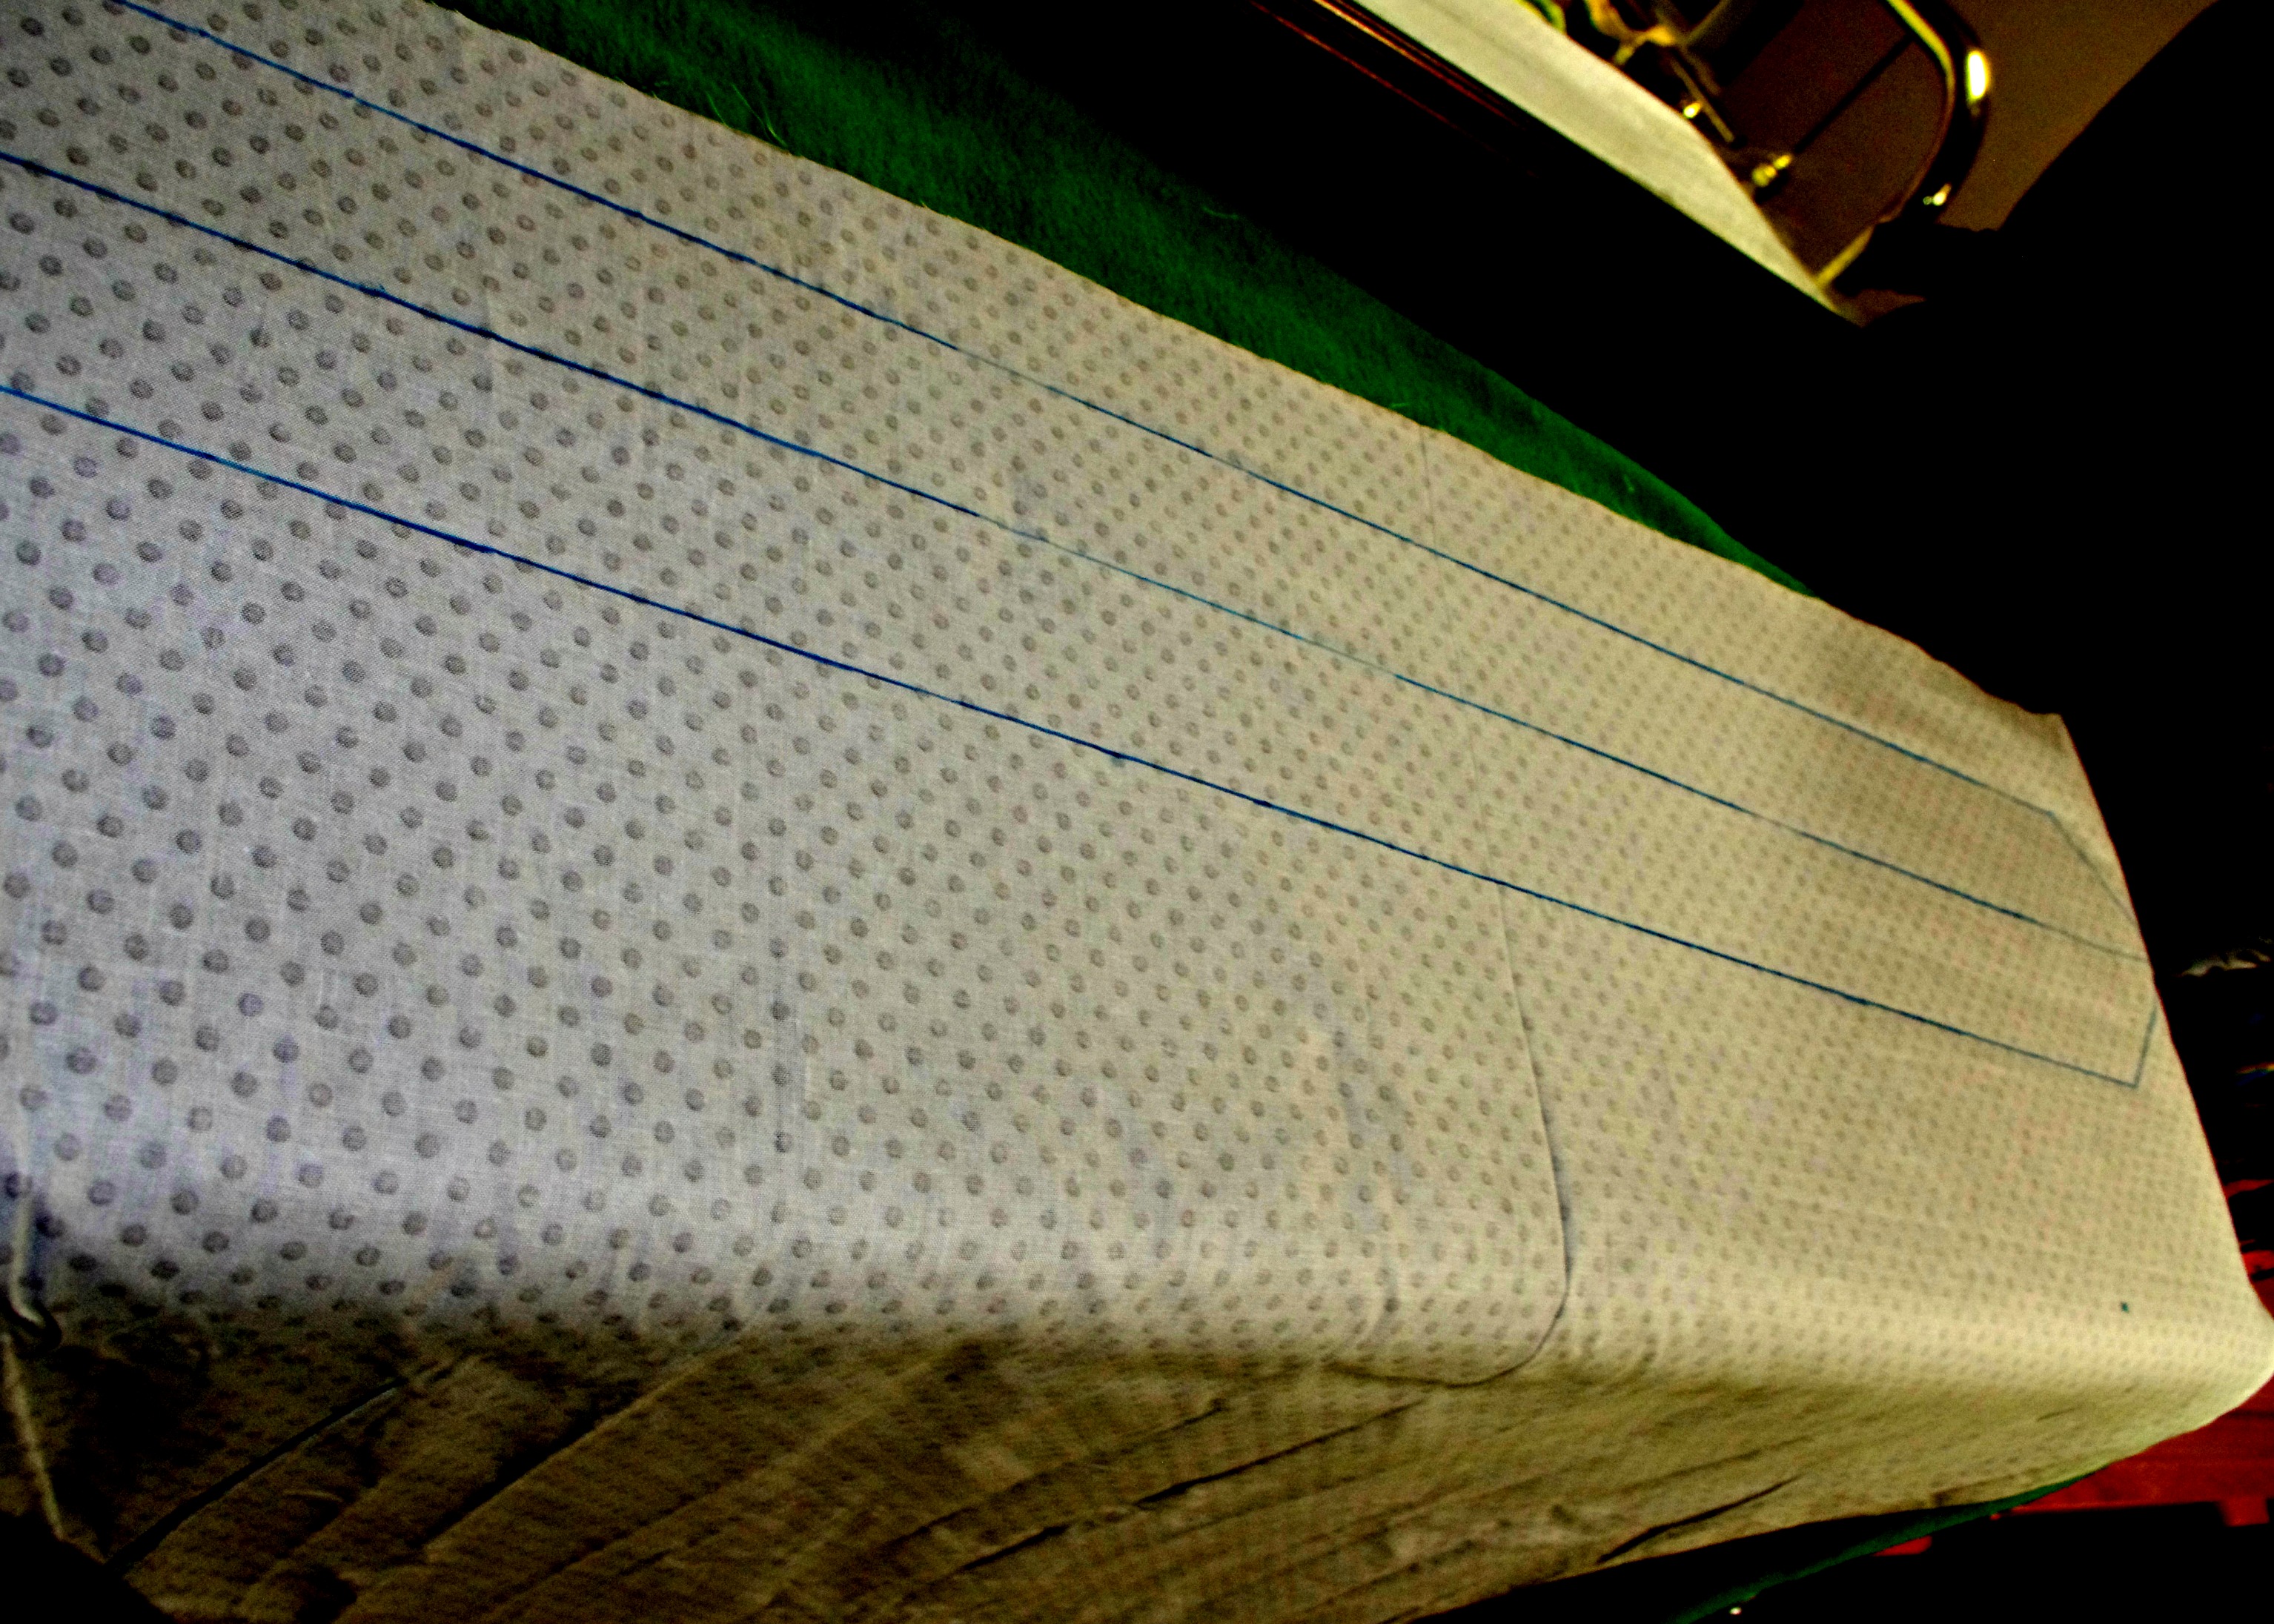
See the topstitching on these ties? That is the “big difference”. Just sewing a few straight lines down the narrow 1/3 end of the tie. The Pastor says this makes a ties lay flat on your neck and makes it much more comfortable to wear. I just trust him on it. And it only takes a minute, so I go with it.
Now for the adult variation:
You’ll want the tie longer. So, it’ll have to be longer than the width of your fabric. I made mine with one 36″ piece and one 18″ piece. It was long enough. You could make it longer if your man has a thicker neck or like super elaborate knots.
You’re making it essentially the same way. So lay your fabric out the same way. I made the large end 4.5″ from the center. I made the small end 3″ from the center. Now, you’ll need to make the ends that will connect the same width. Just make sure you mark it the same on both pieces. Connect the end of the lines in the same way. (See the picture.)

Sew the ends the same way you sewed the ends for the little boy version. Once the ends are sewn, match up the straight ends in the middle and sew them together. Sew the main fabric to the main fabric right sides together. Sew the contrast fabric to the contrast fabric right sides together.
Flip it right sides out, pressing out the ends. Also, press the seams open. (It’ll make the tie lay flat. If you press them to the side, you’ll make little speed bumps in your tie.)
Now you’ll finish up the same way as the little boy tie. With the main fabric to the inside, fold tie in half and sew the unfinished sides together. Flip.
Press. Sew the lines on the narrow 1/3 of the tie if you want
.
And that is it! You’re done! Well, if you’re like me, you repeat over and over and over and then you’re done.
As usual, you can make these for your loved ones, give them as gifts, sell them if you want. You made them! Just share the free tutorial if asked!
Thank you! I volunteered to make 14 matching neckties, hoping there would be directions online–and these will be so easy!
you are right, easy as pie. love , love, love it