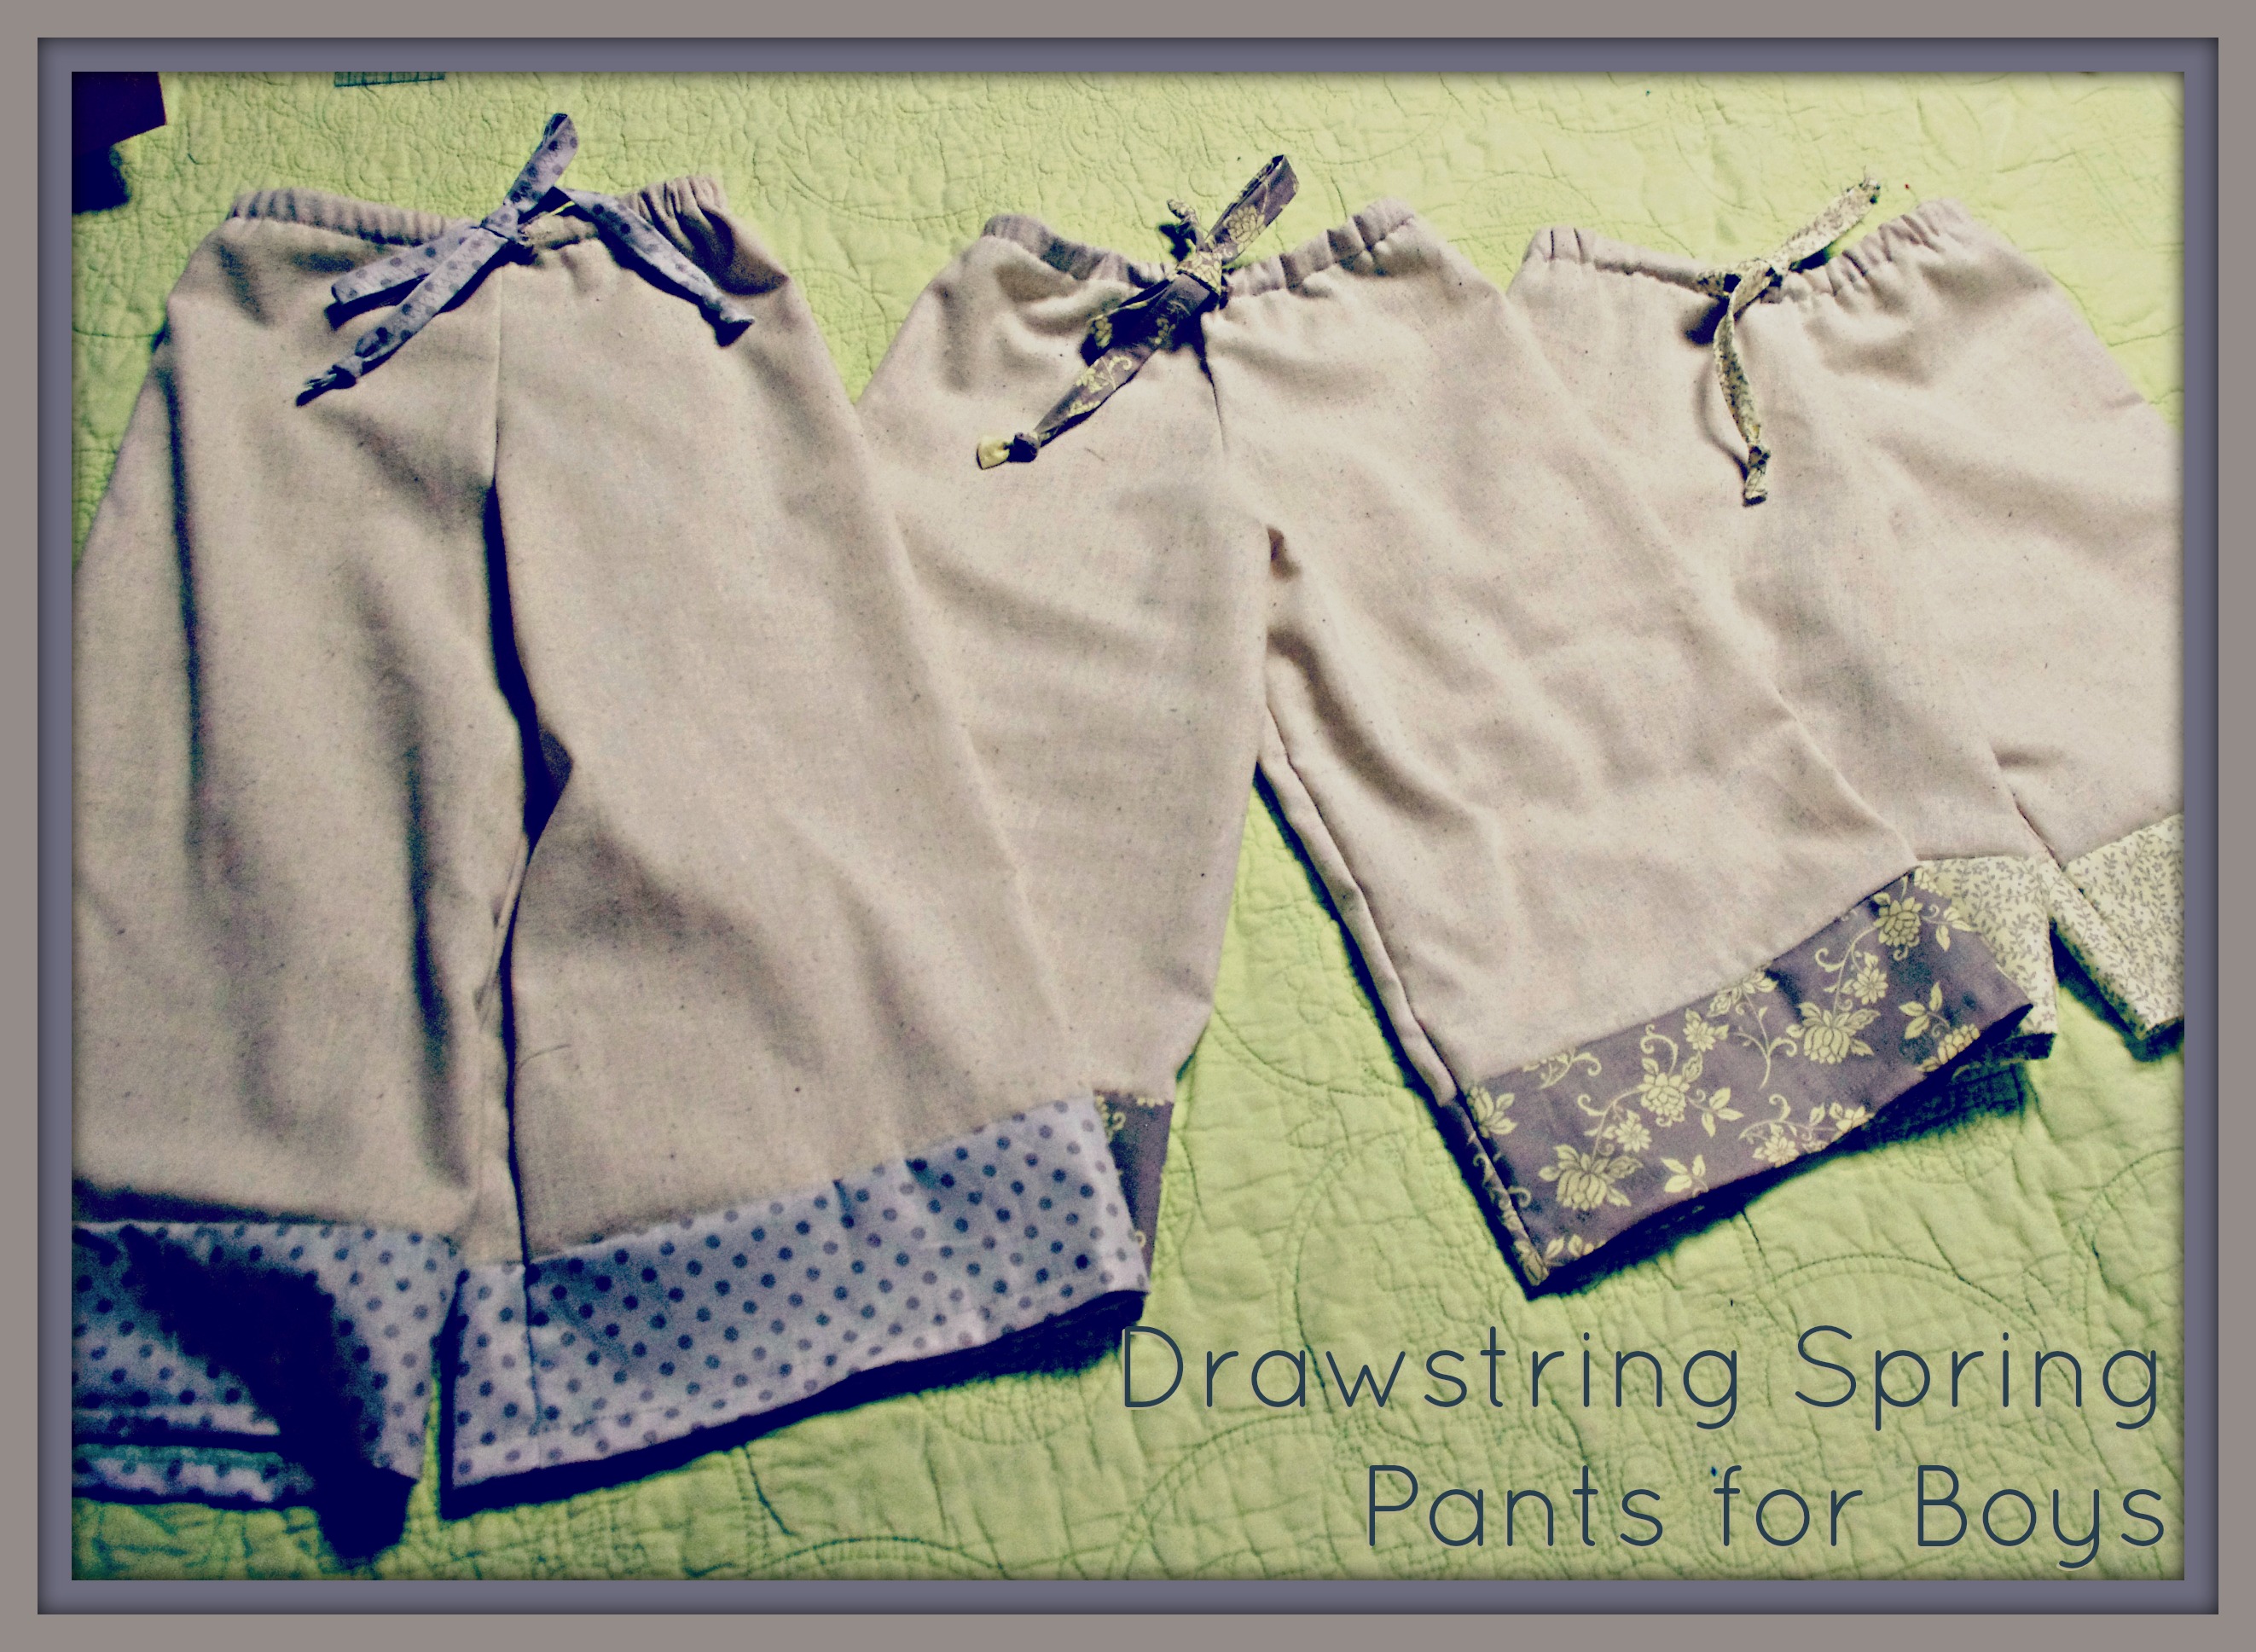
My boys often like to point out that I do not sew enough for them. So, for Easter, I decided to sew a little more for them than their usual tie. (Although tutorial for the tie is coming soon, too.) I made them these drawstring spring pants. You could make these for girls, too. They are not boy exclusive.
You’ll need:
– elastic
– one length of main fabric
– half a yard of contrast fabric

First, you’ll want to measure your boy. (Or your three boys.) You’ll need a waist measurement, a crotch measurement (from the front waist band between the legs to the back waistband), an inseam measurement, and an out seam measurement.

Once you have all your measurements, you’re ready to start! I like to draw everything out and write in my measurements. (All my seam allowances are 1/2″ unless I say otherwise.)
Waist- Divide the boy’s waist measurement by 4, then add an inch for seam allowance. These are loose fitting pants, so no need for perfection. (For Emery, his waist was 19.25″. I rounded that up to 20″ divided by 4 would be 5″ add an inch for a 6″ pattern line.
Crotch- Divide the crotch measurement in half. Emery’s was 14″. Half of that would be 7. Add an inch for seam allowances. Now mine is 8″.
Length- On the main fabric, you’re going to make the length 2″ shorter than what you actually want. So, Emery needed 19″ outseam. Take 2″ away and the main fabric is 17″. (You’ll be adding a 4″ strip of contrast fabric that will make up for those 2″ plus seam allowances.) I use my inseam measurement as a double check to make sure they are going to be well fitting.
If you don’t want to go through all this math, you can just grab a pair of pants that fit your boy right now and trace them, leaving enough room for seam allowances. I prefer to write out my own pattern.

Draw out your pattern onto the wrong side of your fabric. Fold fabric in half, then fold in half again so that the outer edge is double folds. You’ll be cutting both legs at once. Measure your leg width so you’ll know how wide to make your contrast cuff. (Mine was 9″.)
I use my Varyform Curve ruler to make the crotch line. The crotch of these pants is an 8″ curve. If you don’t have a ruler like this, you can freehand this curve or you can use a flexible ruler for the curve.
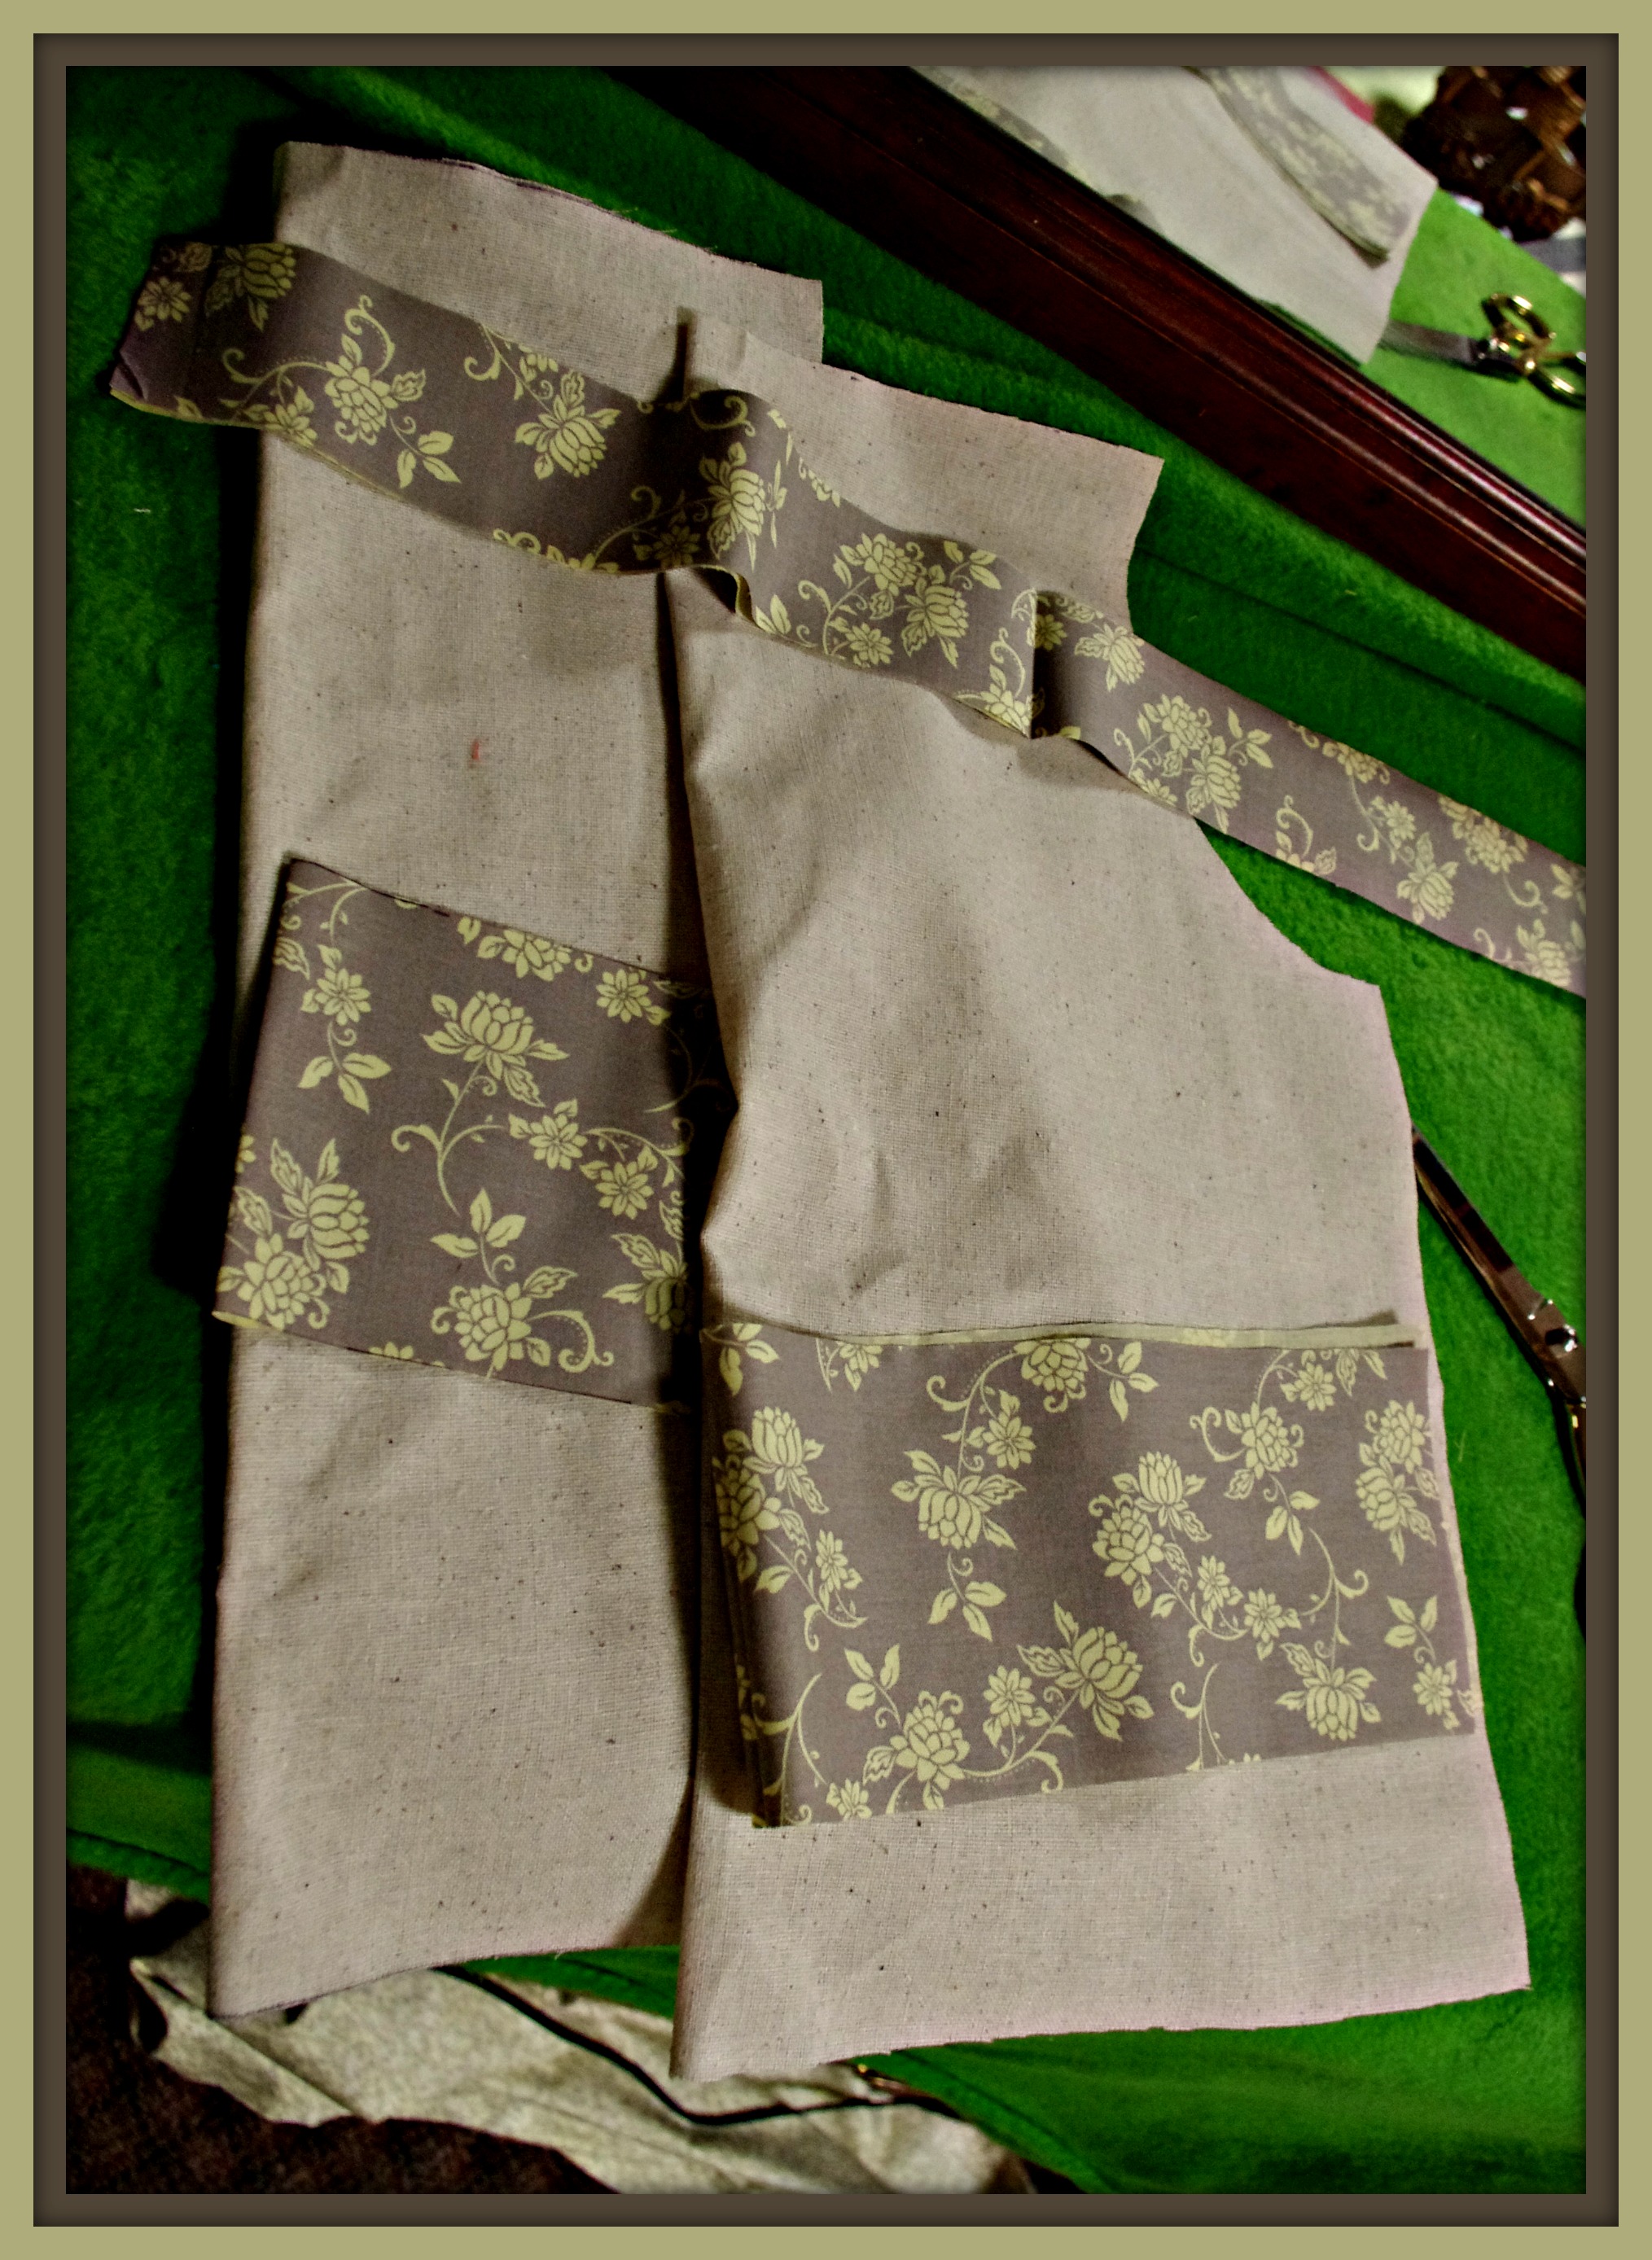
From your contrast fabric:
Cut 2 rectangles for the pant cuffs. 4″ long and the width of your pant leg. (Mine was 9″ on the fold- so each cuff is 4″ x 18″)
Cut 1 strip the width of the fabric and 2″ tall- this will be your drawstring.
Now you should have 2 legs, 2 cuffs, and 1 drawstring piece.

First, sew the contrast bottom cuff (though it isn’t really a cuff, it is just a band of contrast fabric) onto the bottom of each pant leg.
Go ahead and finish this seam.

Now, sew the inseam of each pant leg. Sew both legs. Finish both seams.

Tuck one leg inside the other, matching up the crotch with right sides together. (You’ll flip one leg right side out, then stuff it inside the other leg.)
Sew this seam. Finish this seam.

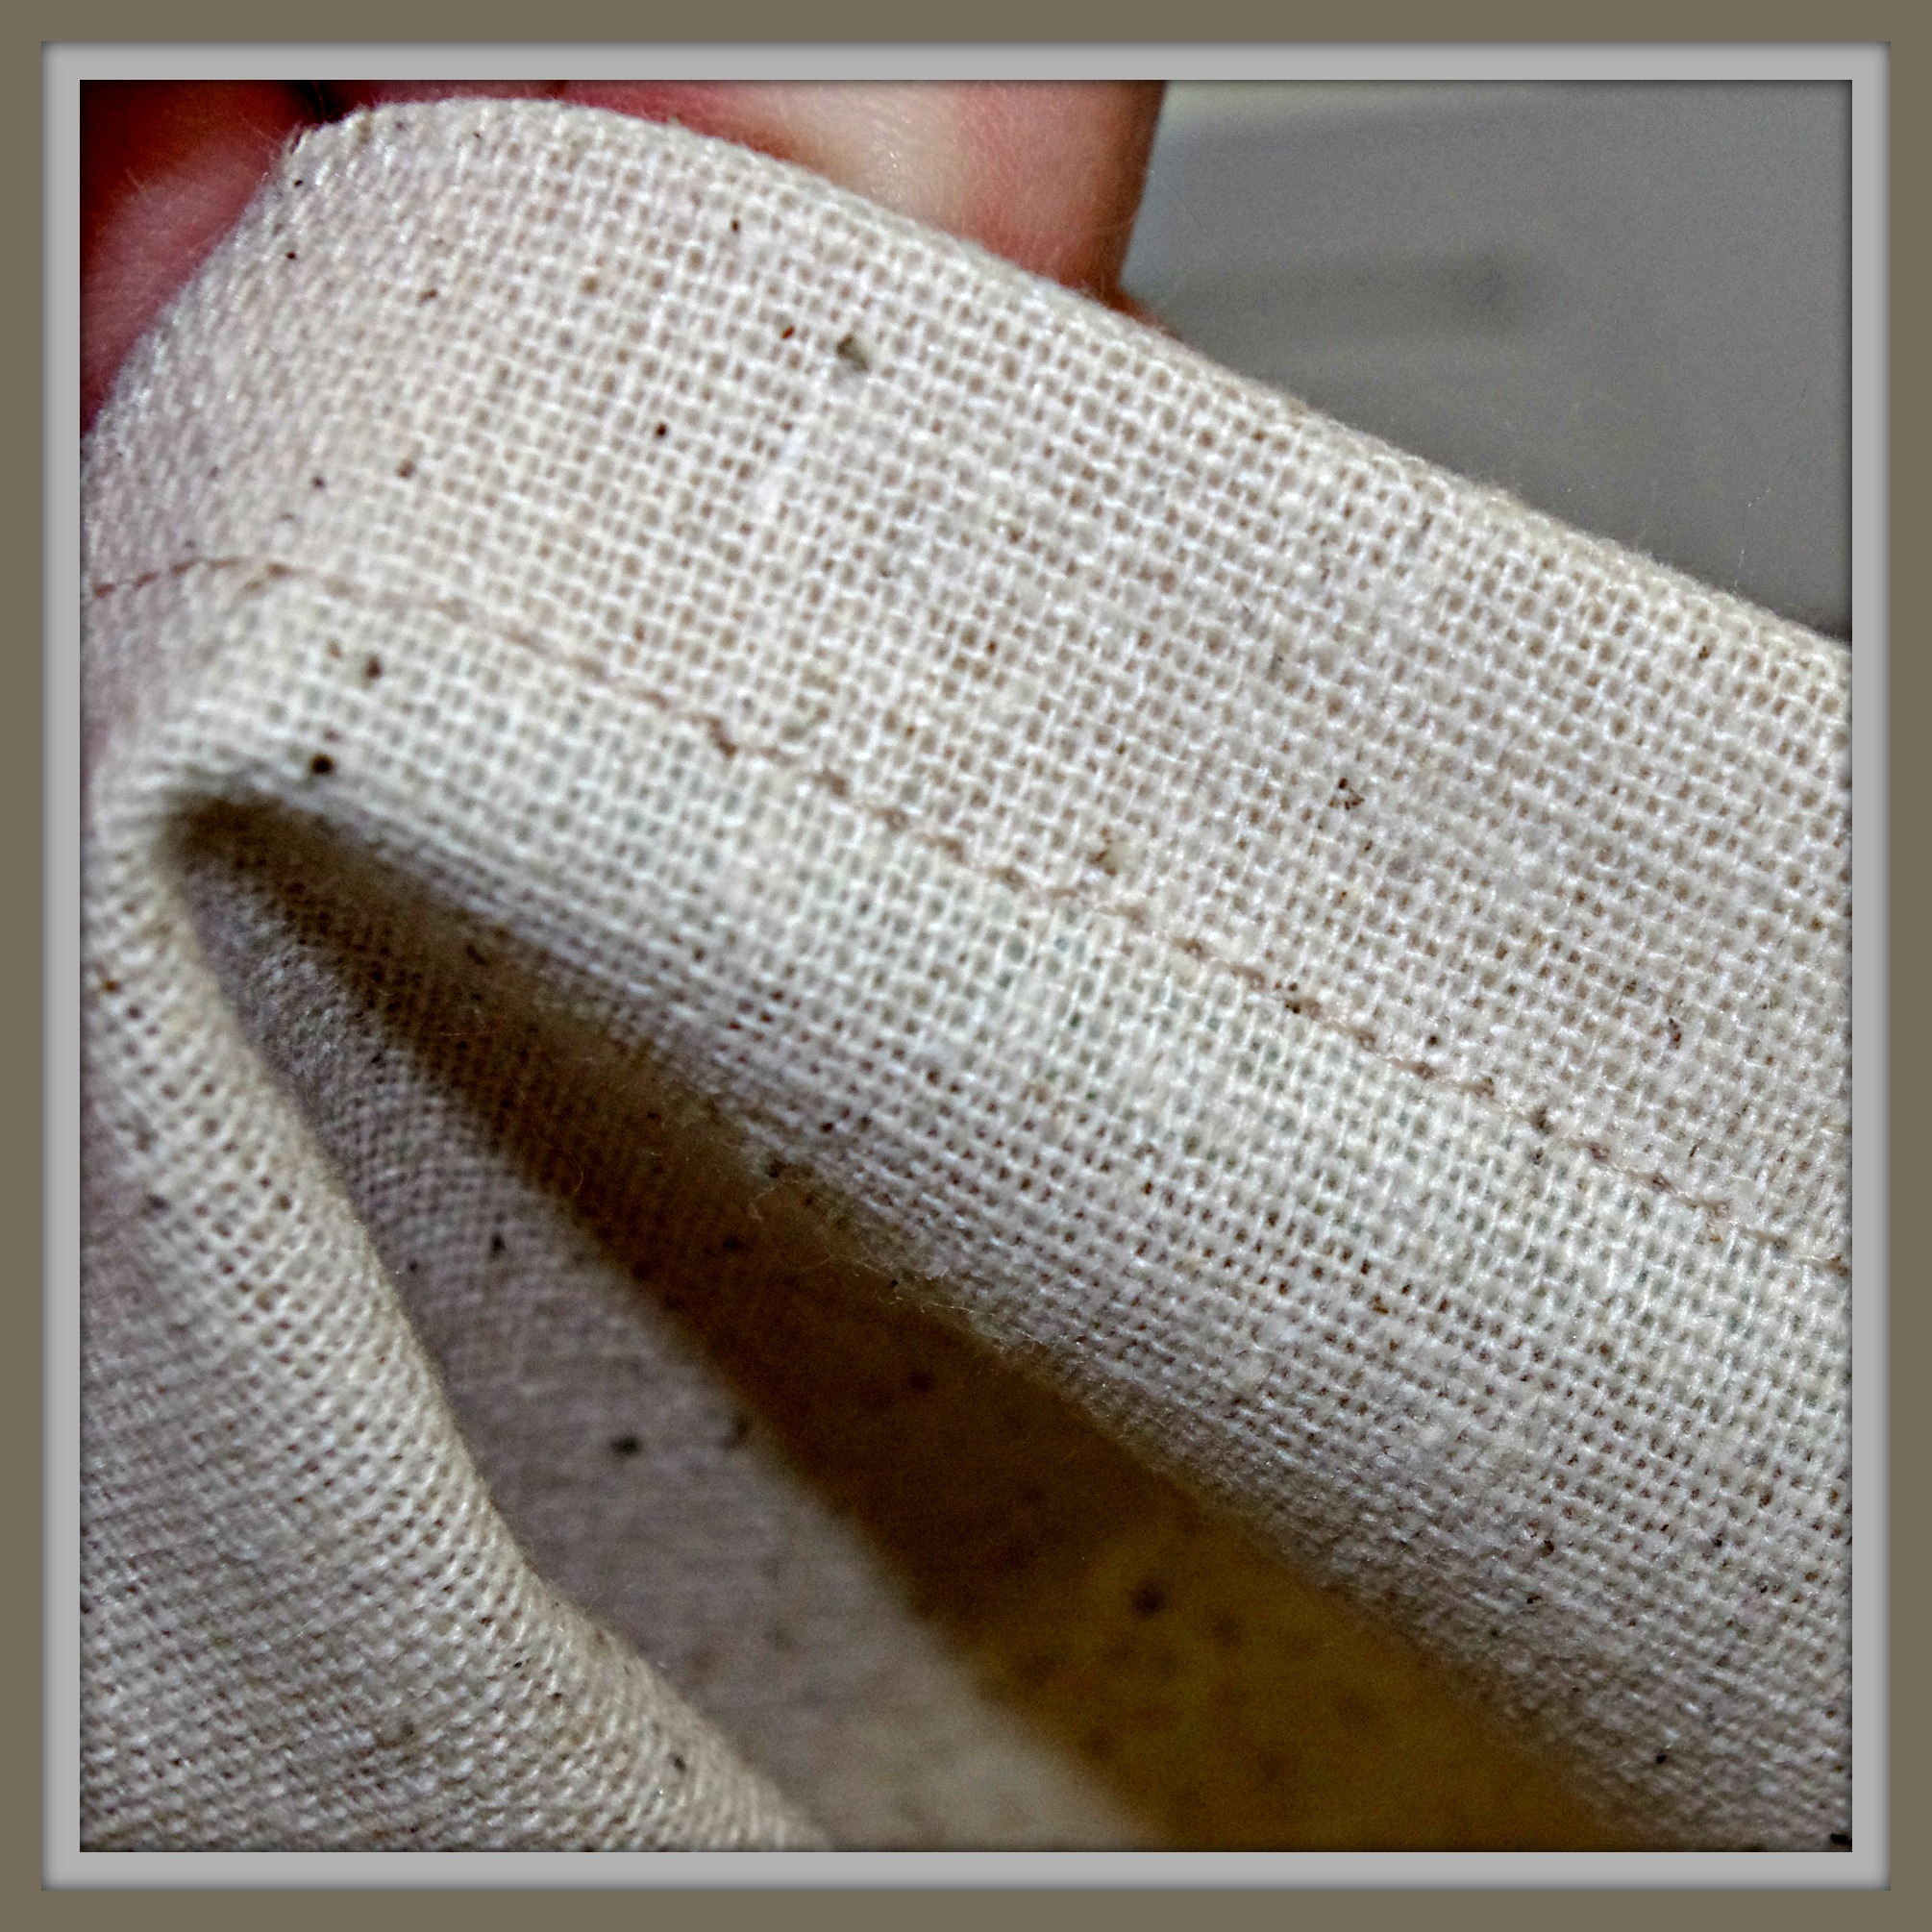
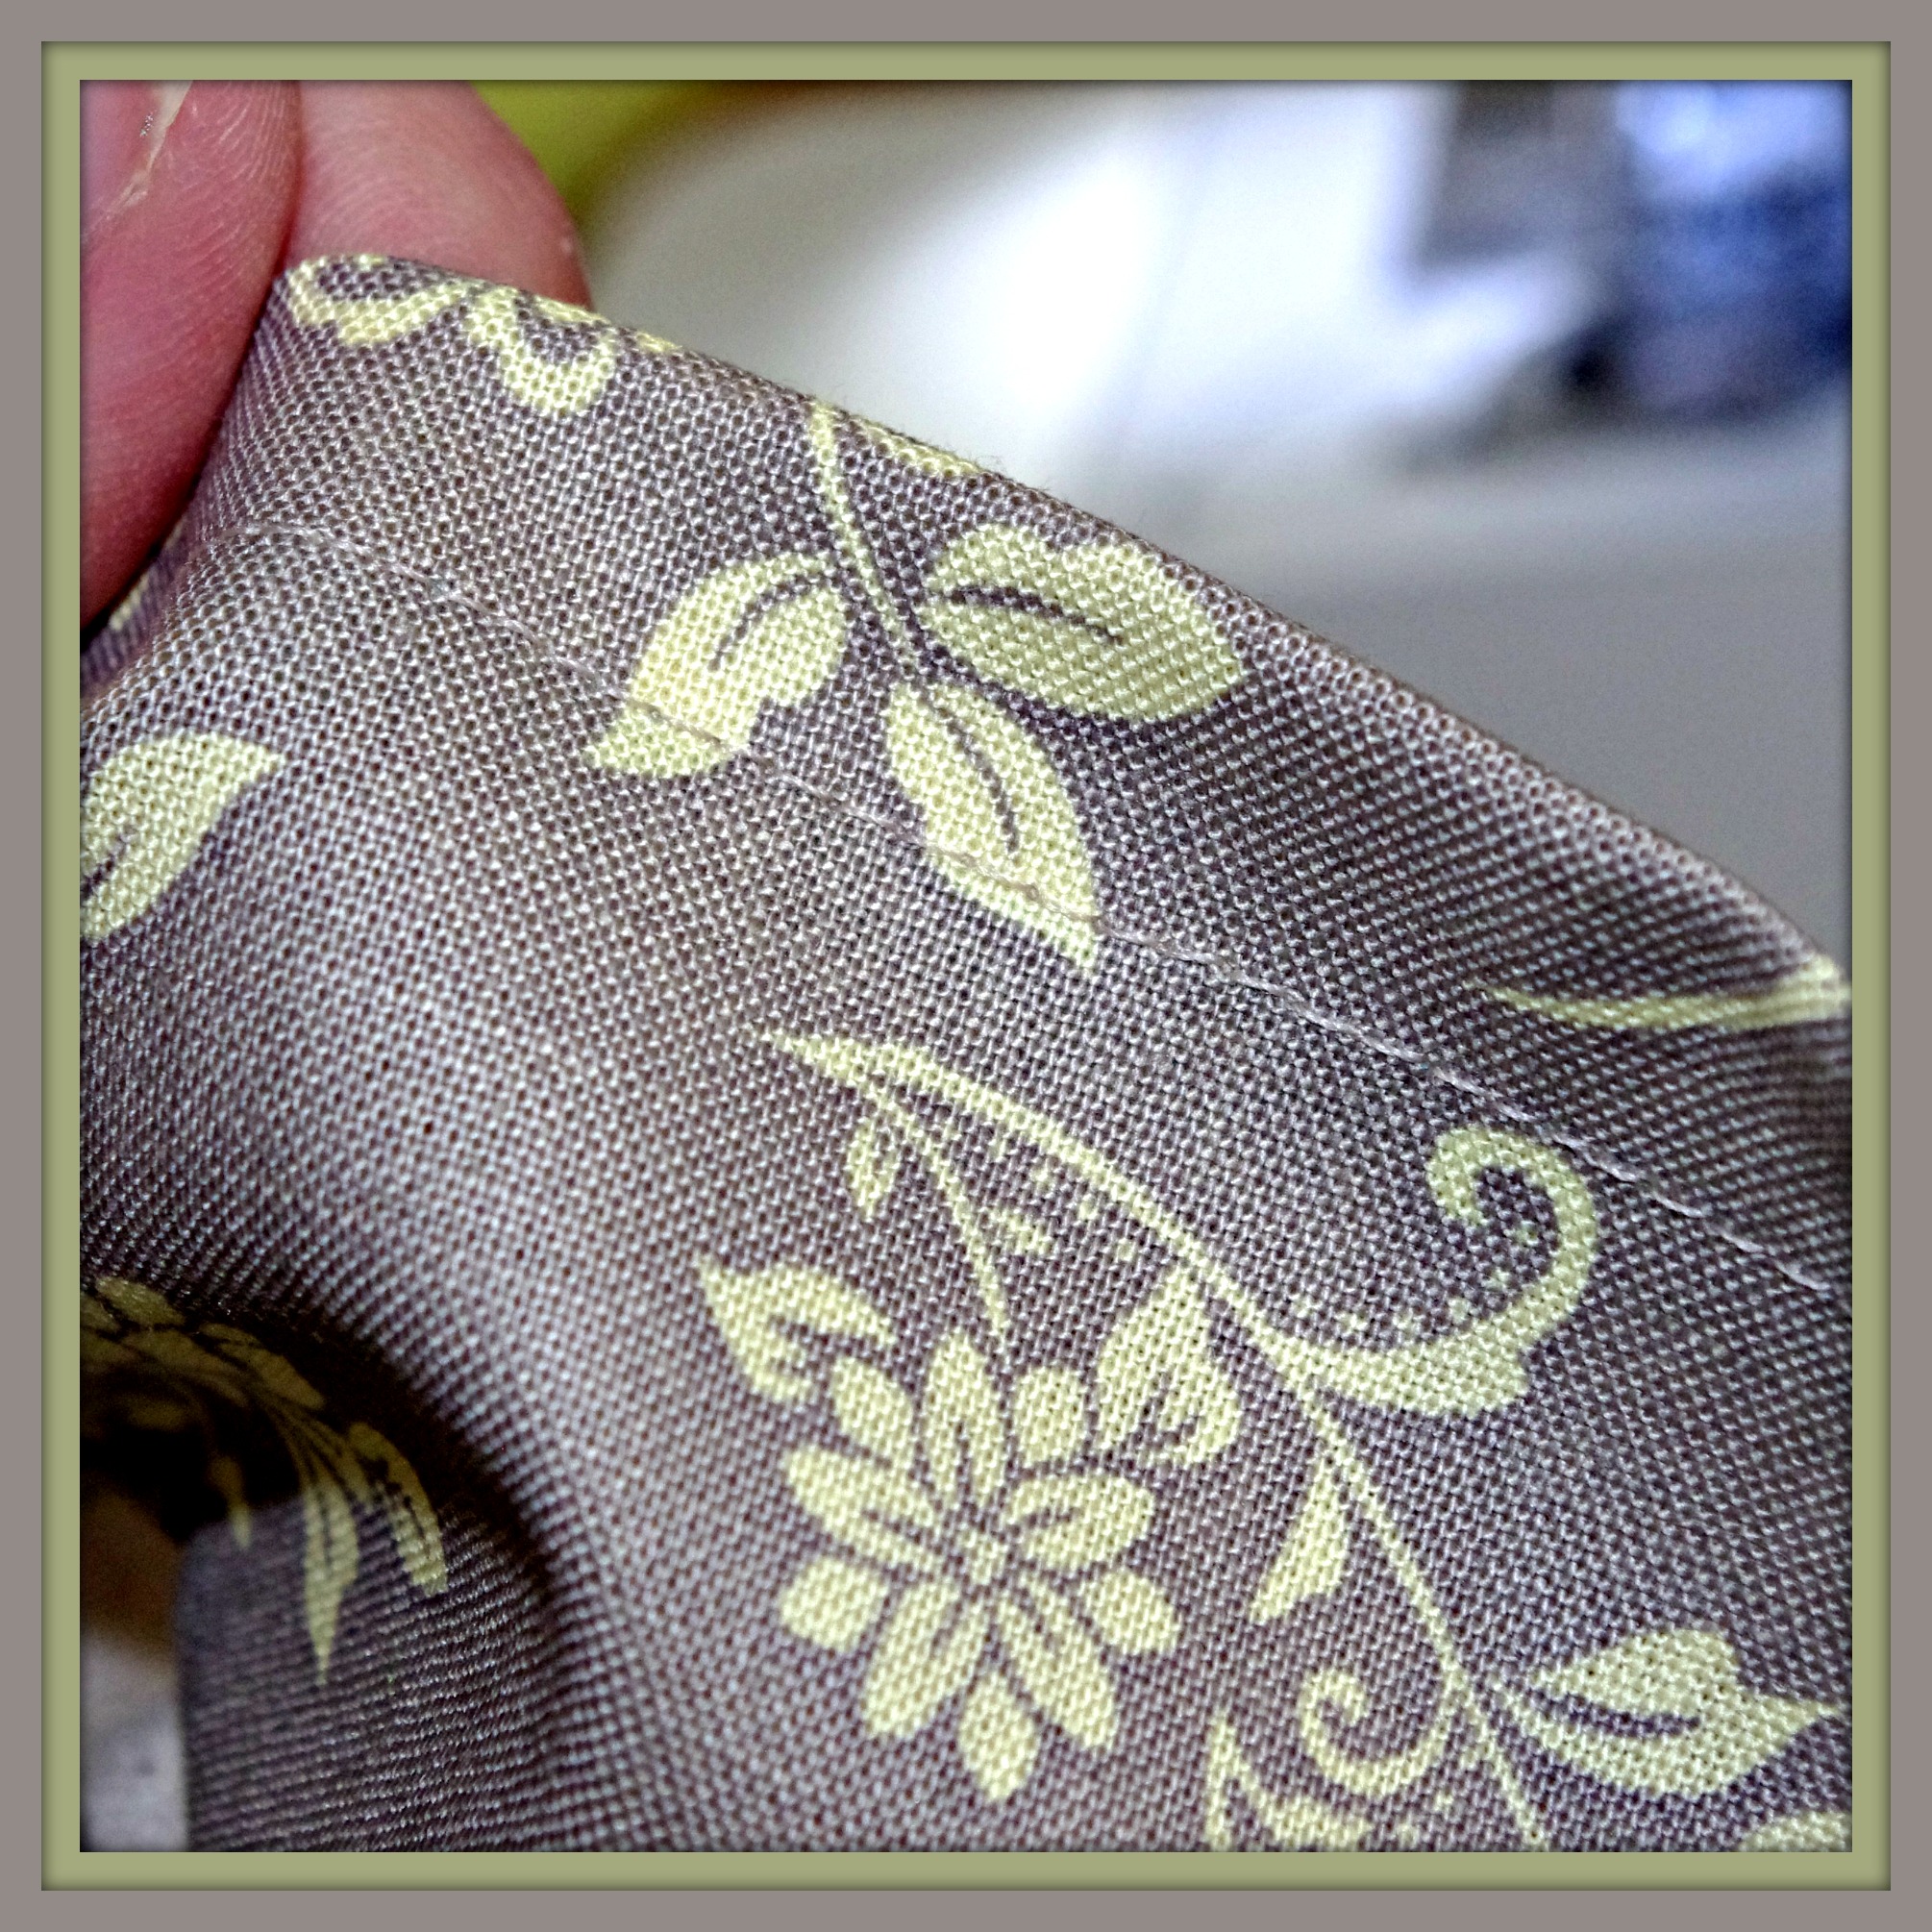
Fold the top of the waistband over about 1/2″. (You can see here that I serge the top of my pants. If you’re going to be folding the raw edge under, you’ll want a little more than 1/2″ in order to fit 1/4″ elastic in there.) Press it with the iron.
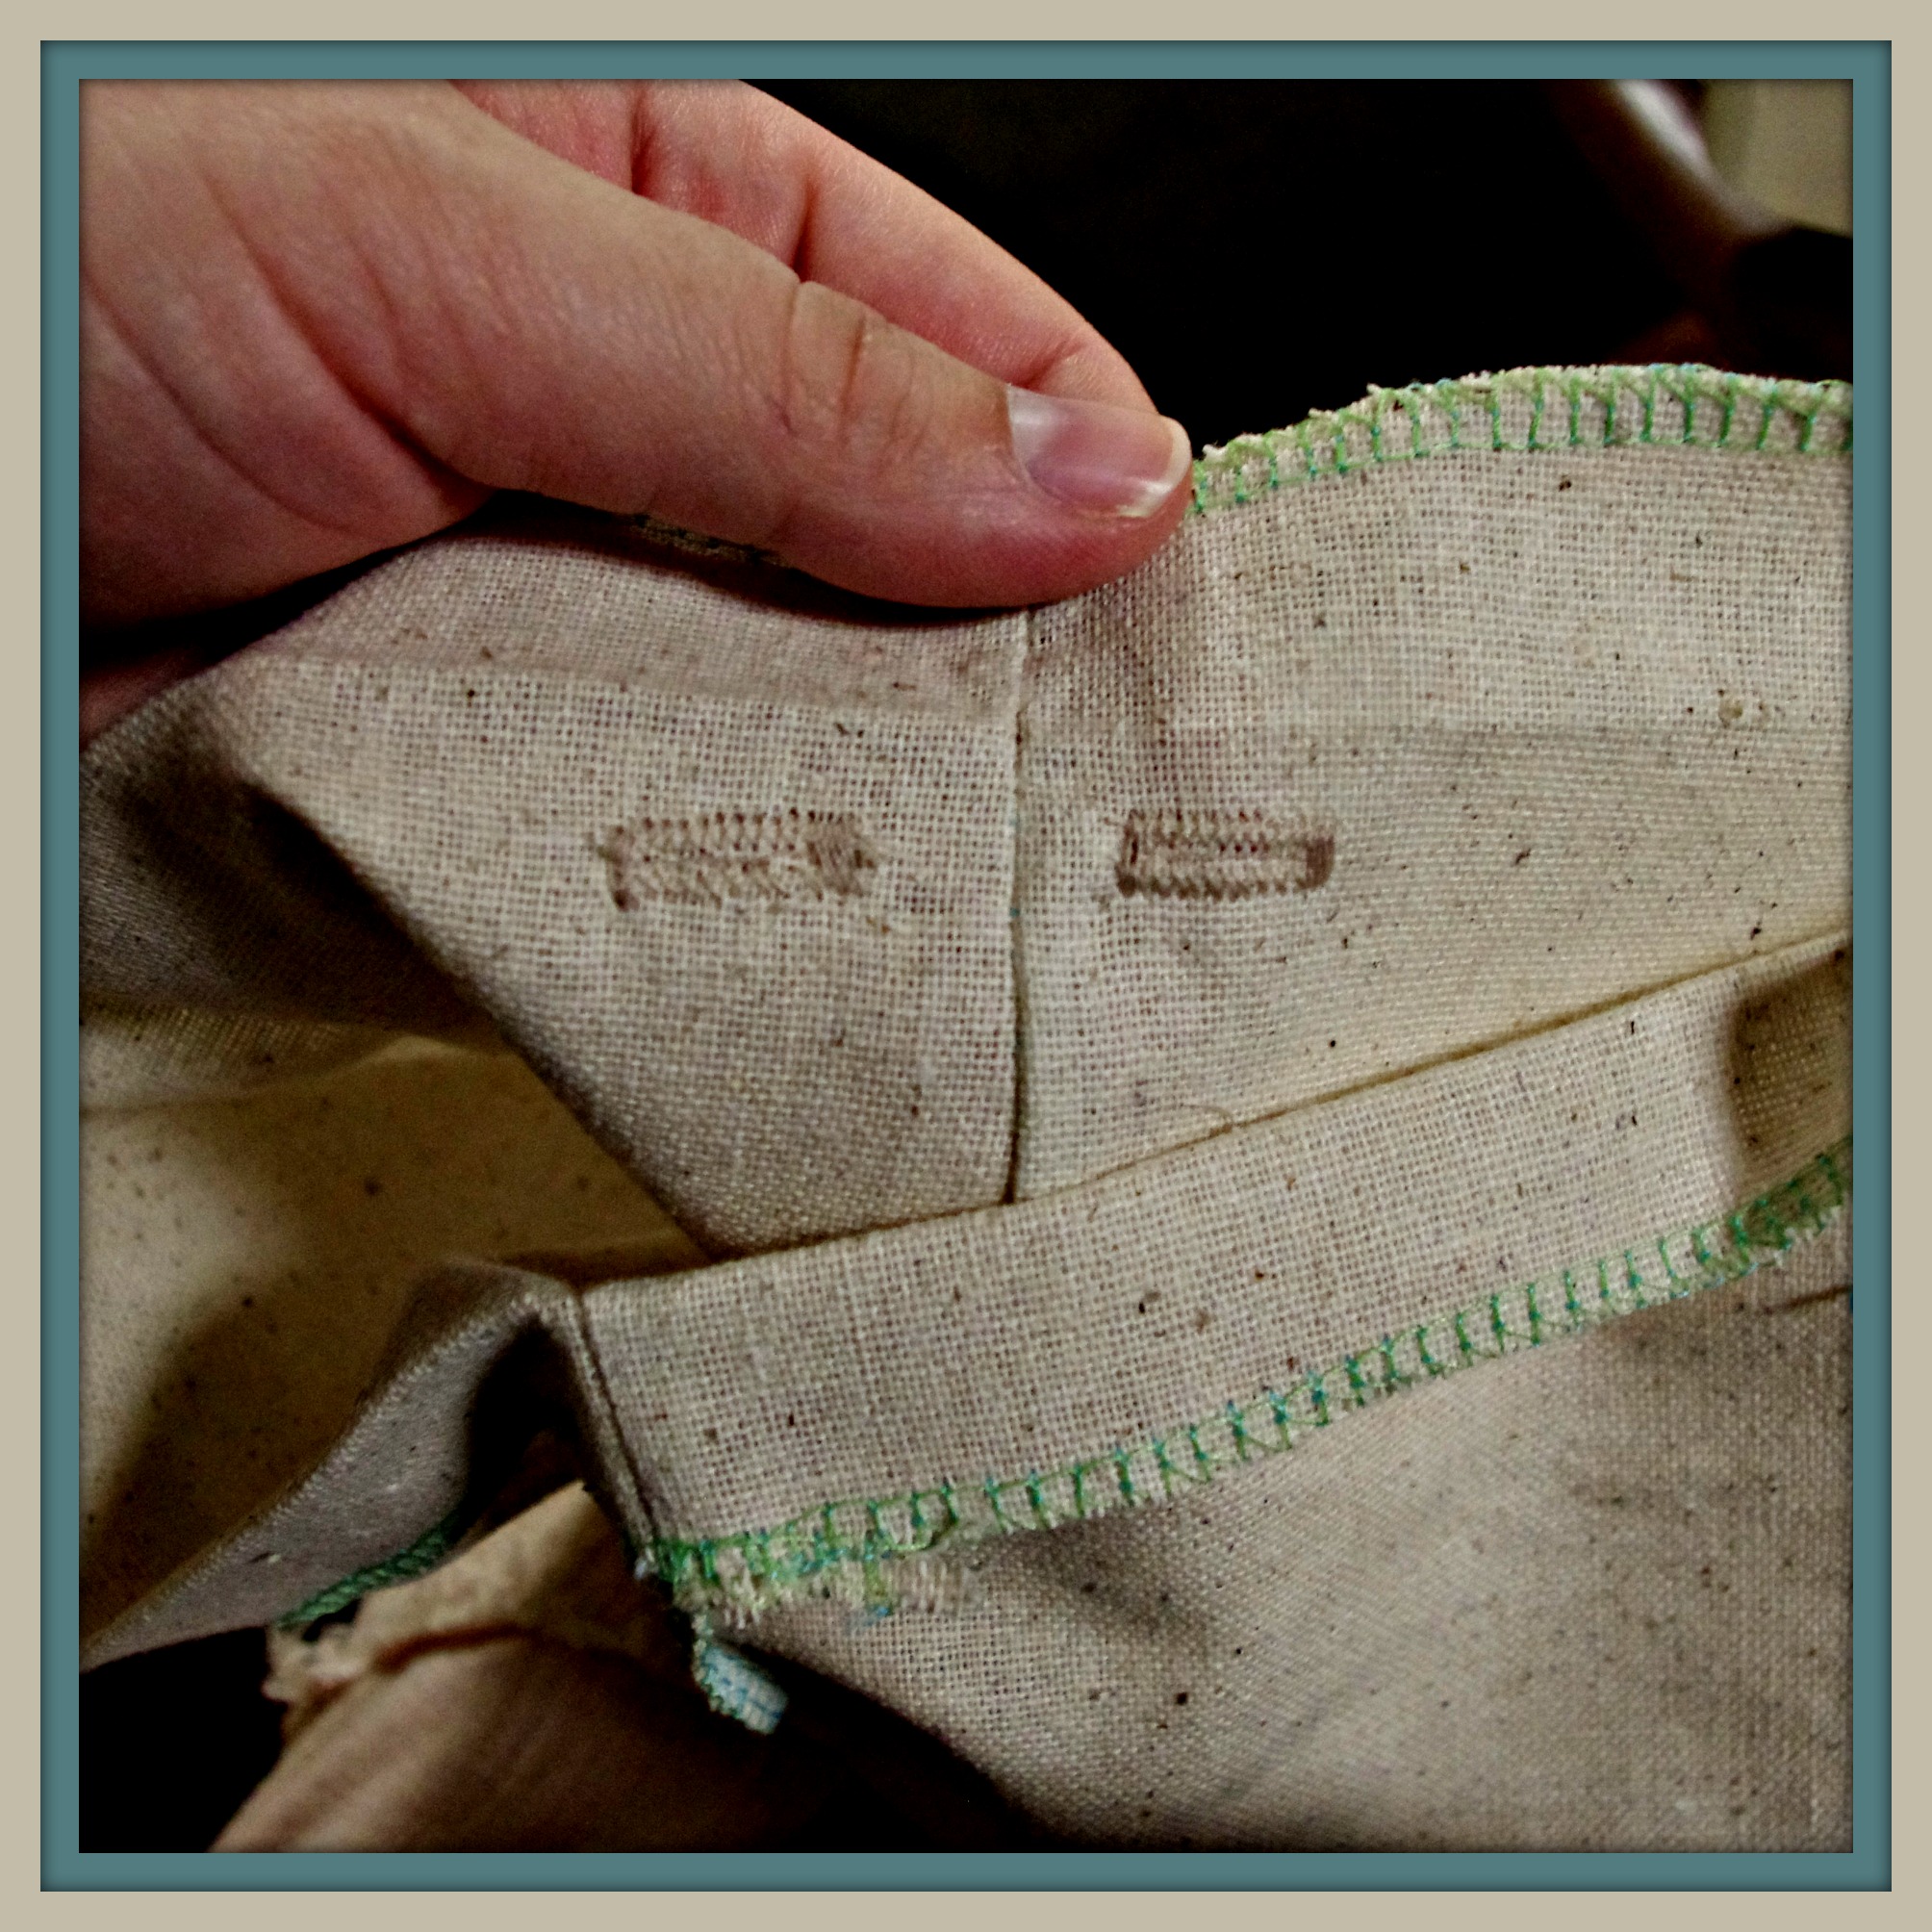
Now that you see where the top of your waistband will be, add a couple buttonholes. If you don’t like buttonholes, you could always add some grommets. I don’t think it is completely necessary to have 2 buttonholes. If you wanted, you could sew one larger buttonhole for both strings to come out of. I think 2 looks a little nicer and holds up better.
Sew the waistband closed. No need to leave an opening, you’ll be feeding the drawstring and elastic through your buttonholes.
Go ahead and hem the bottom of your pants. I find it easier to hem kids’ clothing before elastic goes in, so it lays as flat as possible while hemming.
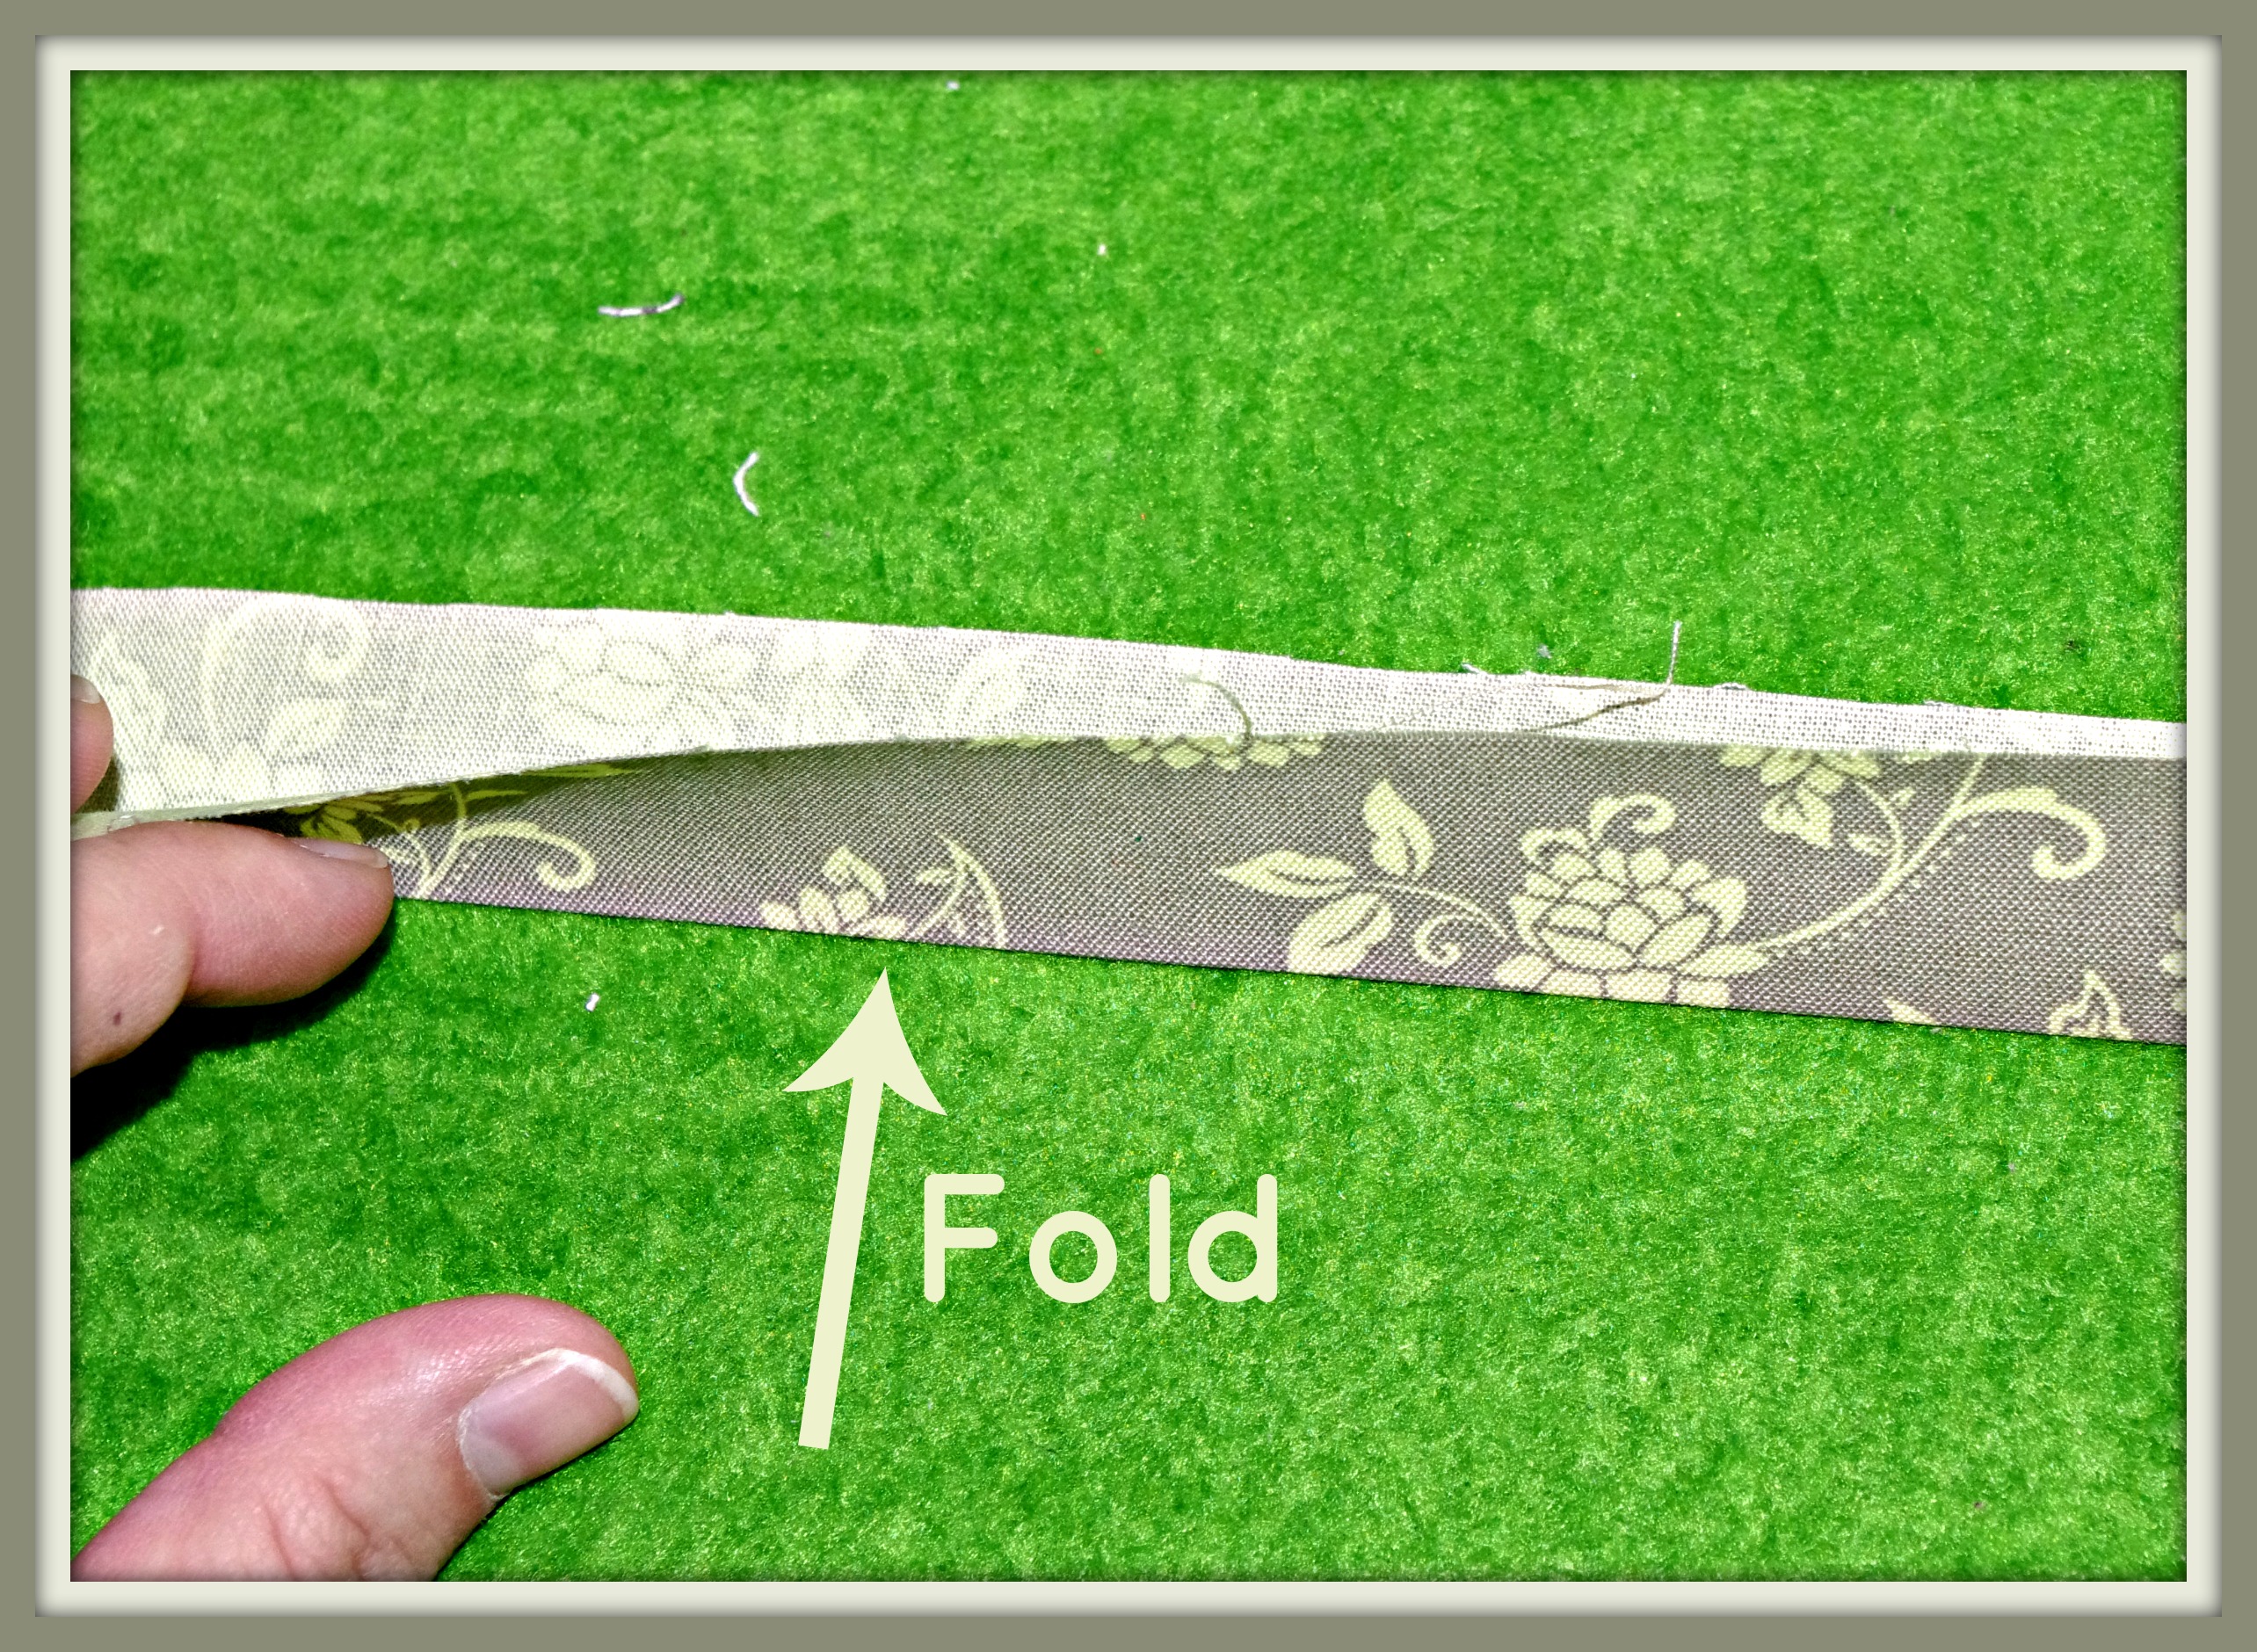
Make your drawstring! Fold the 2″ strip in half and press.

Tuck the raw edges on each side in toward the fold and press. You can do this one side at a time if that makes it easier for you.
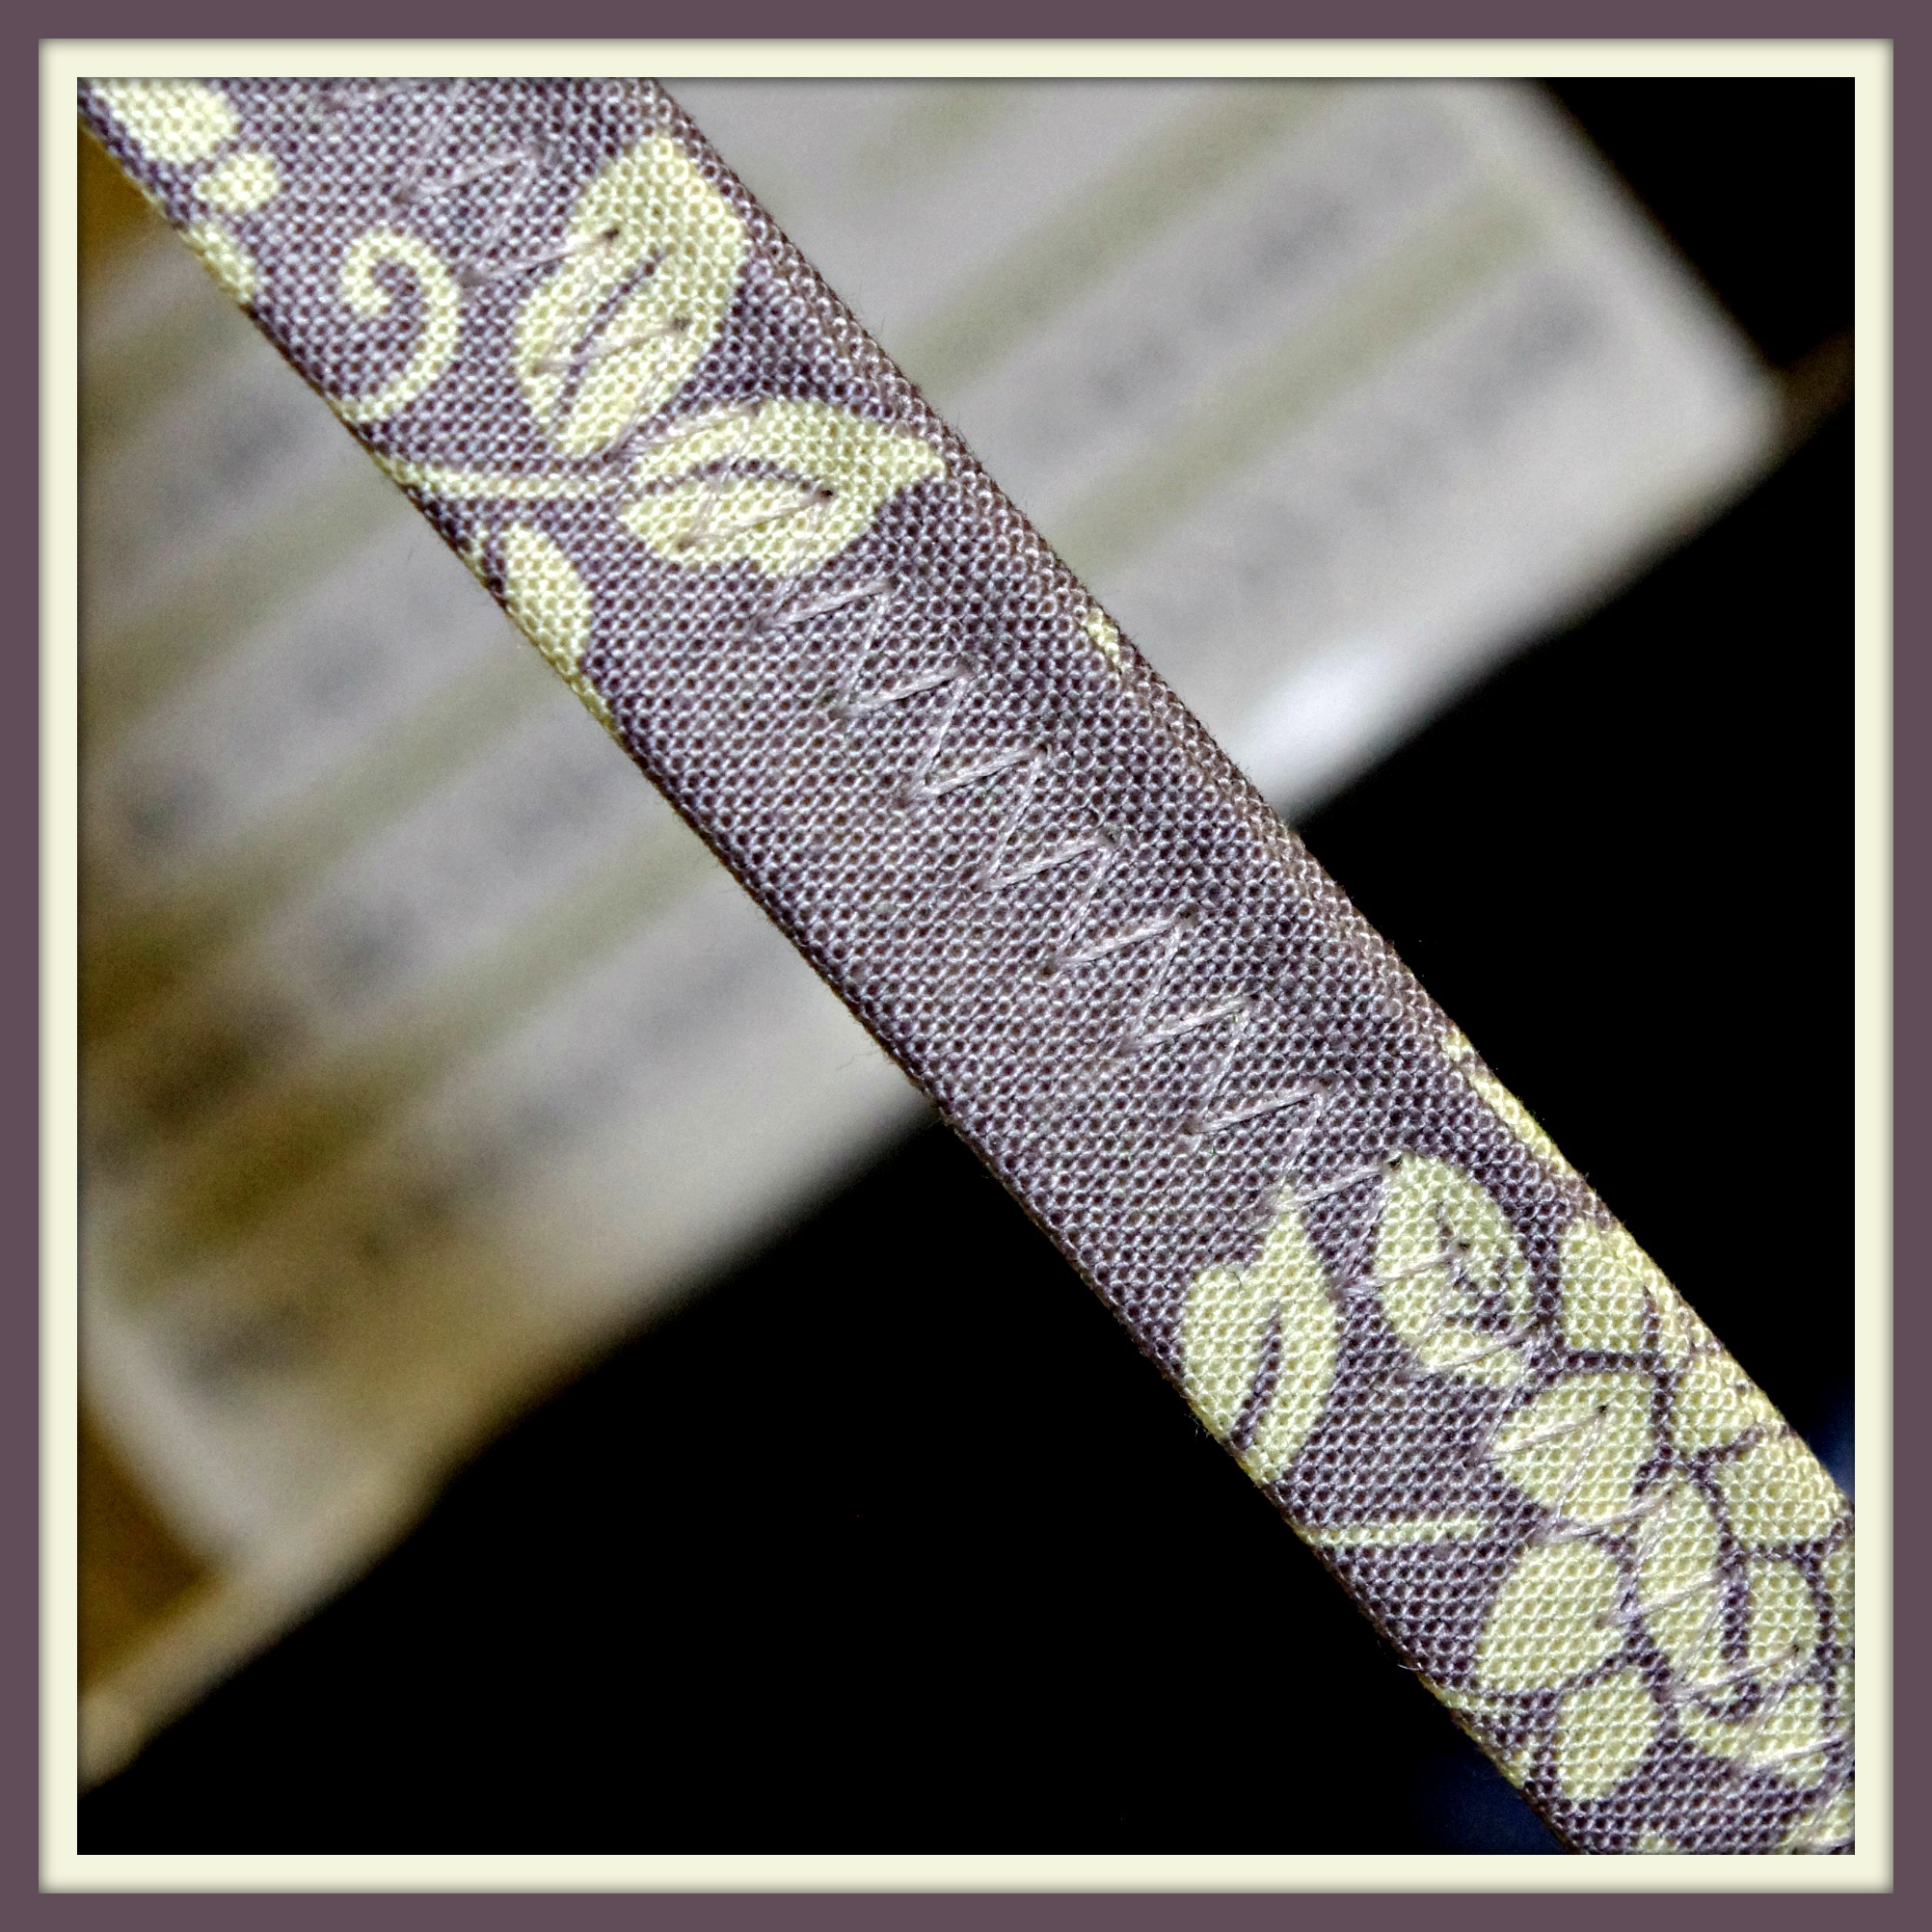
Sew down the middle of the drawstring. I use a zigzag stitch. It is just my personal preference.

Now that you’ve got a drawstring made, it is time to put it into your pants! Grab some 1/4″ elastic. (I used about 18″ for these pants.) Pin the elastic and the drawstring together, with the drawstring on the top. (See my picture.) Make sure you put a pin in the bottom of the elastic and the bottom of the drawstring so you don’t accidentally pull them all the way through!

Insert the elastic and drawstring in through on of the buttonholes with the drawstring on top. (See photo.) Feed it around the waist casing.
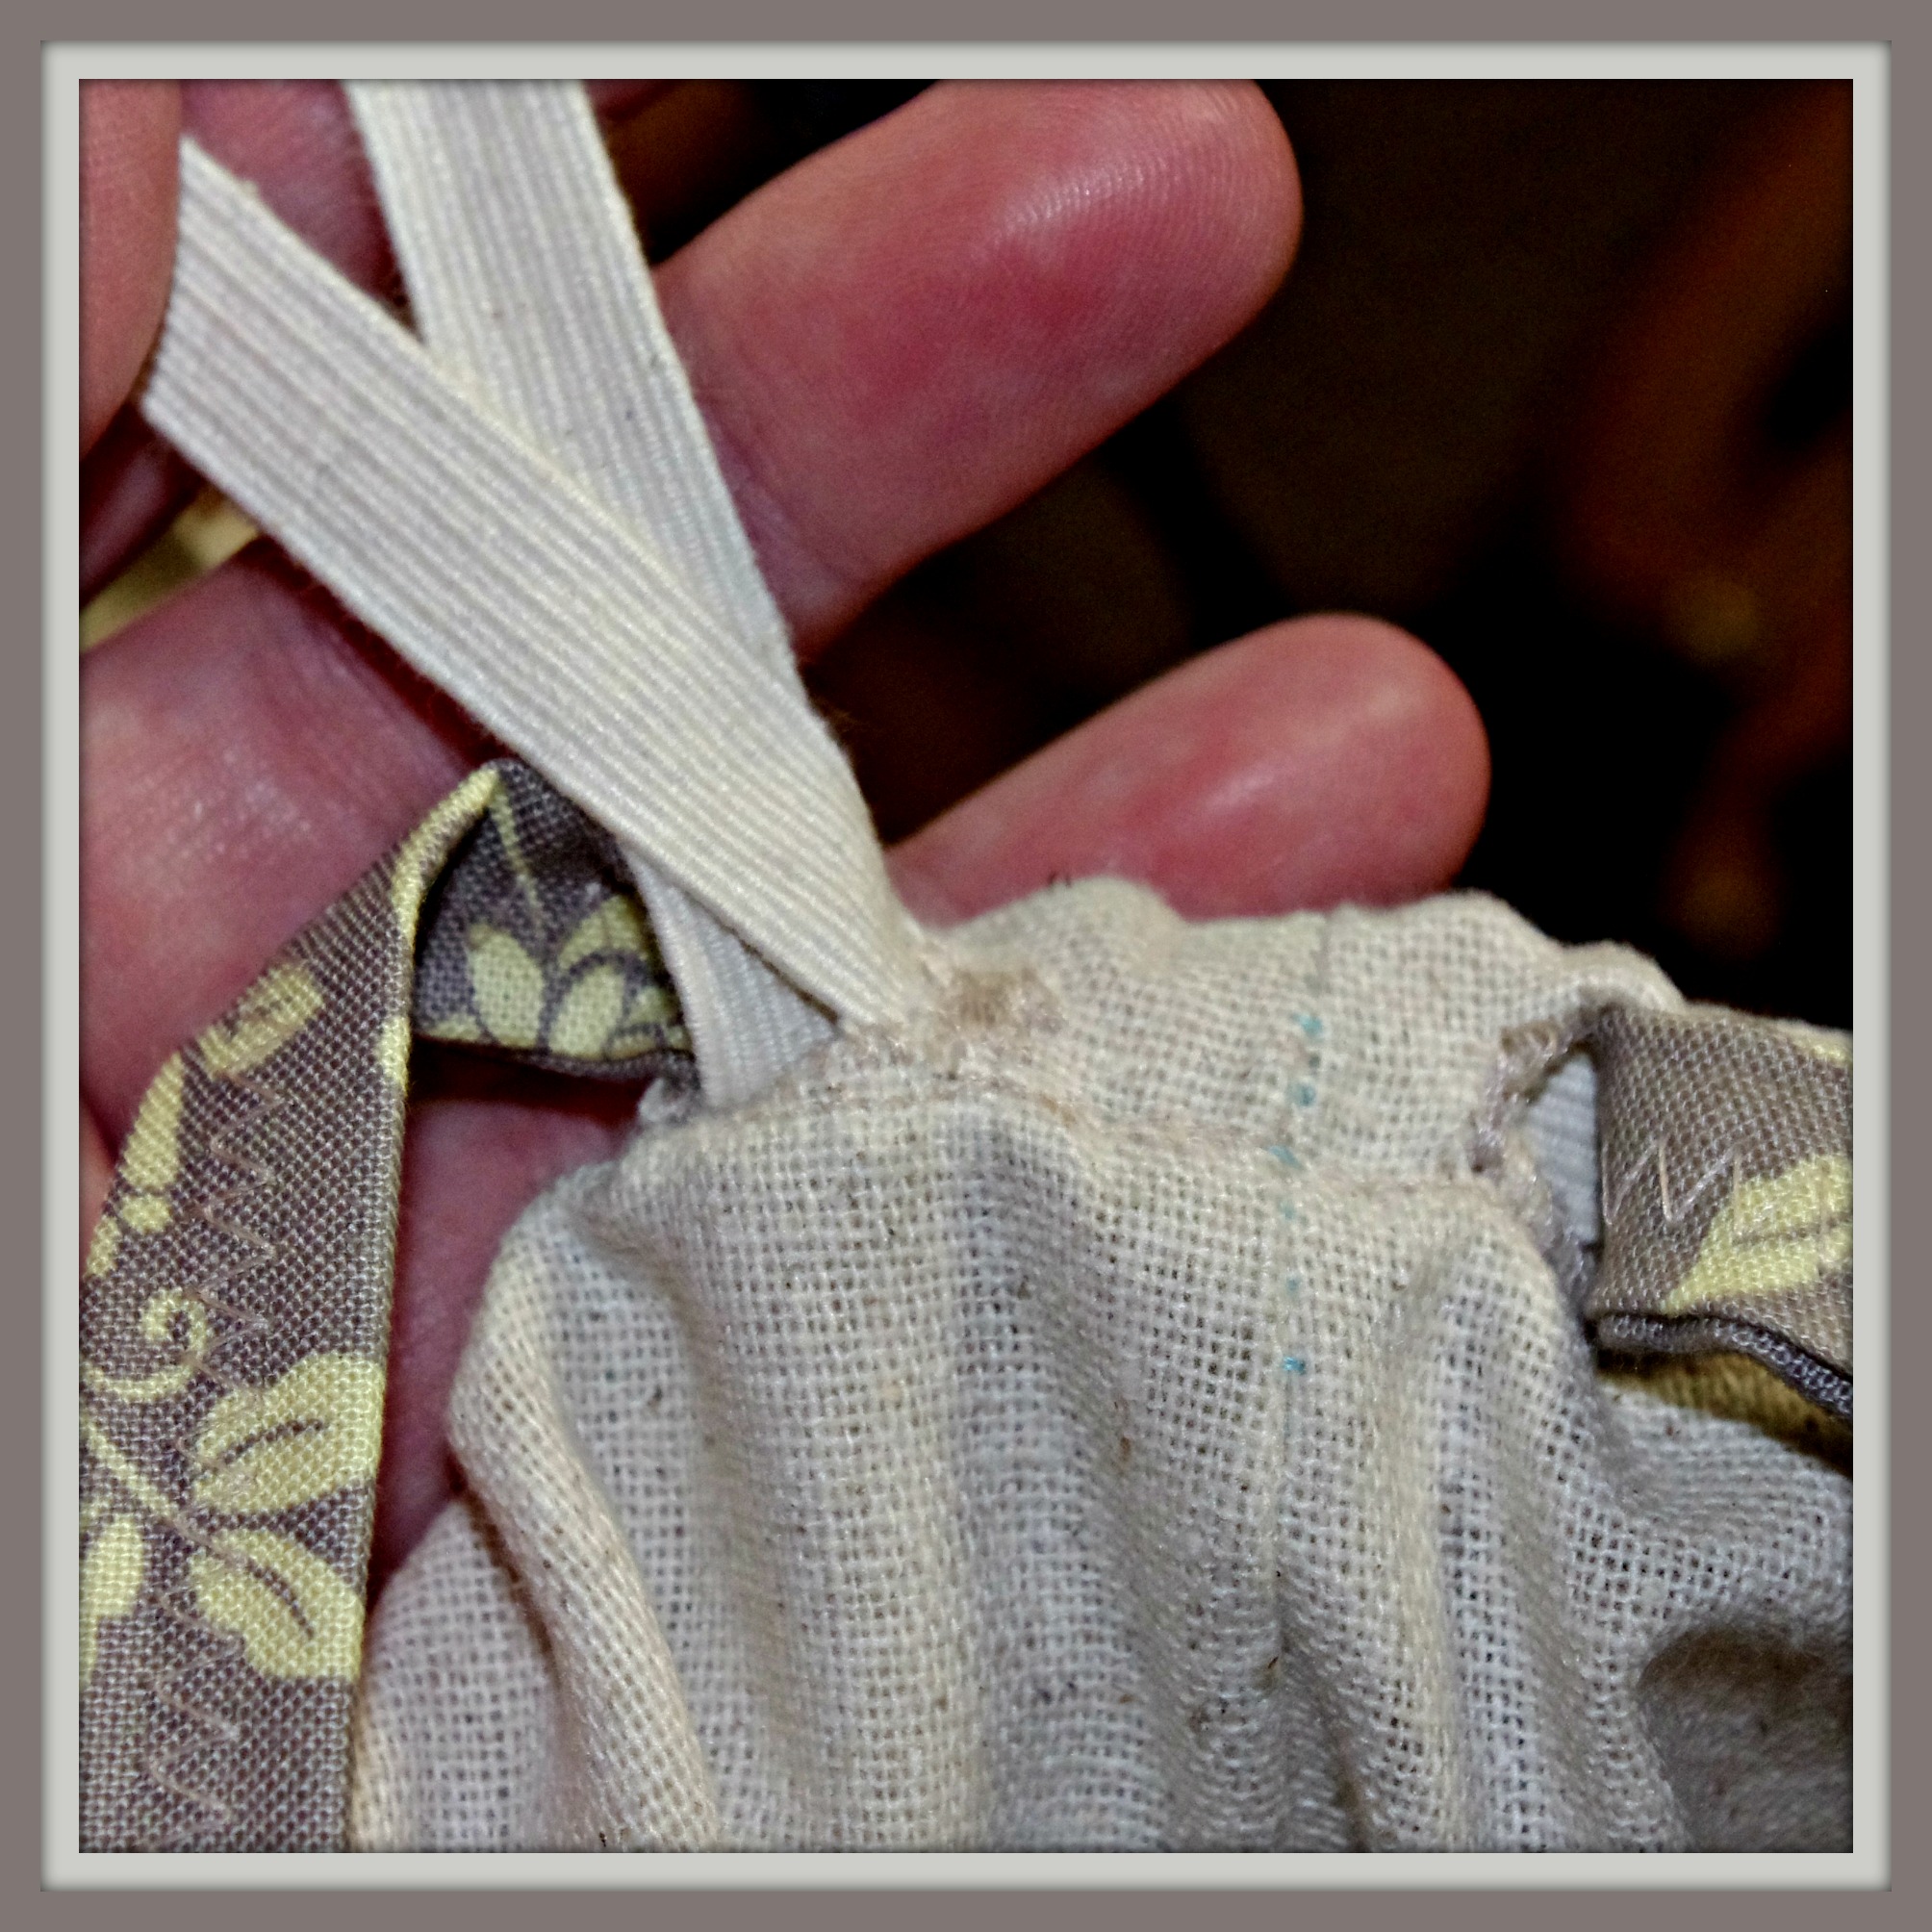
When you get to the second buttonhole, go ahead and pull the elastic and drawstring out. With the drawstring out on both ends, put the elastic back in and feed it out the same buttonhole it went in. (See photo.) You want the elastic to be completely hidden inside the waist casing and the drawstring needs to be out each hole.

Sew your elastic together.

Tie a knot in each end of your drawstring. Feed the drawstring through so it is even. Make sure the elastic went into the casing.

And that is it! You’re done.
As usual, make these pants for your boy (or girl). Give them away to a friend. Sell them if you wish. After all, you made them. Just remember to give credit back this way for the free tutorial should anyone ask. Share the free!
Leave a Reply