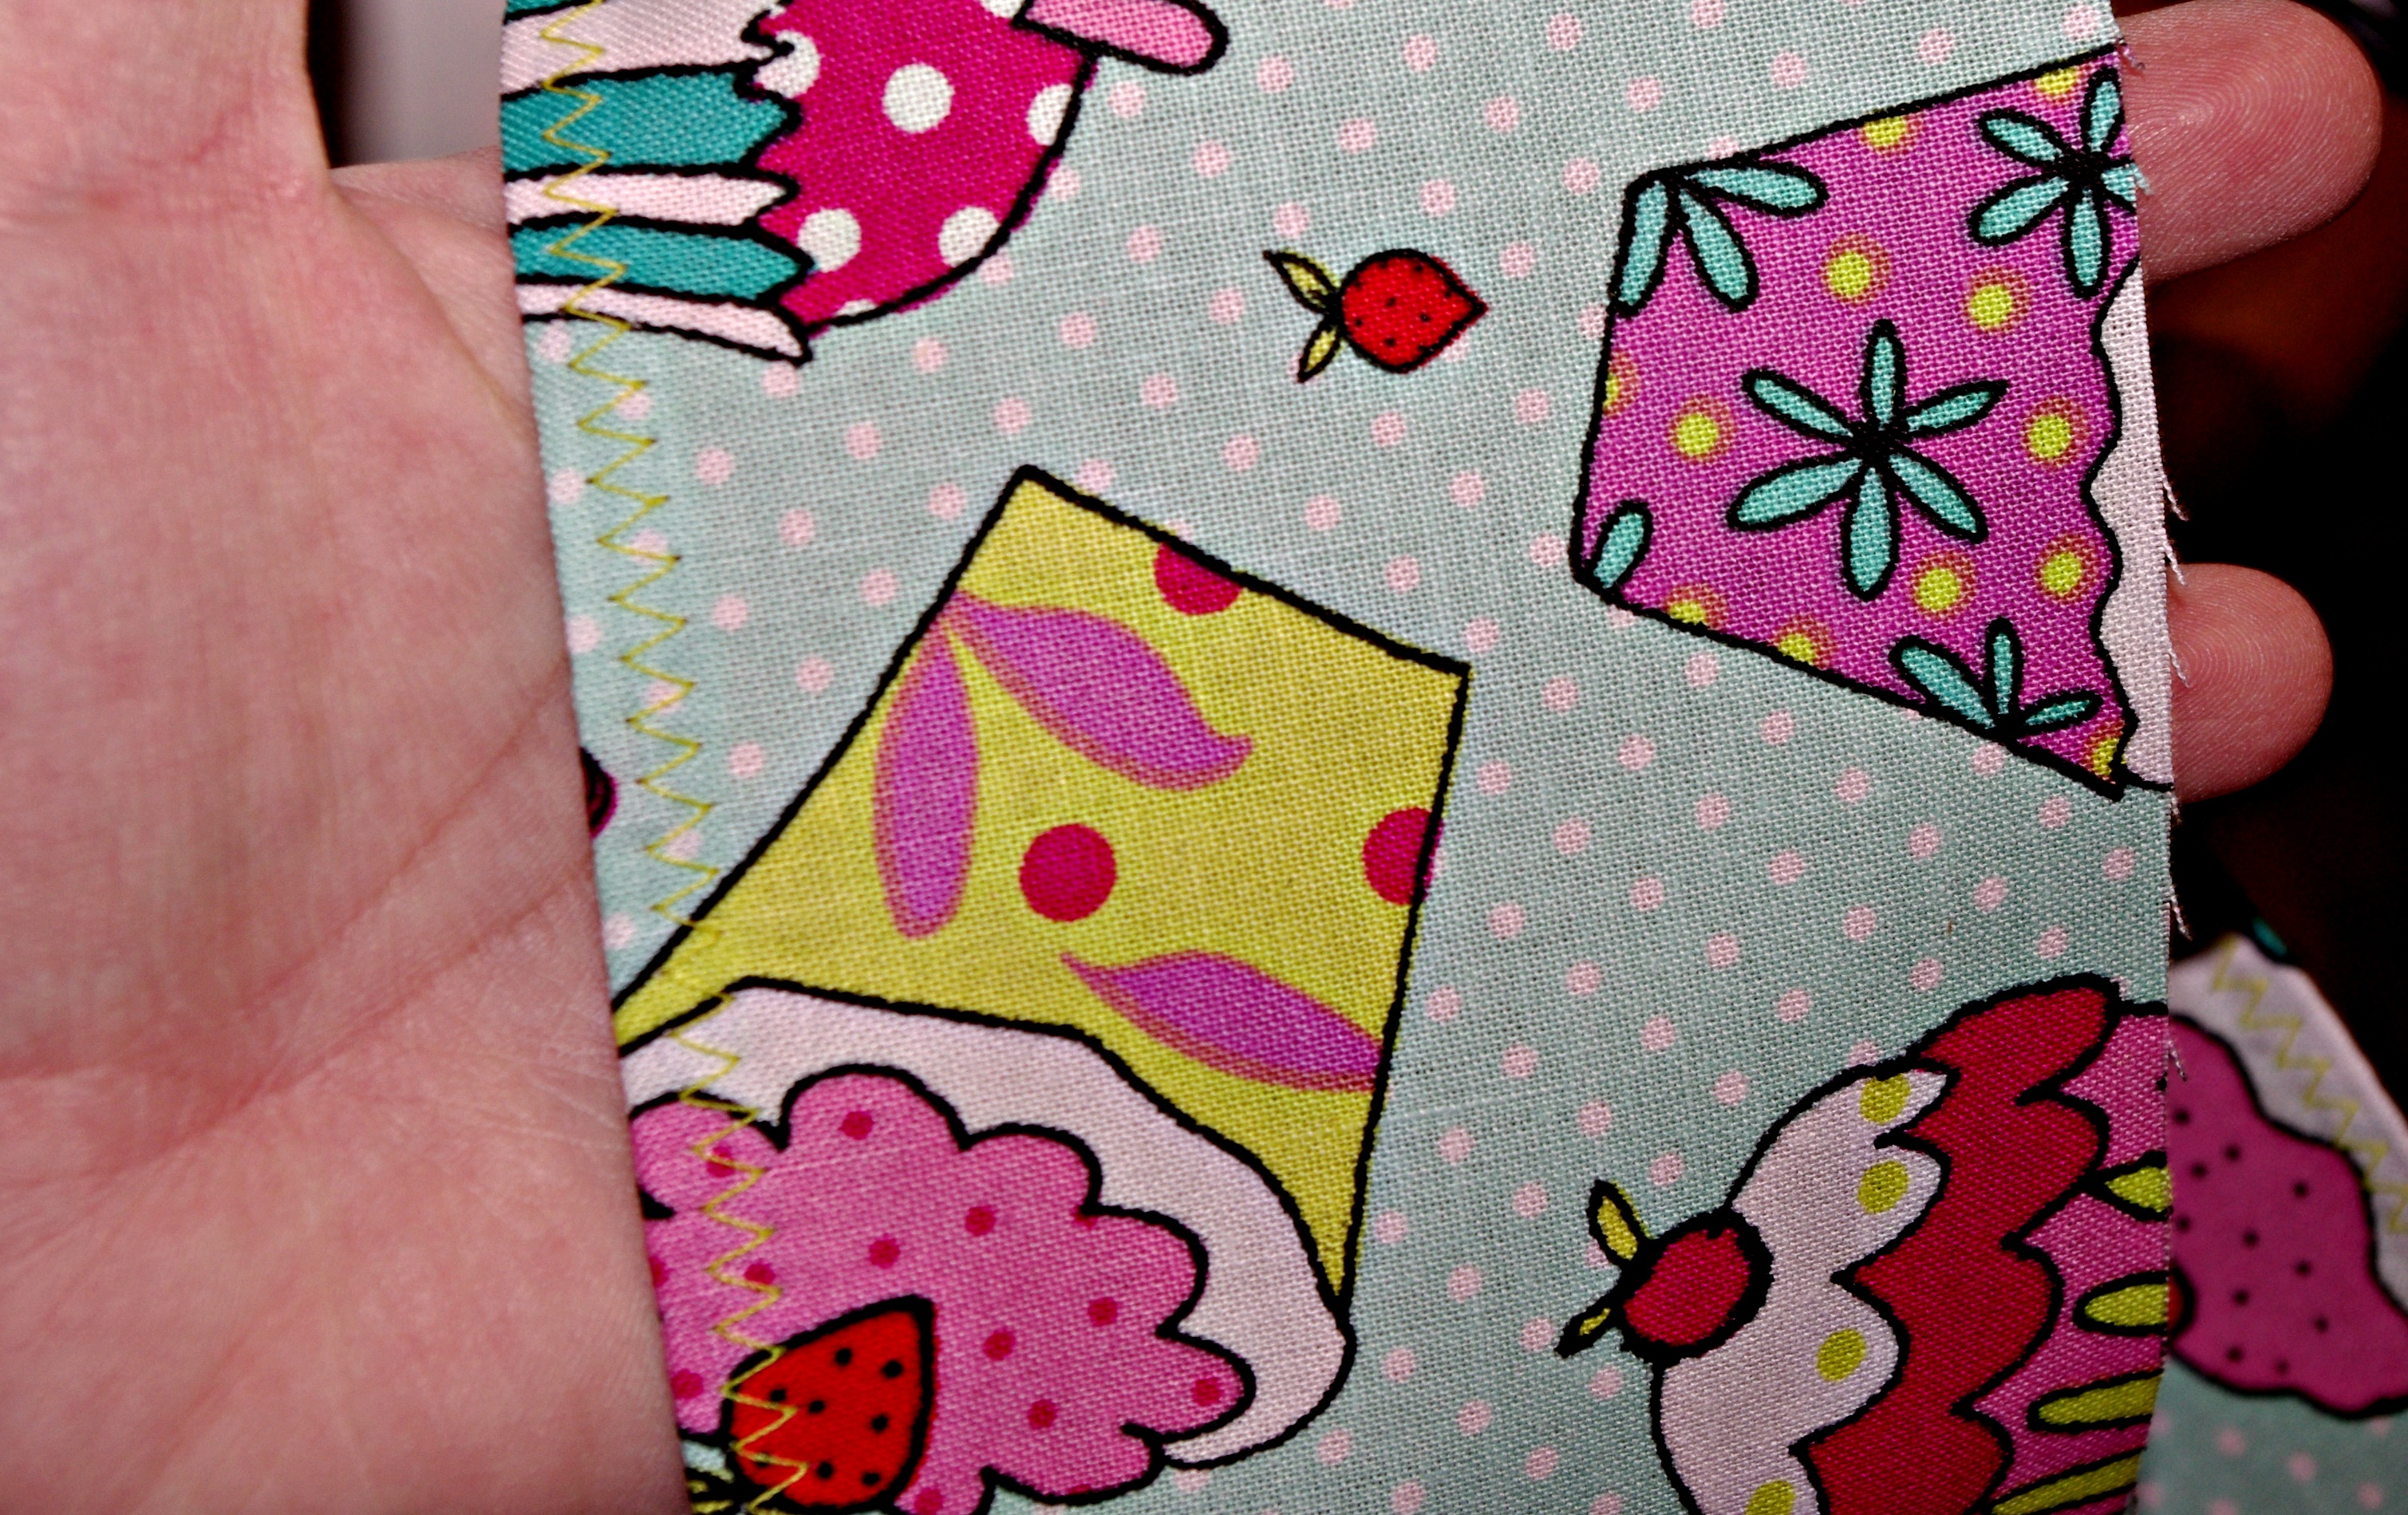
 These are my new favorite pants to make for Imogene. These are her new favorite pants to wear. She is a very girl, girl. And my little ballerina has some strong thighs. So she enjoys the roomier wide leg pants. (Plus with the ruffles and the cut, these are very difficult to outgrow pants! And I love difficult to outgrow clothing.) You can make them full length or capri length. (I suggest going full length and then letting them get capri length as they grow. Sneaky mommy move, there.) You can make this in any size. Once you get to around size 7ish, you’ll need 2 yards of fabric because you won’t be able to get a full 2 pant legs in the width. Make them in flannel, and they are pretty awesome pajama pants, perfect for camp, sleepovers, or just princesses who require cute jammies at all times. You can make them in quilting cotton for a cute, boutique look. Make them in jersey for a comfy, classic look. Make them in denim to replace everyday jeans. Make them in lightweight corduroy, canvas, or duck for heavier weight pants.
So, first you want to figure out what size pants you want. If you’ve got someone to measure, measure them! If you don’t have someone to measure, look up the size chart for your favorite kid’s clothing line and use their measurements to figure out the size.
Grab your fabric. You’ll need 1 yard of a single fabric OR 3/4 yard and 1/4 yard. (If you’re making bigger girls pants, you’ll need to adjust your fabric yardage. I make larger ruffles for bigger girls, so I need more than 1/4 yard of contract for the size 6 pants.) You’ll also need some elastic. (I use 1/4″ natural colored flat elastic in kid clothes.)
 Here are my lovely notes on making these pants. (These are my 18 month size notes.)

I draw my pattern directly onto the fabric. (This fabric is folded in half, then half again. So the side with the fold is two layers of fold to cut both the front and back at the same size. I measure across 6 inches for the waist. Added an 8″ curve for the crotch (with my vary form curve ruler). Measure 9″ wide for the legs. Measure the length (outseam, so the folded edge side) to 16″. Connect all your measurements.
For size 6: 8″ waist, 11″ curved crotch, 10″ leg width, 22″ outseam. (Plus a 5″ x 36″ ruffle for each leg.)
If you don’t want to make the pattern, you can fold and trace a pair of pants. Just make sure you extend the height a little at the top for folding over the elastic and add some width to make them wide leg. Plus, don’t forget your ruffles!
Speaking of ruffles, cut some. For the 18 month pants, my ruffles were 4″ x 24″. If you want them more ruffled, add width. If you get too ruffle crazy, it can be difficult to get them to lay down.
 Now you have all these pieces. 2 pant legs. 2 ruffles. (The green behind my fabric is fleece. I got tired of hauling my ironing board up and down 2 flights of stair every time I needed to sew. And The Pastor didn’t want to buy another one because who needs 2 ironing boards?! So, I put a few layers of green fleece on the dresser in my sewing room and I iron there. Not as convenient as a sewing board, but it works.)
 Sew the inseams of you pant legs with the right sides of the fabric together. Finish them, too. (Serge. Pink. Zigzag. French seams. Whatever it is you do.)
 Take each ruffle and with right sides together, sew the short ends together. (Not pictured.) Go ahead and hem the bottom of each ruffle. (It is so much easier to do the hem now when you have one long loop rather than trying to properly hem it when it is all gathered and flaring.)
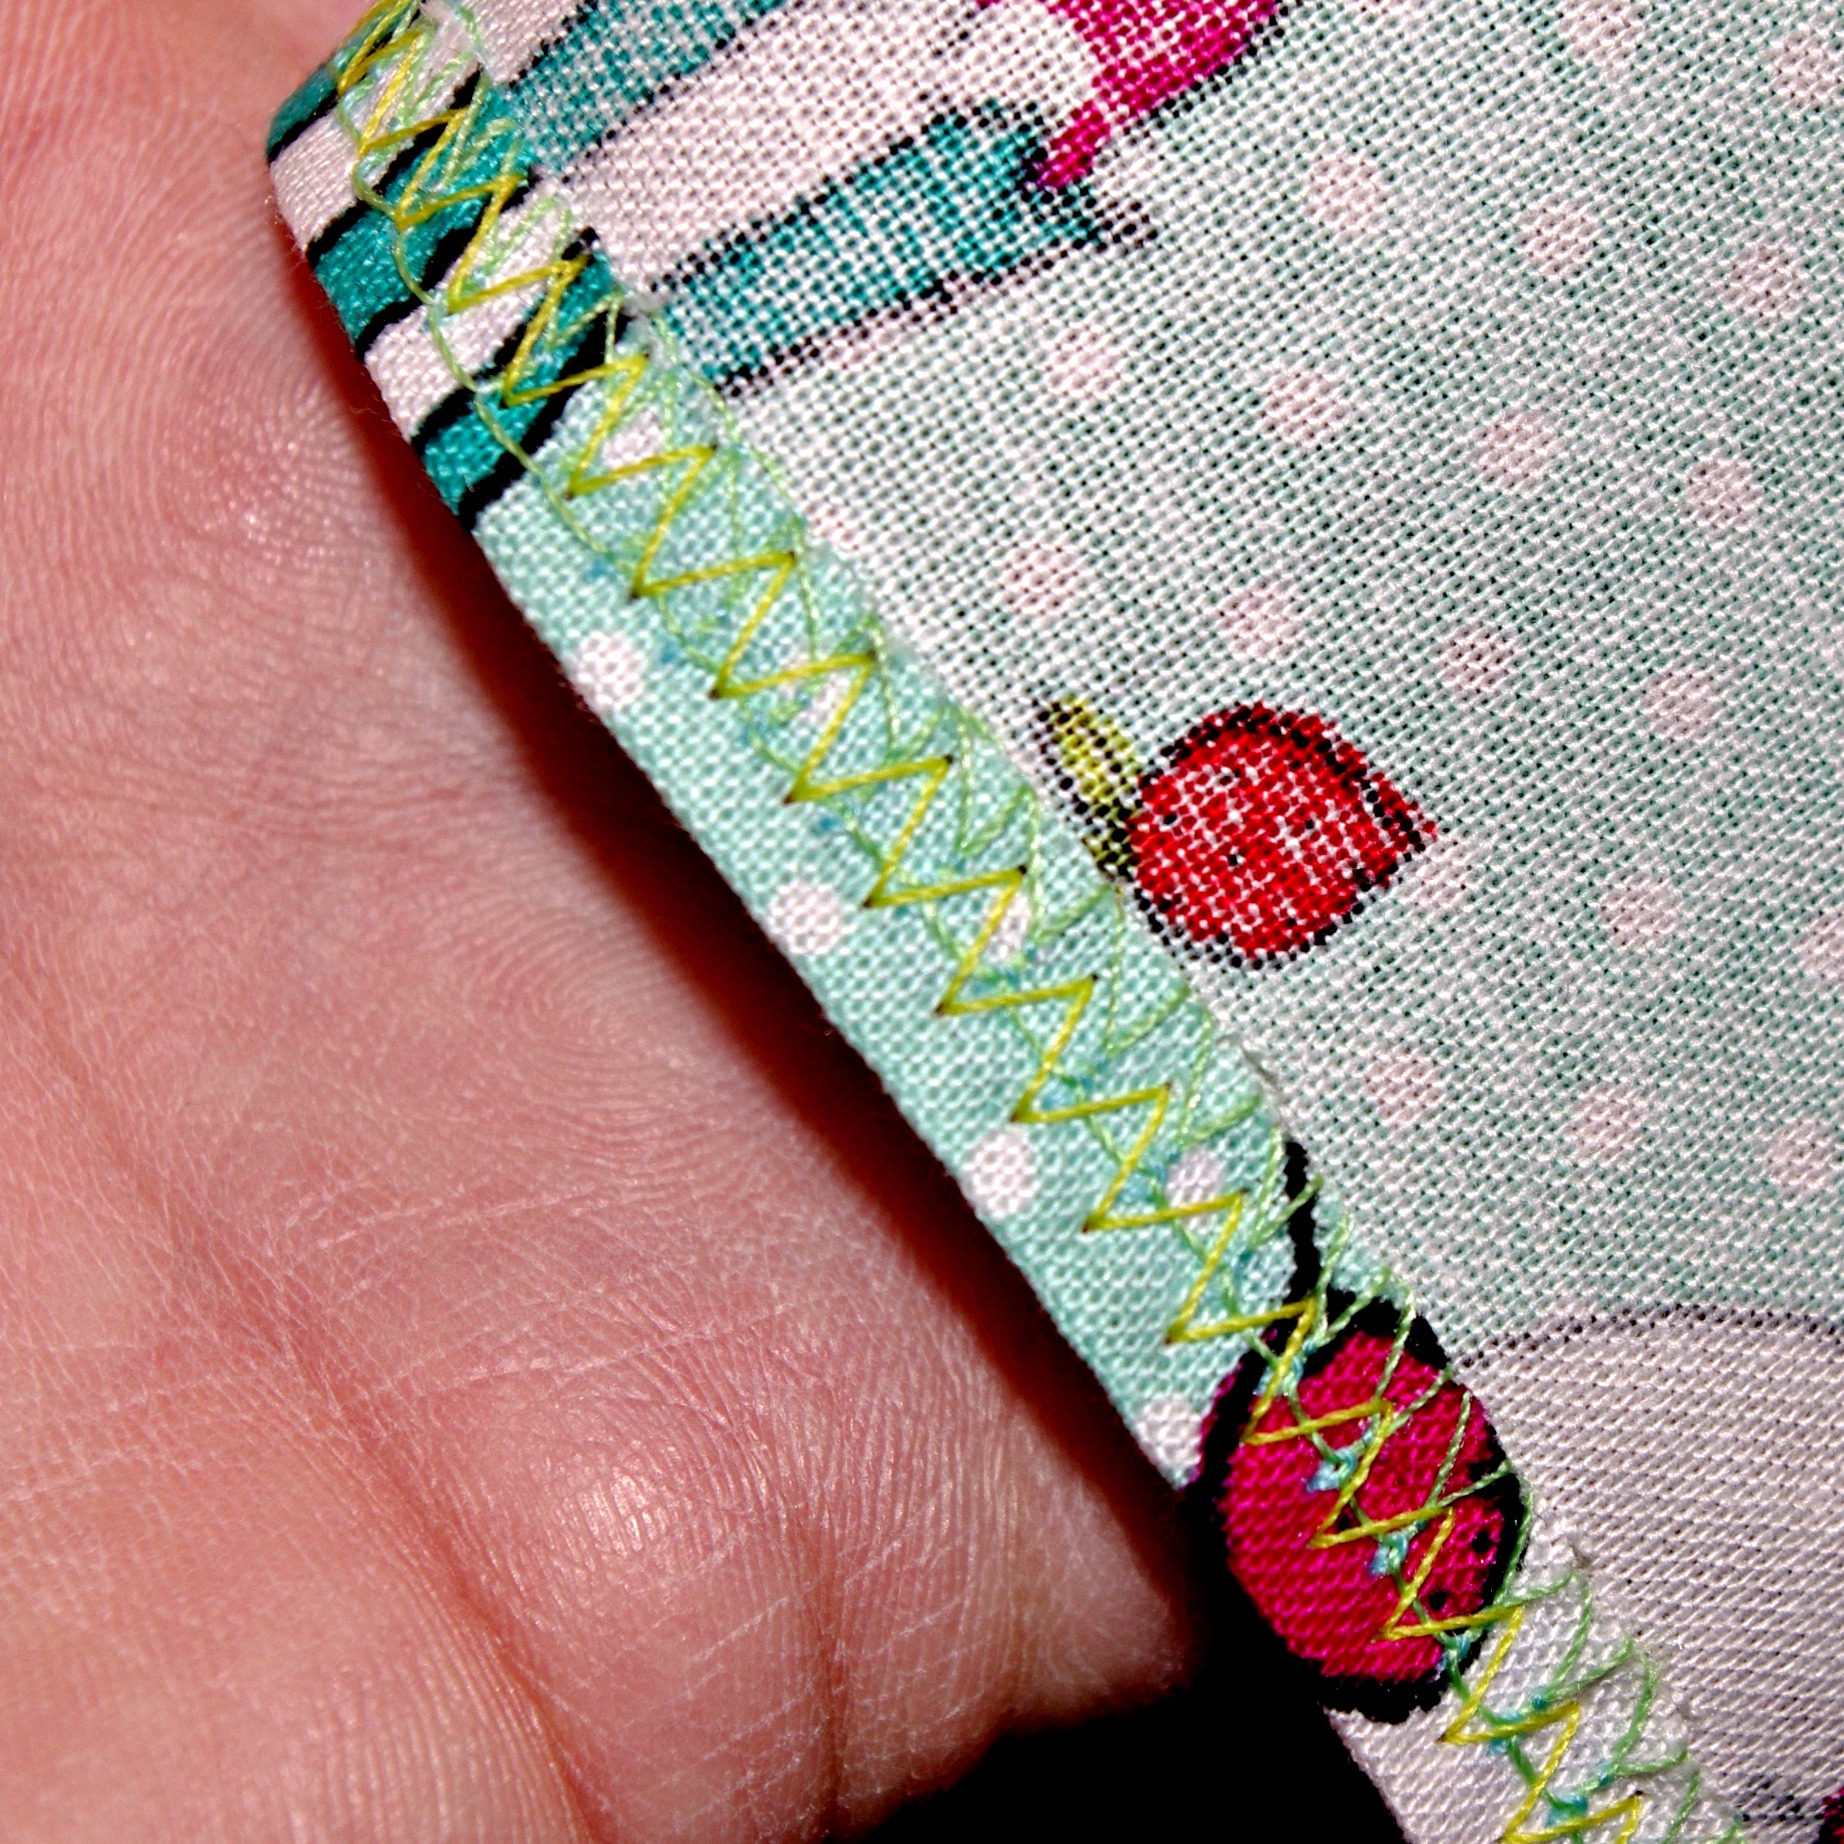 If you were wondering, this is what the inside of my hems look like. I serge, then I fold them over and sew. I like to zigzag my hem. It makes it look more special than just a pair of pants you’d find in the store. It screams “custom” to me. (Plus, on kid clothes, it adds a little bit of whimsy.)
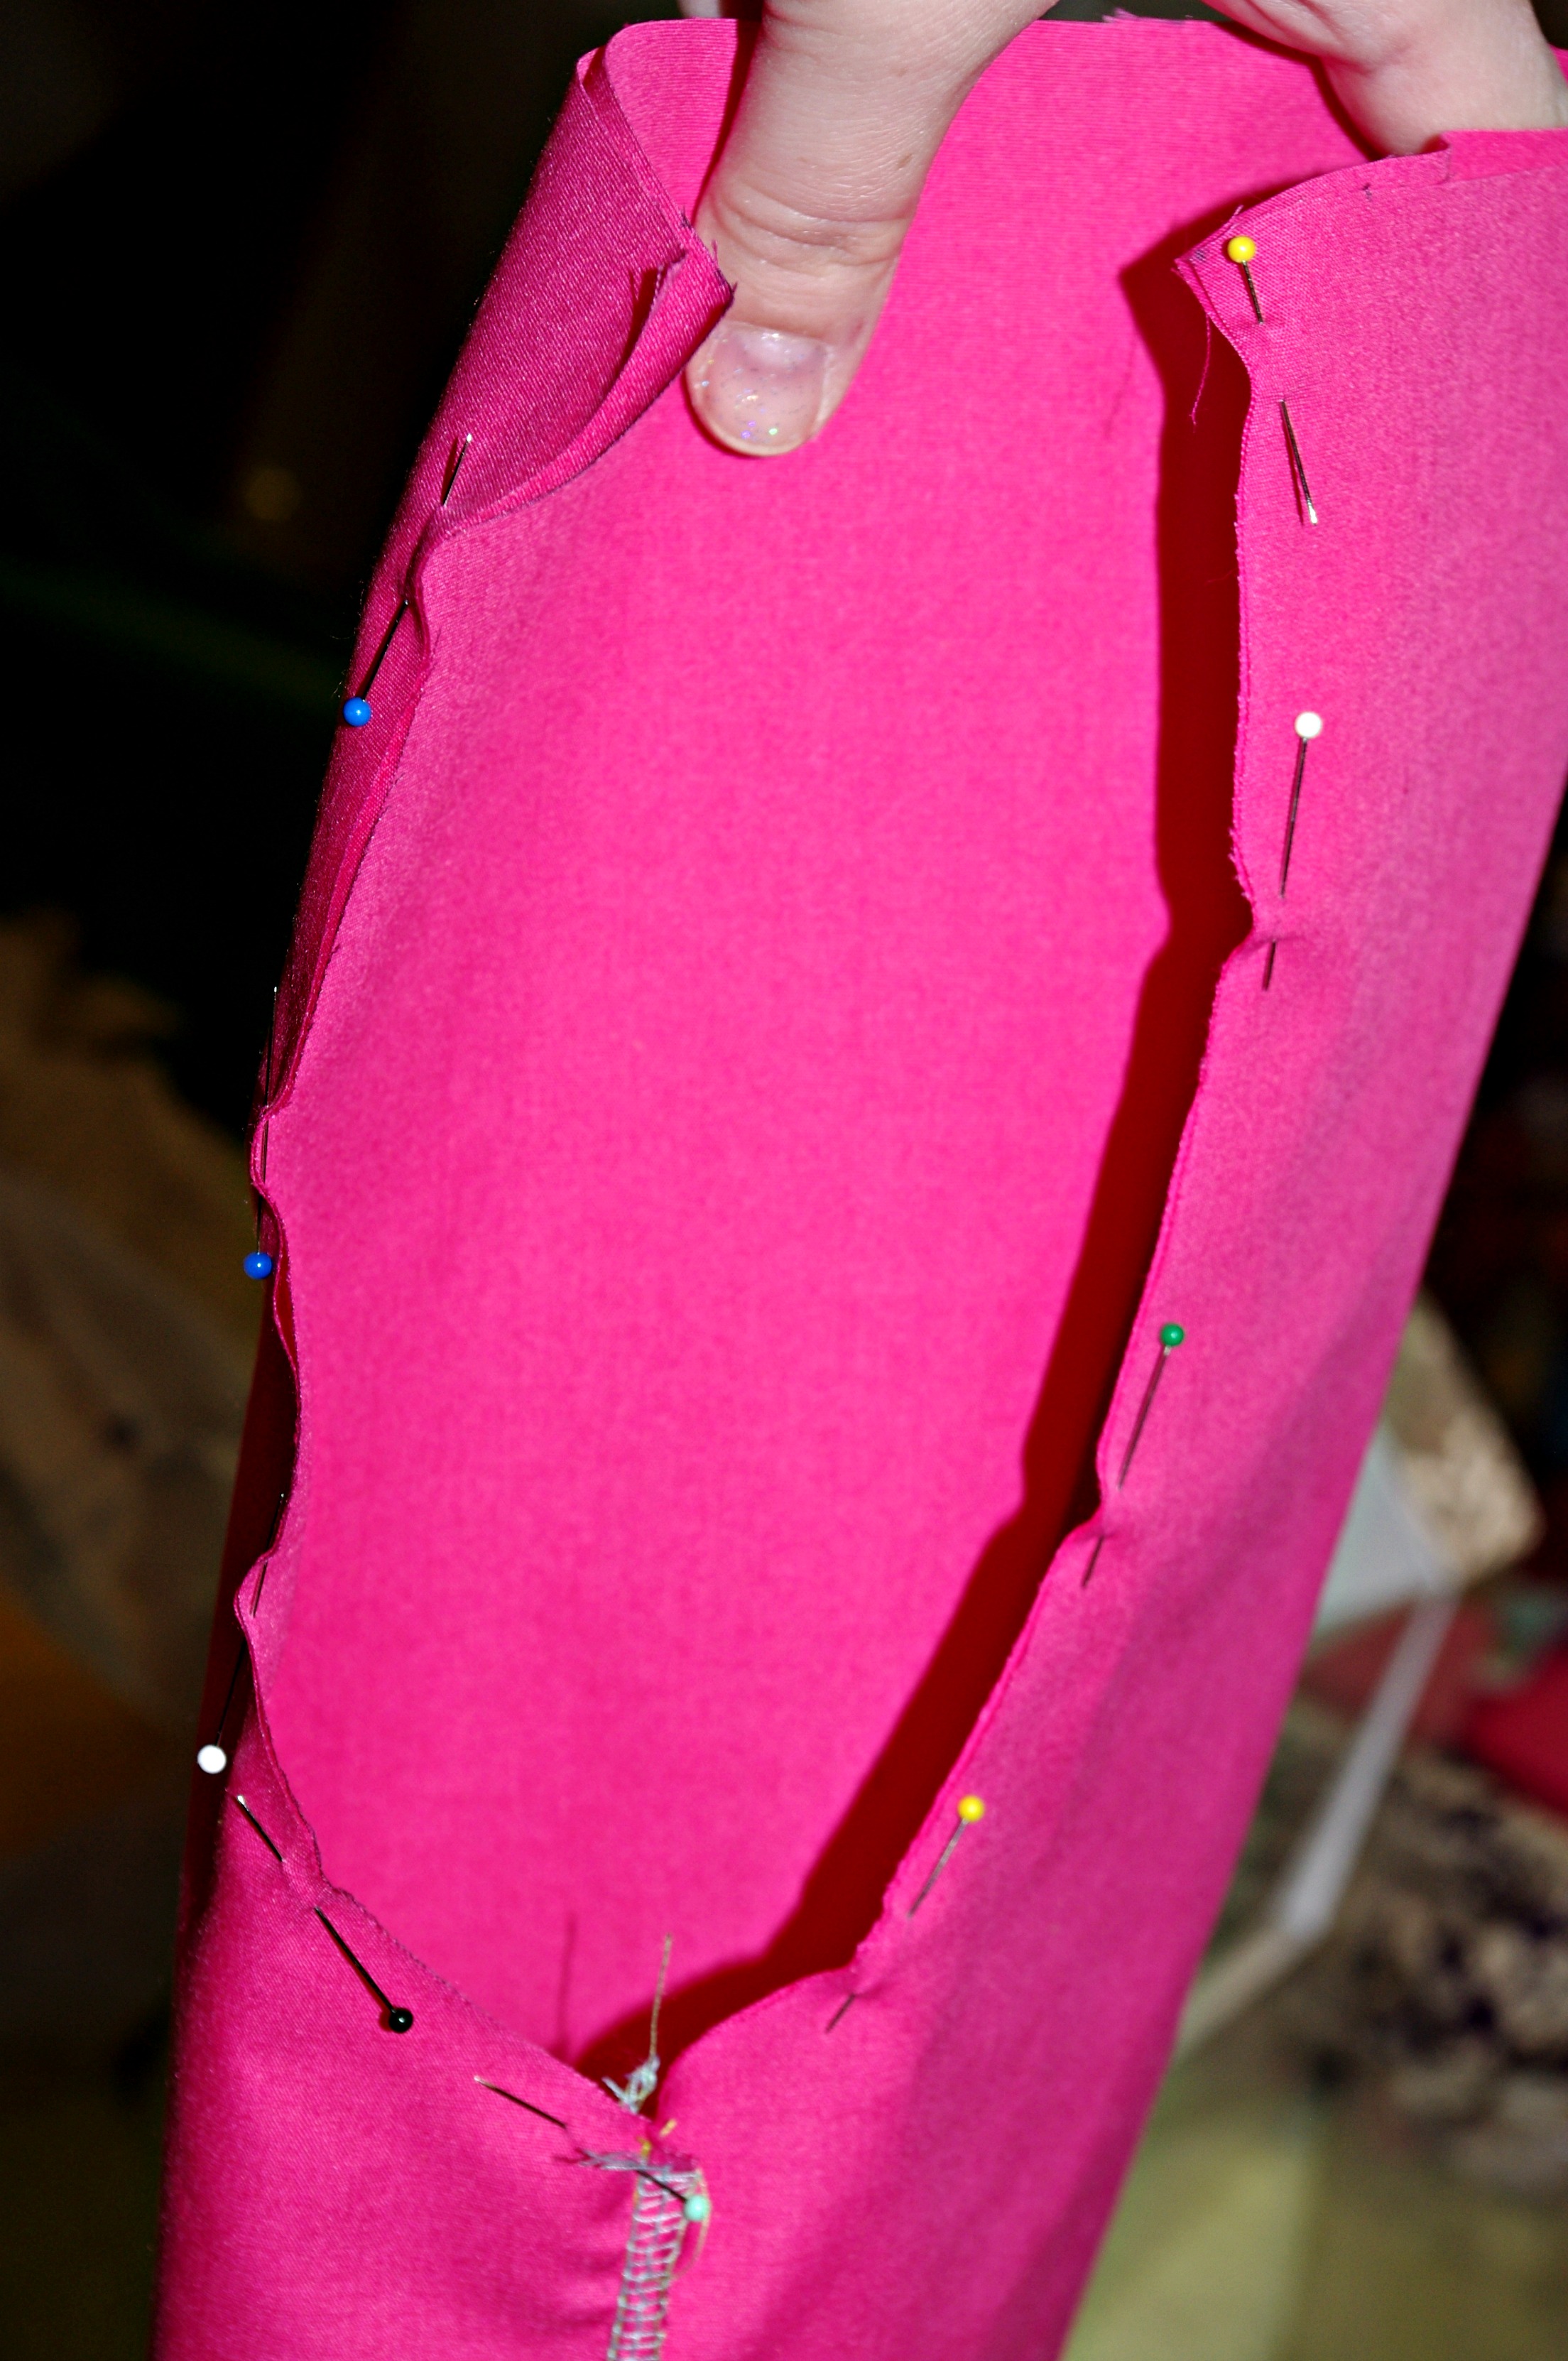 Turn one leg right side out and stuff it inside the other leg. Pin together around the crotch, matching the inseams. (The first time I made a pair of pants, it took me FOREVER to visualize this in my head. I spent almost an hour trying to figure out how to sew it to get the seam the way it should be.)
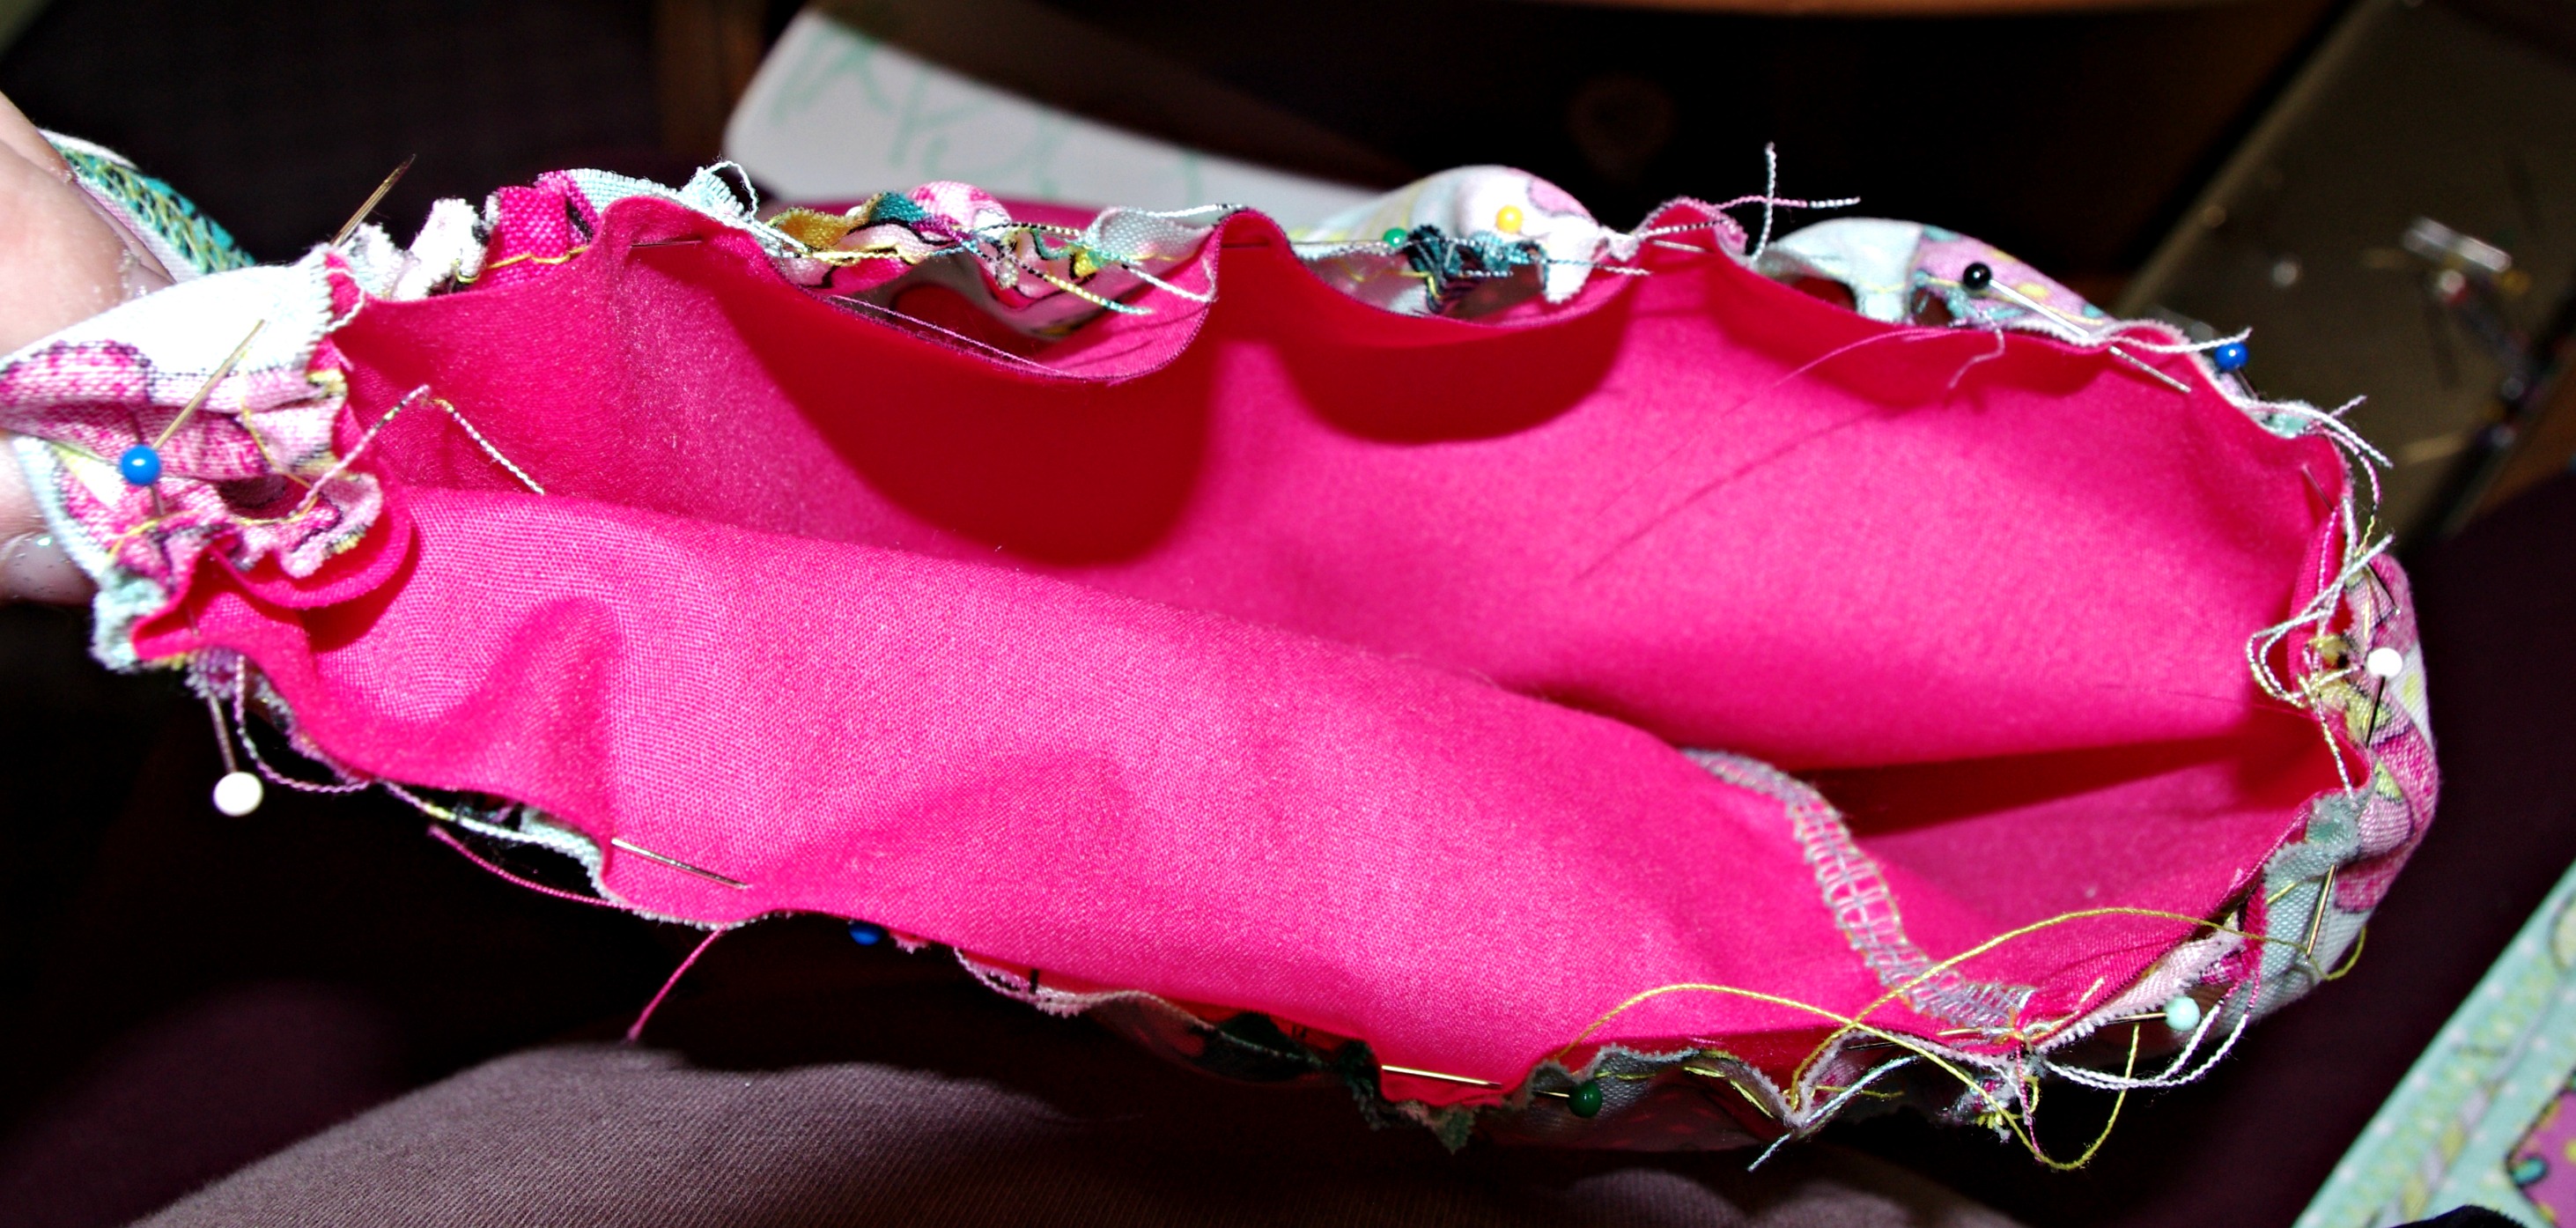
 Sew the crotch. Finish it, too! Flip the pants right side out.

Sew a basting stitch around the top of your ruffle. (A basting stitch is just setting your straight stitch as long as the stitch length will go and sewing close to the edge.) Pull the basting stitch to gather the ruffle. Distribute the ruffles evenly around.
 Pin the ruffle right side to the right side of the pants.
 Sew. Make sure you’re sewing further in than the basting stitch. (The basting stitch should be closer to the edge, so it won’t show.) Always sew with the gathering on top of the flat piece of fabric. Otherwise, your flat piece will inevitably end up not so flat. Remove the pins as you sew. Don’t sew over pins. You’ll snap a sewing machine needle into your eye.

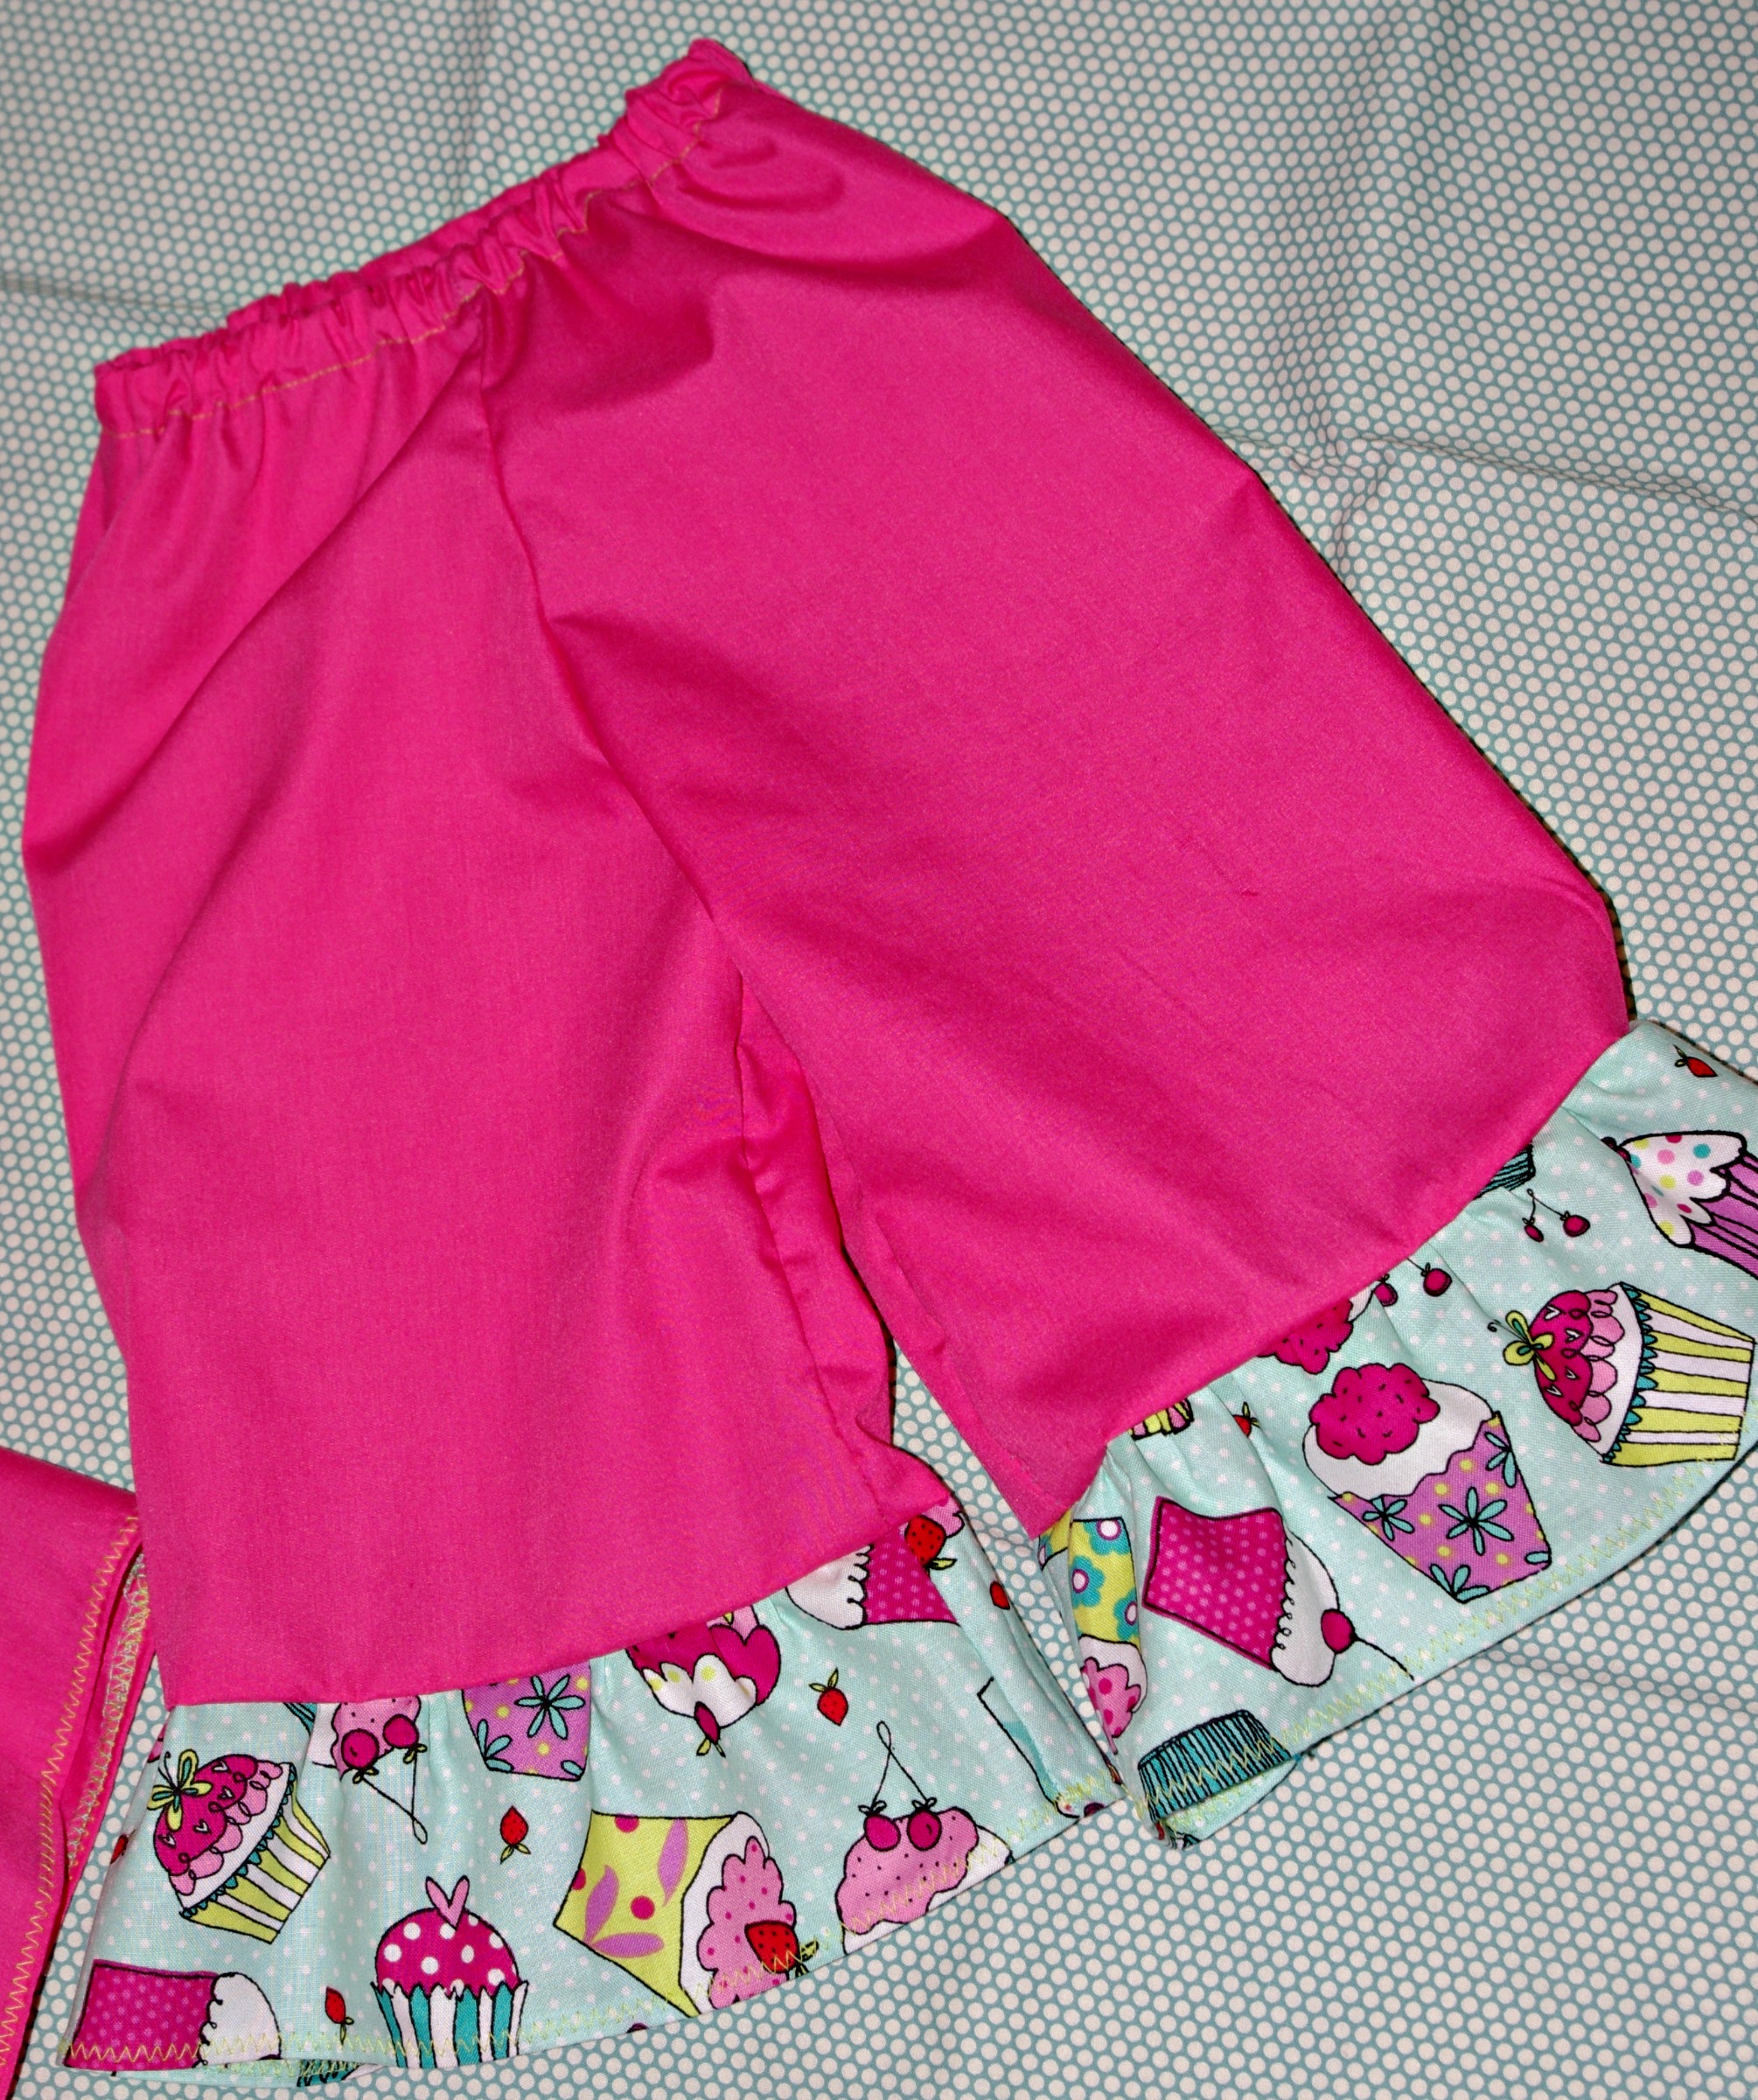
Now you should have a ruffle on your pant leg. Repeat for the other leg.
 Now that both ruffles are on. (And both are hemmed, since you did that earlier.) Press the waist of the pants down to form the elastic casing. (I serge mine first, then press it down so it is finished when I sew the elastic casing down. If you DO NOT have a serger, you’ll want to press it down, then tuck the bottom up toward the fold and press again. Make sure the finished casing will hold your elastic!)
Sew the waist down, leaving a small opening to feed the elastic in. (I do not like to sew the waist of pants with a zigzag. It tend to break on a waistband being pulled on. I use a straight stitch for the waist.)

Feed your elastic into the casing.
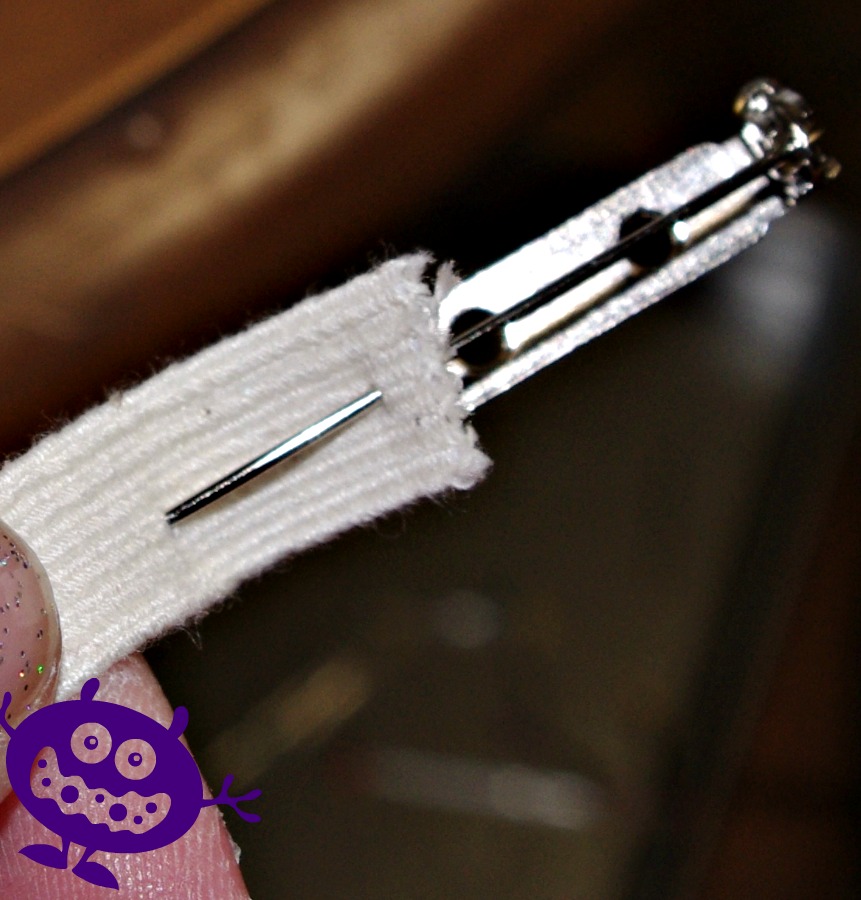 Make sure you SAVE your elastic end. Put a big pin on it so it doesn’t accidentally slip though.
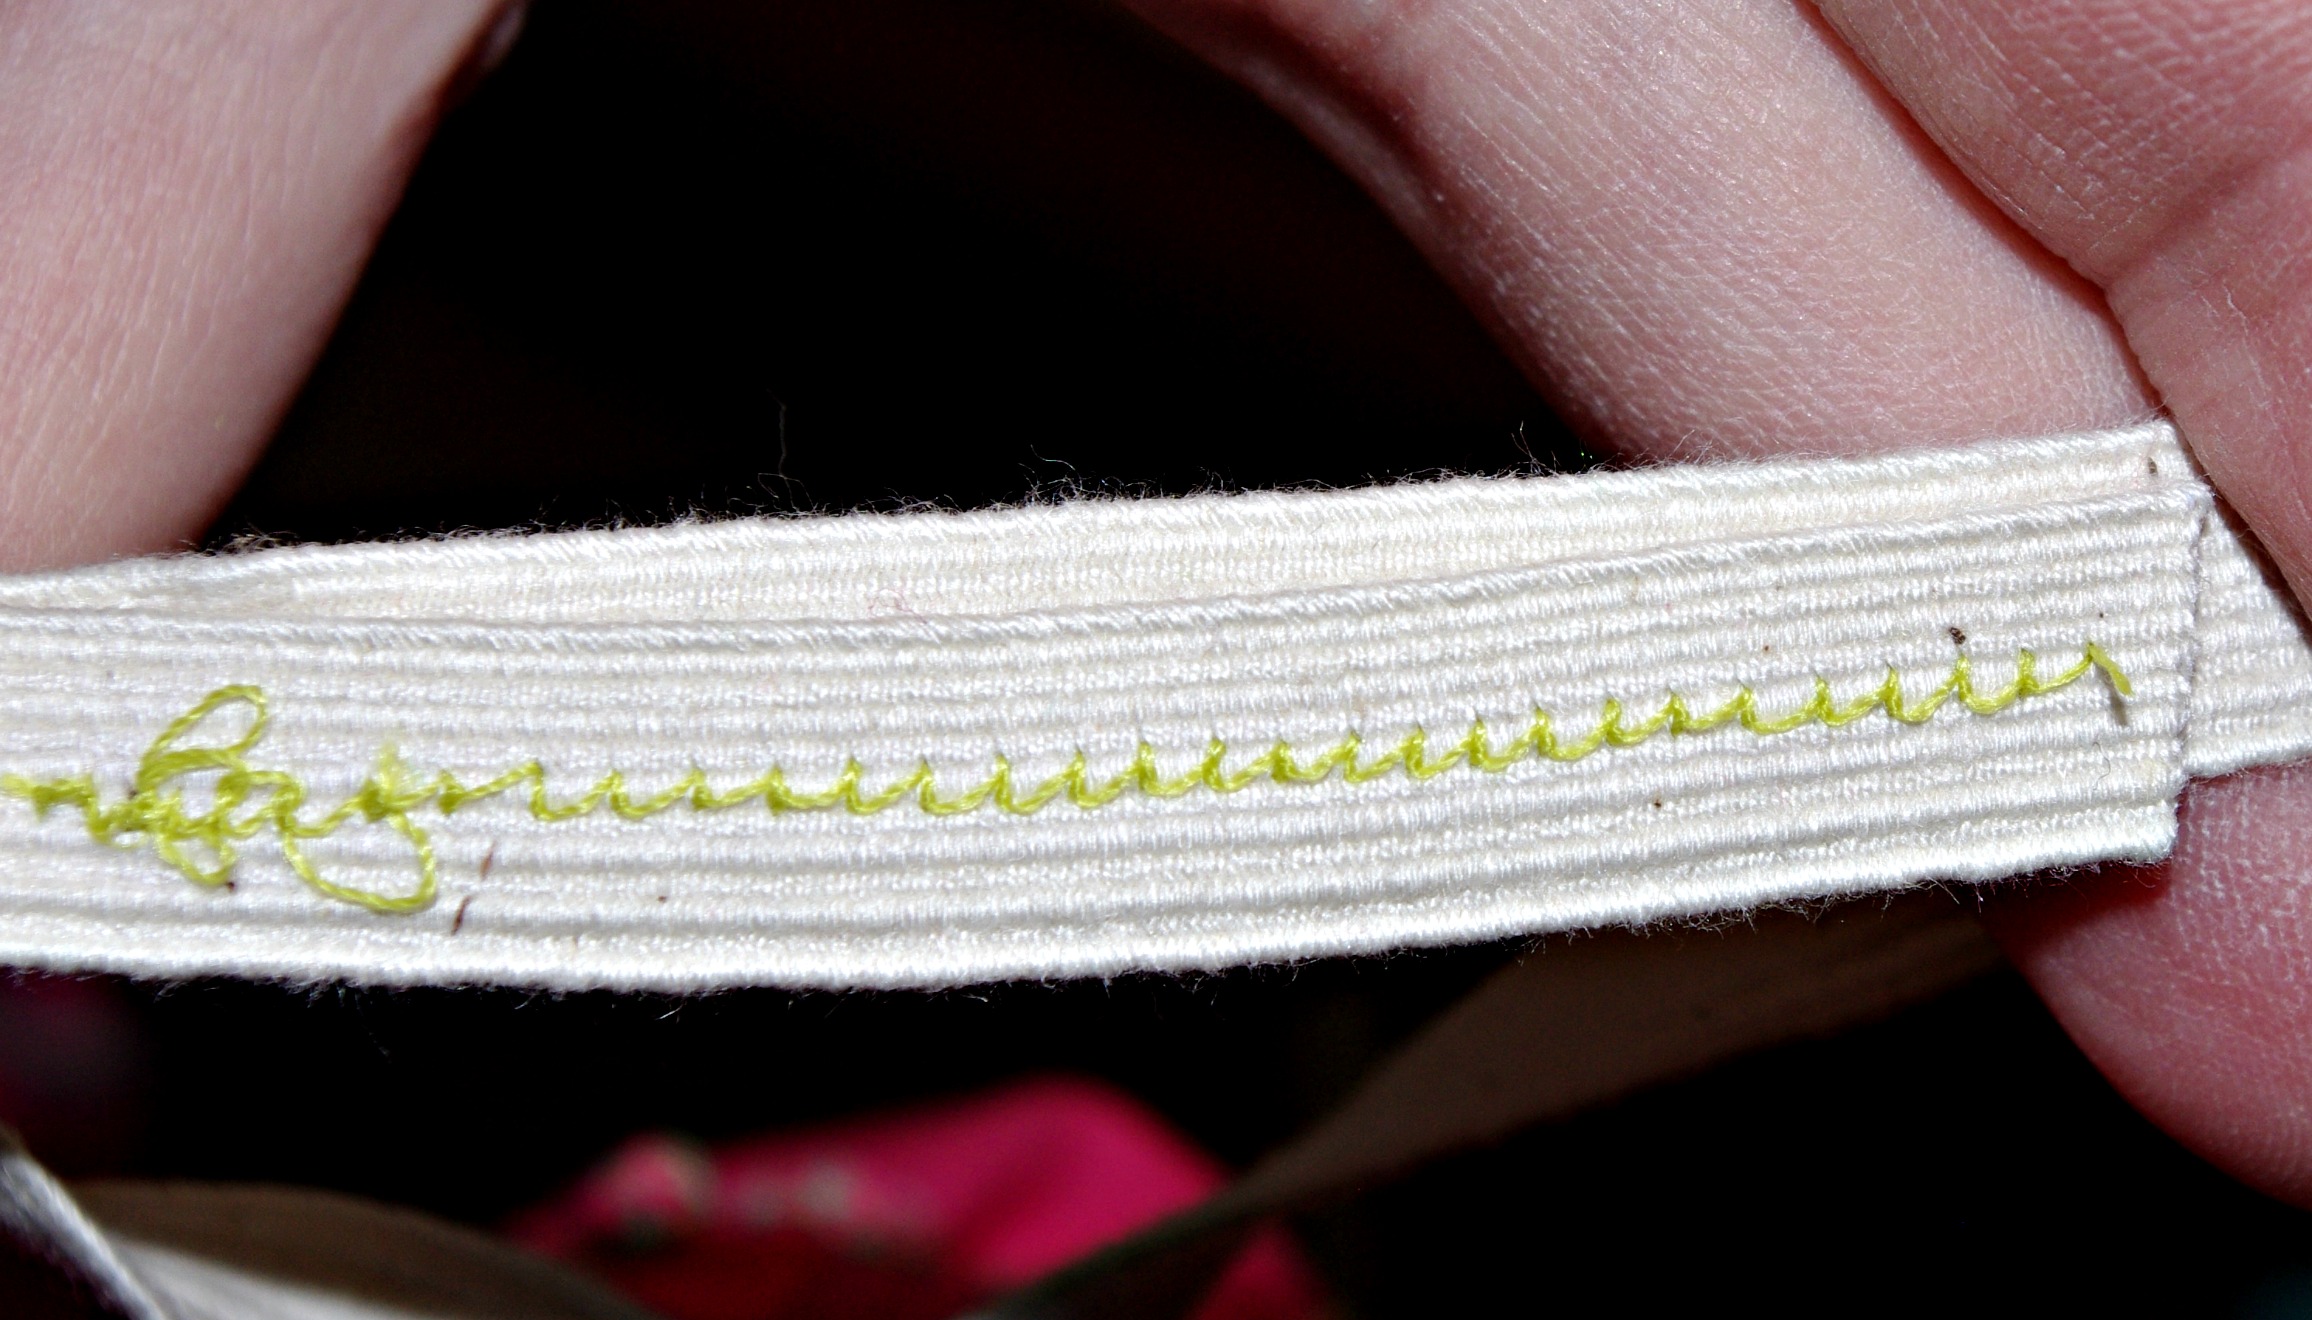
 Once you get the elastic all the way through, you’ll need to sew it closed. You’ll see above what the elastic stitch on my machine looks like. It is that weird lightening bolt zigzag. If you don’t have this stitch, you can just use your zigzag stitch.
 Elastic is sewn closed! Pop it into the casing, then sew the hole in the casing closed.
 And you’re done!
 As always, do what you want with the pants you made! Keep them, give them, sell them- you made them. However, please share the free. If someone asks how you made them, be kind and point them back here. Don’t try to sell the pattern or keep it some big industry secret. It just isn’t nice.
Very detailed, easy to follow instructions for adding a pant’s ruffle.