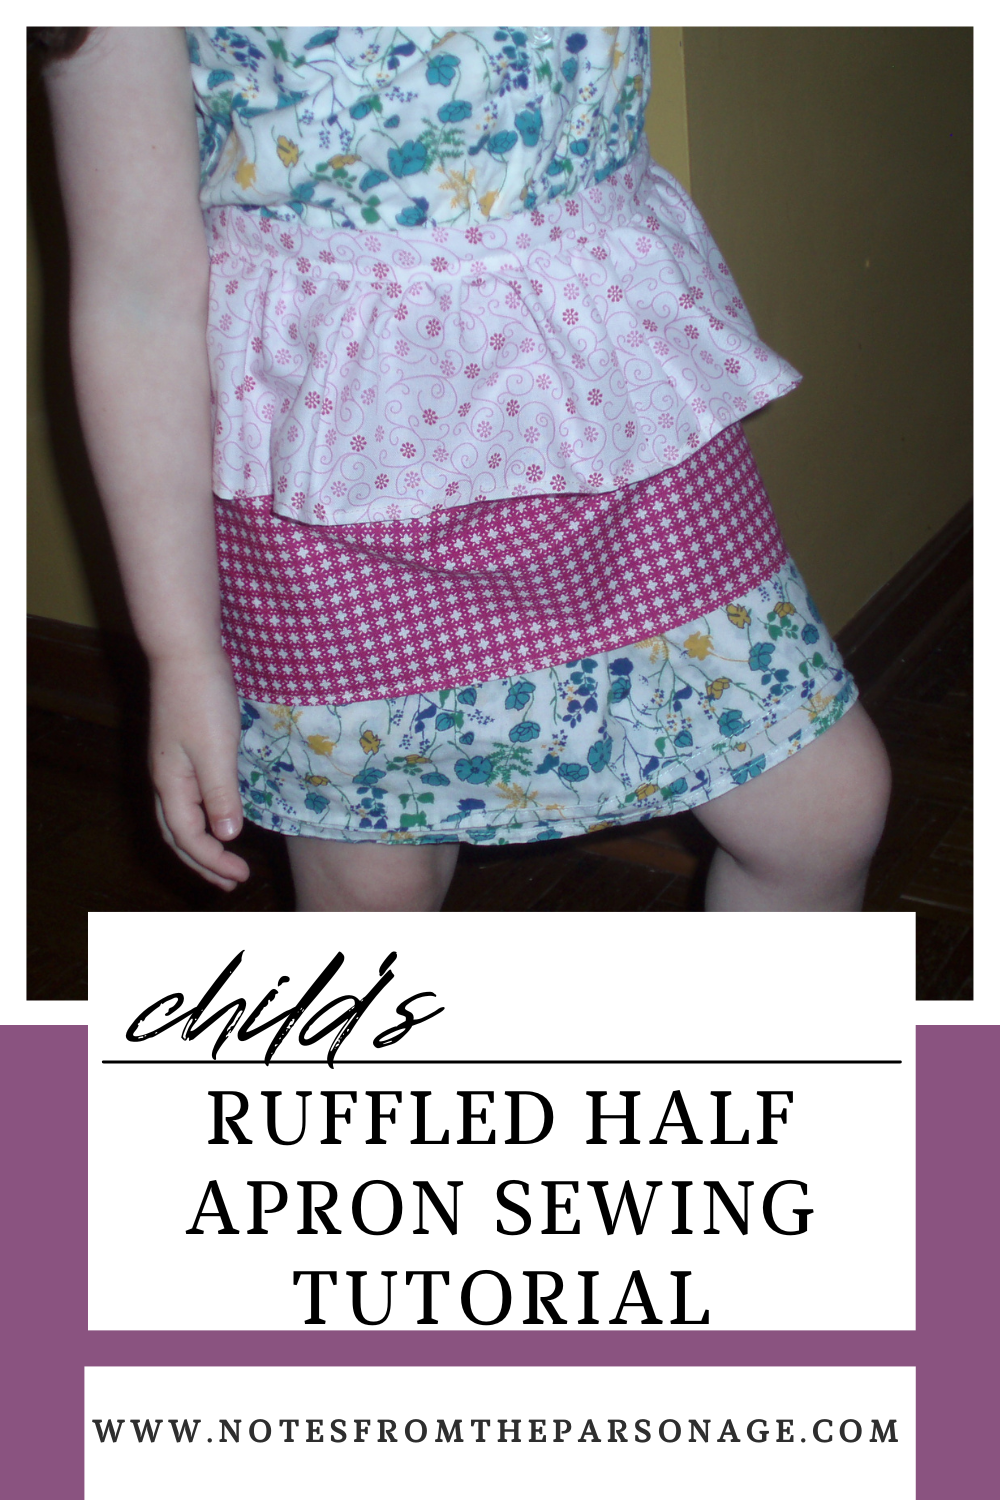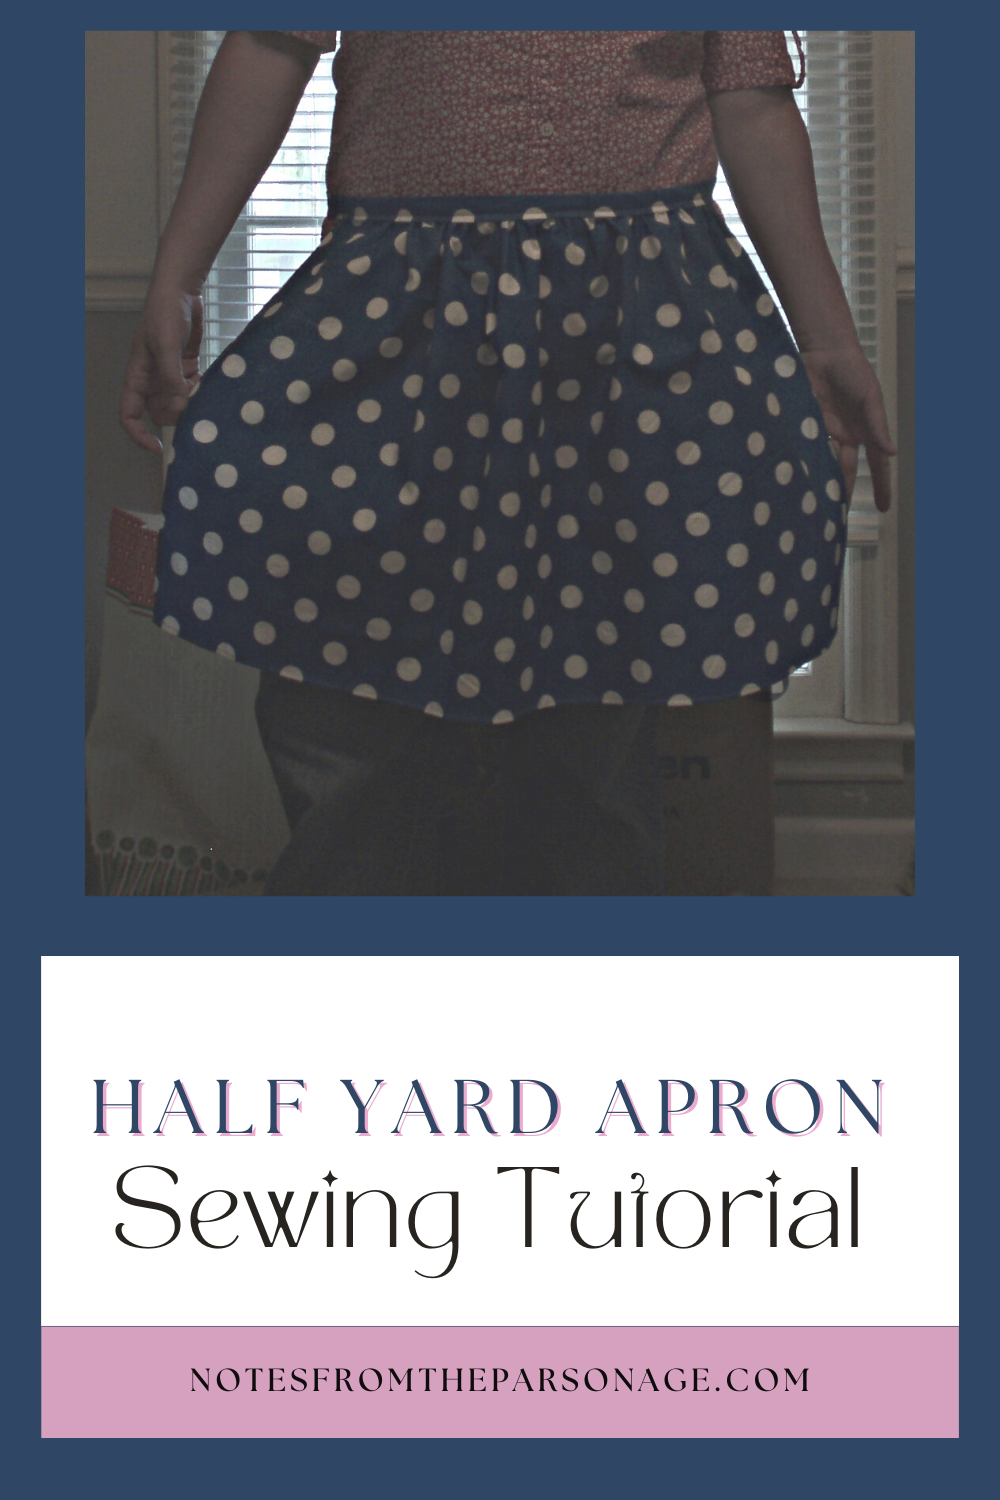
Half yard aprons are super easy to make! And they’re great to make as gifts because they’re pretty much one-size-fits all. This half apron sewing tutorial is beginner friendly and only uses a half yard of fabric!

My mother asked me to design her an apron not so long ago. Of course, I agreed. She needed it to be easy. “Straight lines only!” she said. I can do that. After all, most sewing involves straight lines.
She needed it to use as little material as possible, while still looking like a nice “vintage” half apron. Okay. Now is where it gets tricky. I knew I had made aprons using a yard of fabric. But could I use just half a yard? Yes. I most certainly could (and did). Here is my half yard apron design! (And thank you, Mother for the fabric!)
Cut Your Fabric

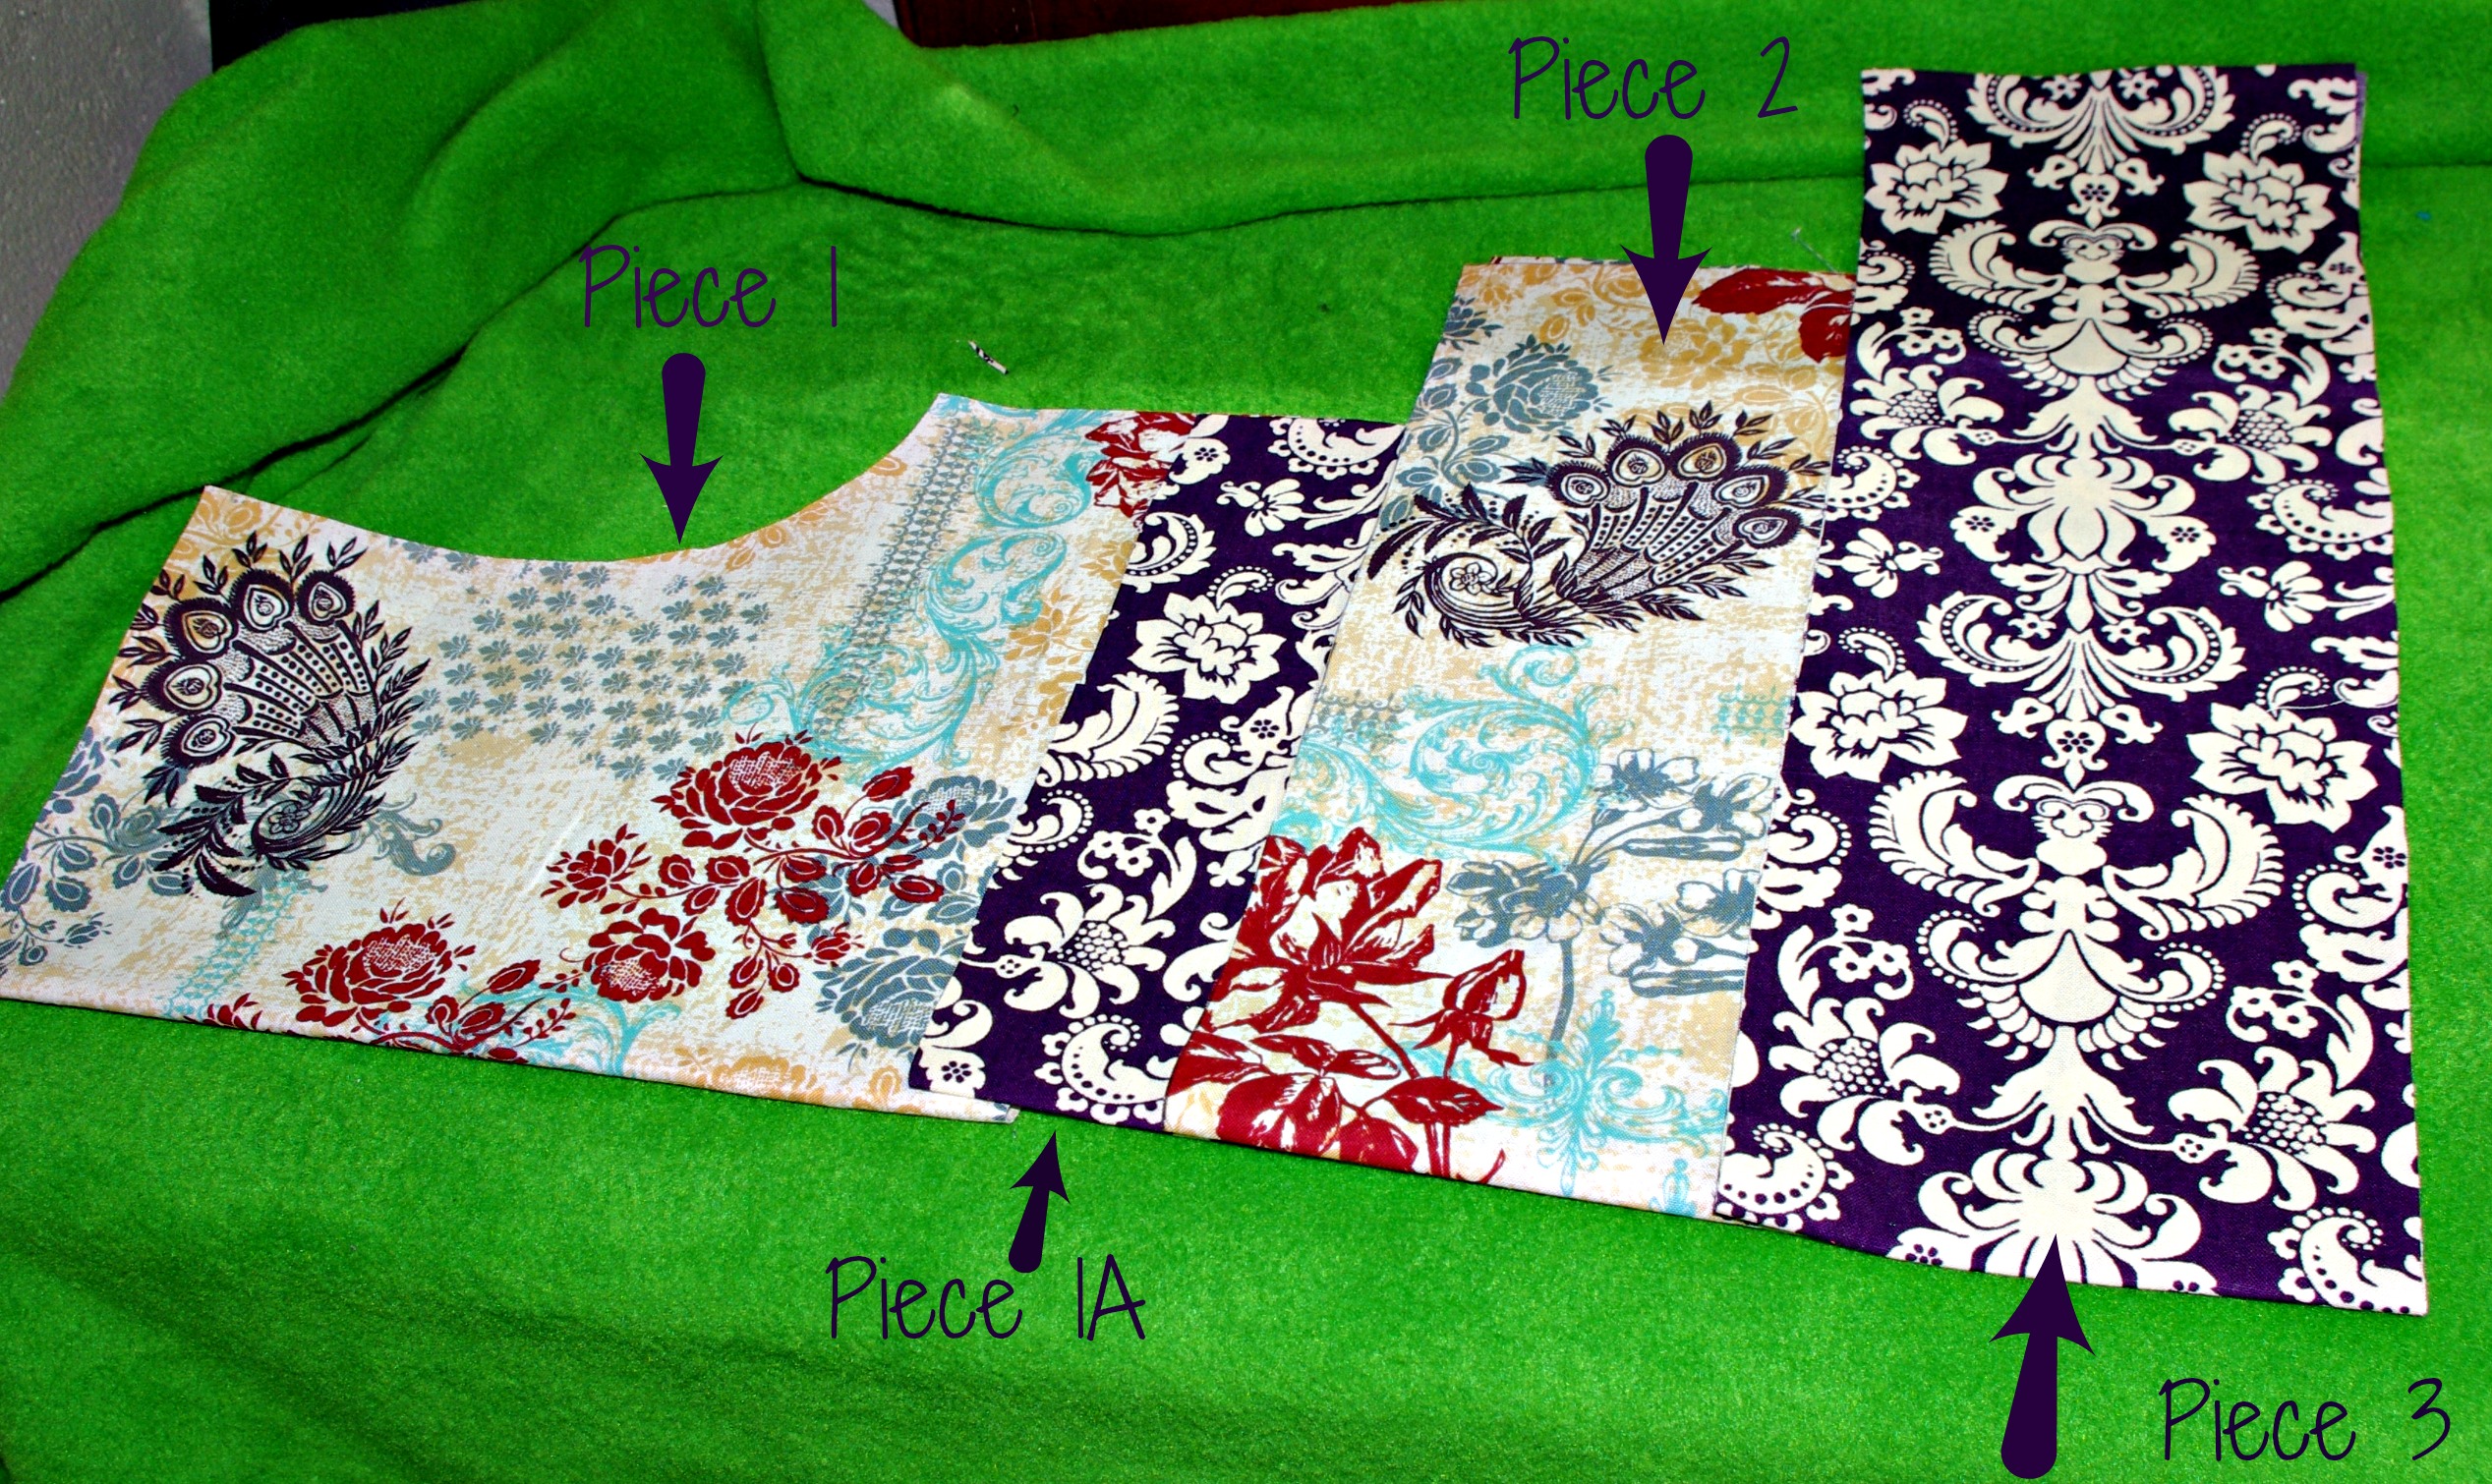
First, you are going to cut up your half yard of fabric, just a bit. You’ll need to cut 4 strips off the side of your half yard that are 18″ long and 3″ wide. You just cut off 12″ from the side of your half yard. The big piece is your apron body. Now, take one of those 18″ x 3″ strips and cut it in half. Now you have your apron body, three 18″ x 3″ strips, and two 9″ x 3″ strips. The strips will become your waist band.
Sewing The Waistband of the Half Yard Apron

Sew the three long strips together- end to end. (Right sides together, sew across the 3″ end) Now, you have a long strip. Sew a 9″ x 3″ strip to the ends. (If we kept it all together, the front waistband of your apron would have a seam in the middle. I like my front waistband to be nice and solid- thus the two smaller strips are the end. If you only use the 3 strips, without the extra 18″, you’ll be able to tie your apron only if you’re skinny. I made the first one with three 4″ strips, and I cold tie it, but couldn’t get it into a bow.)
Press your seams however you want. I do mine toward the ends. You can open them if you want. It is your apron.
Sew the Edges of the Main Body of the Half Yard Apron

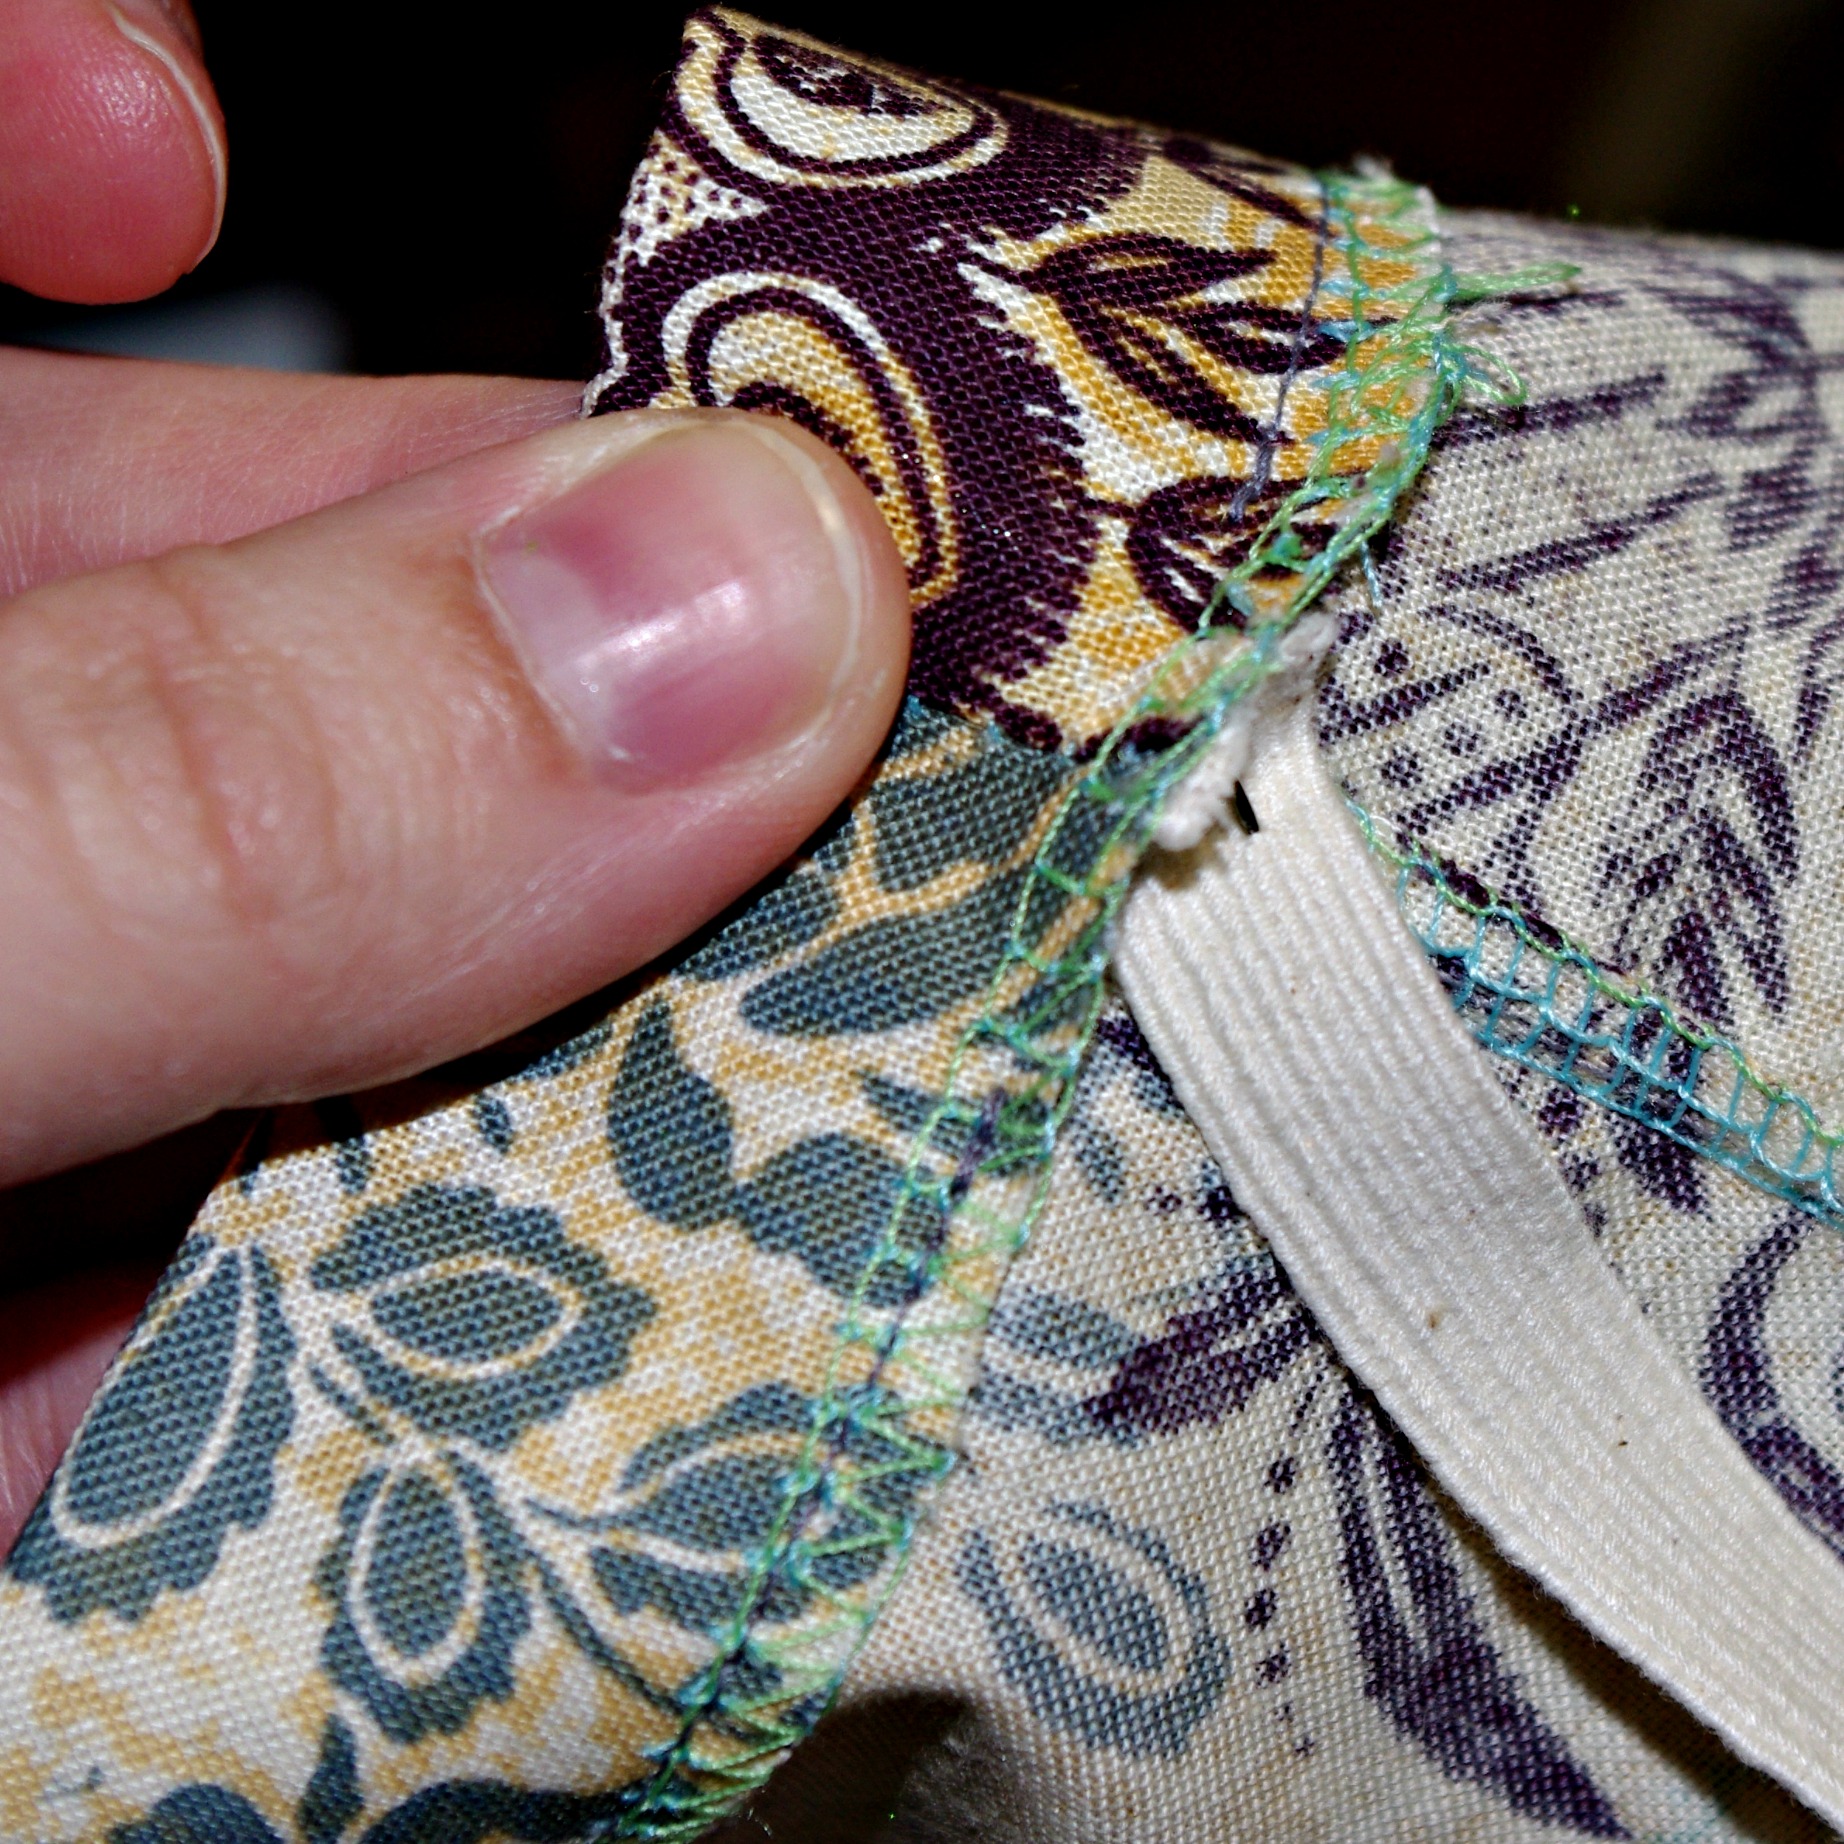
Finish the sides and bottom of your apron body. You can do a double folded hem. Or you can do what I do and serge all the edges, then fold the serged part to the inside and hem. Either way, finish the sides first, then the bottom. (If you serge it, you can serge it all, then hem it sides first, then bottom.
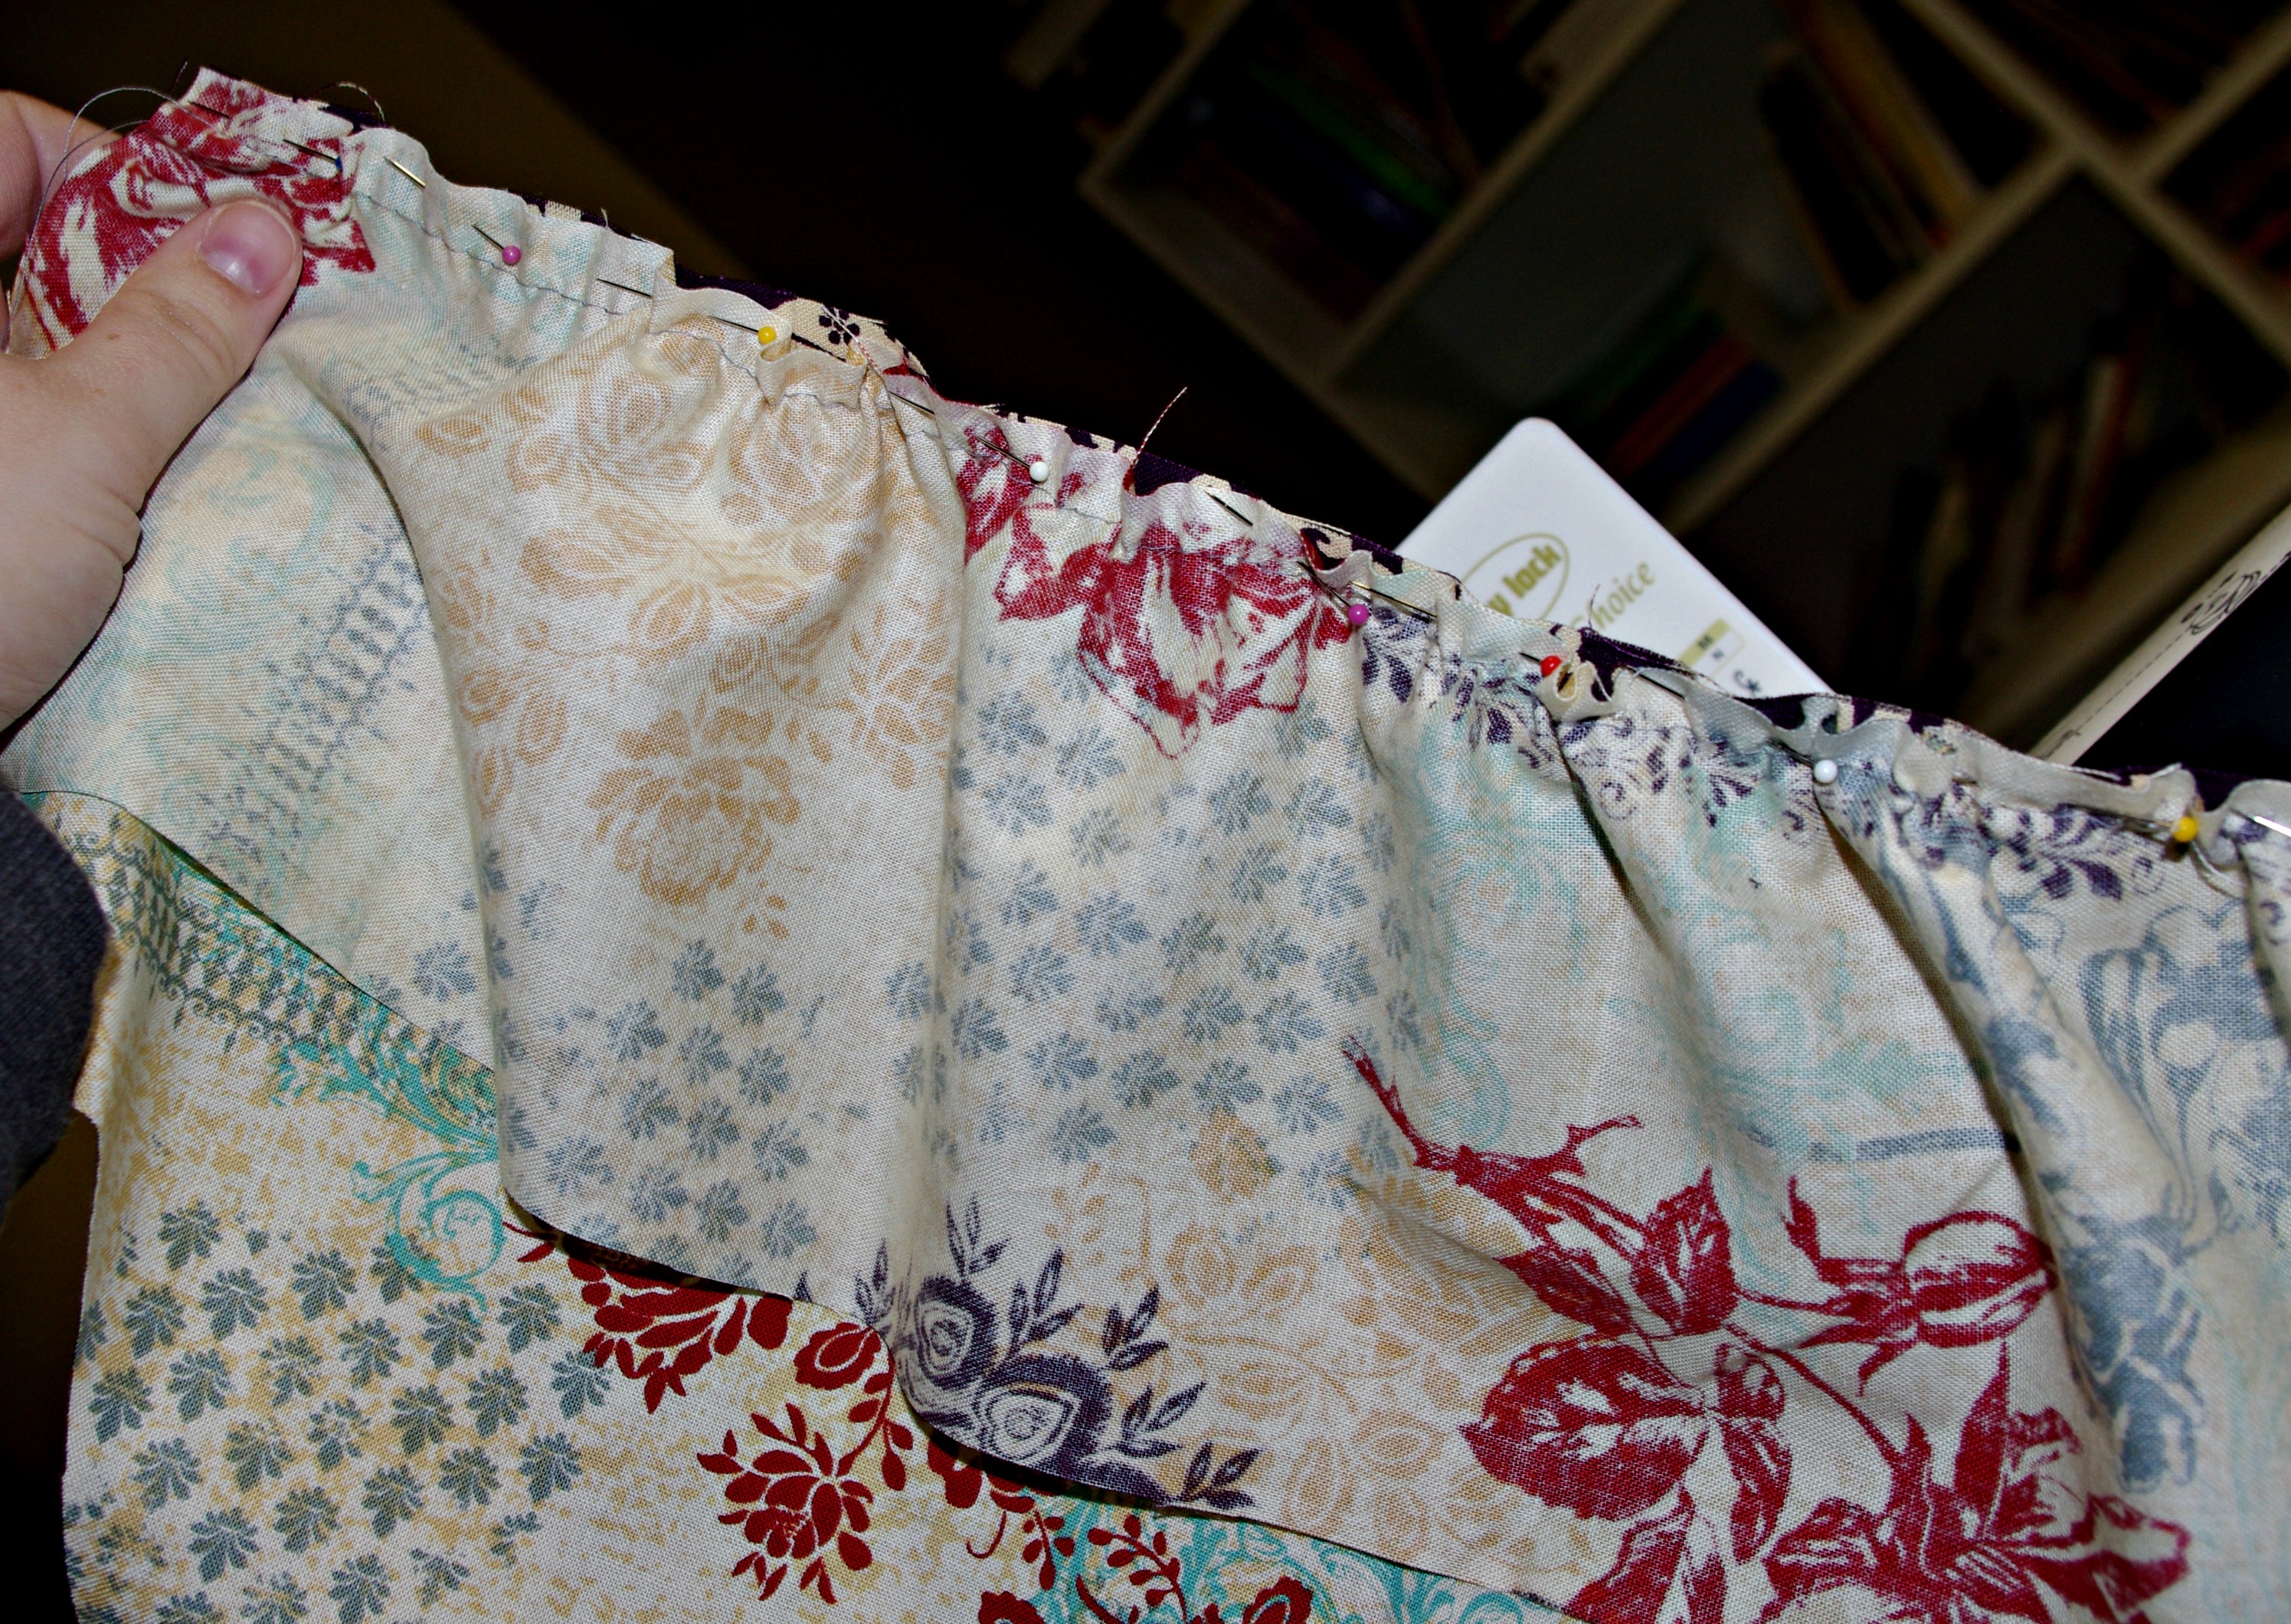
Sew a basting stitch across the top of the apron body. (You’ll use it to gather the top of the apron body.) Don’t know how to do this? Sew a long straight stitch 1/4″ from the top of the apron body, leaving long tails of thread. Pull gently on one of the threads on one side at a time, gently working gathers into the top of the apron body.
Attaching the Waistband to the Half Yard Apron Body

Now, with the long strip you’ve got, press it with the raw edges tucked inside. (Think- double fold bias tape.) To do this, fold in half and press. Then tuck the outer raw edges to the inside seam and press again!

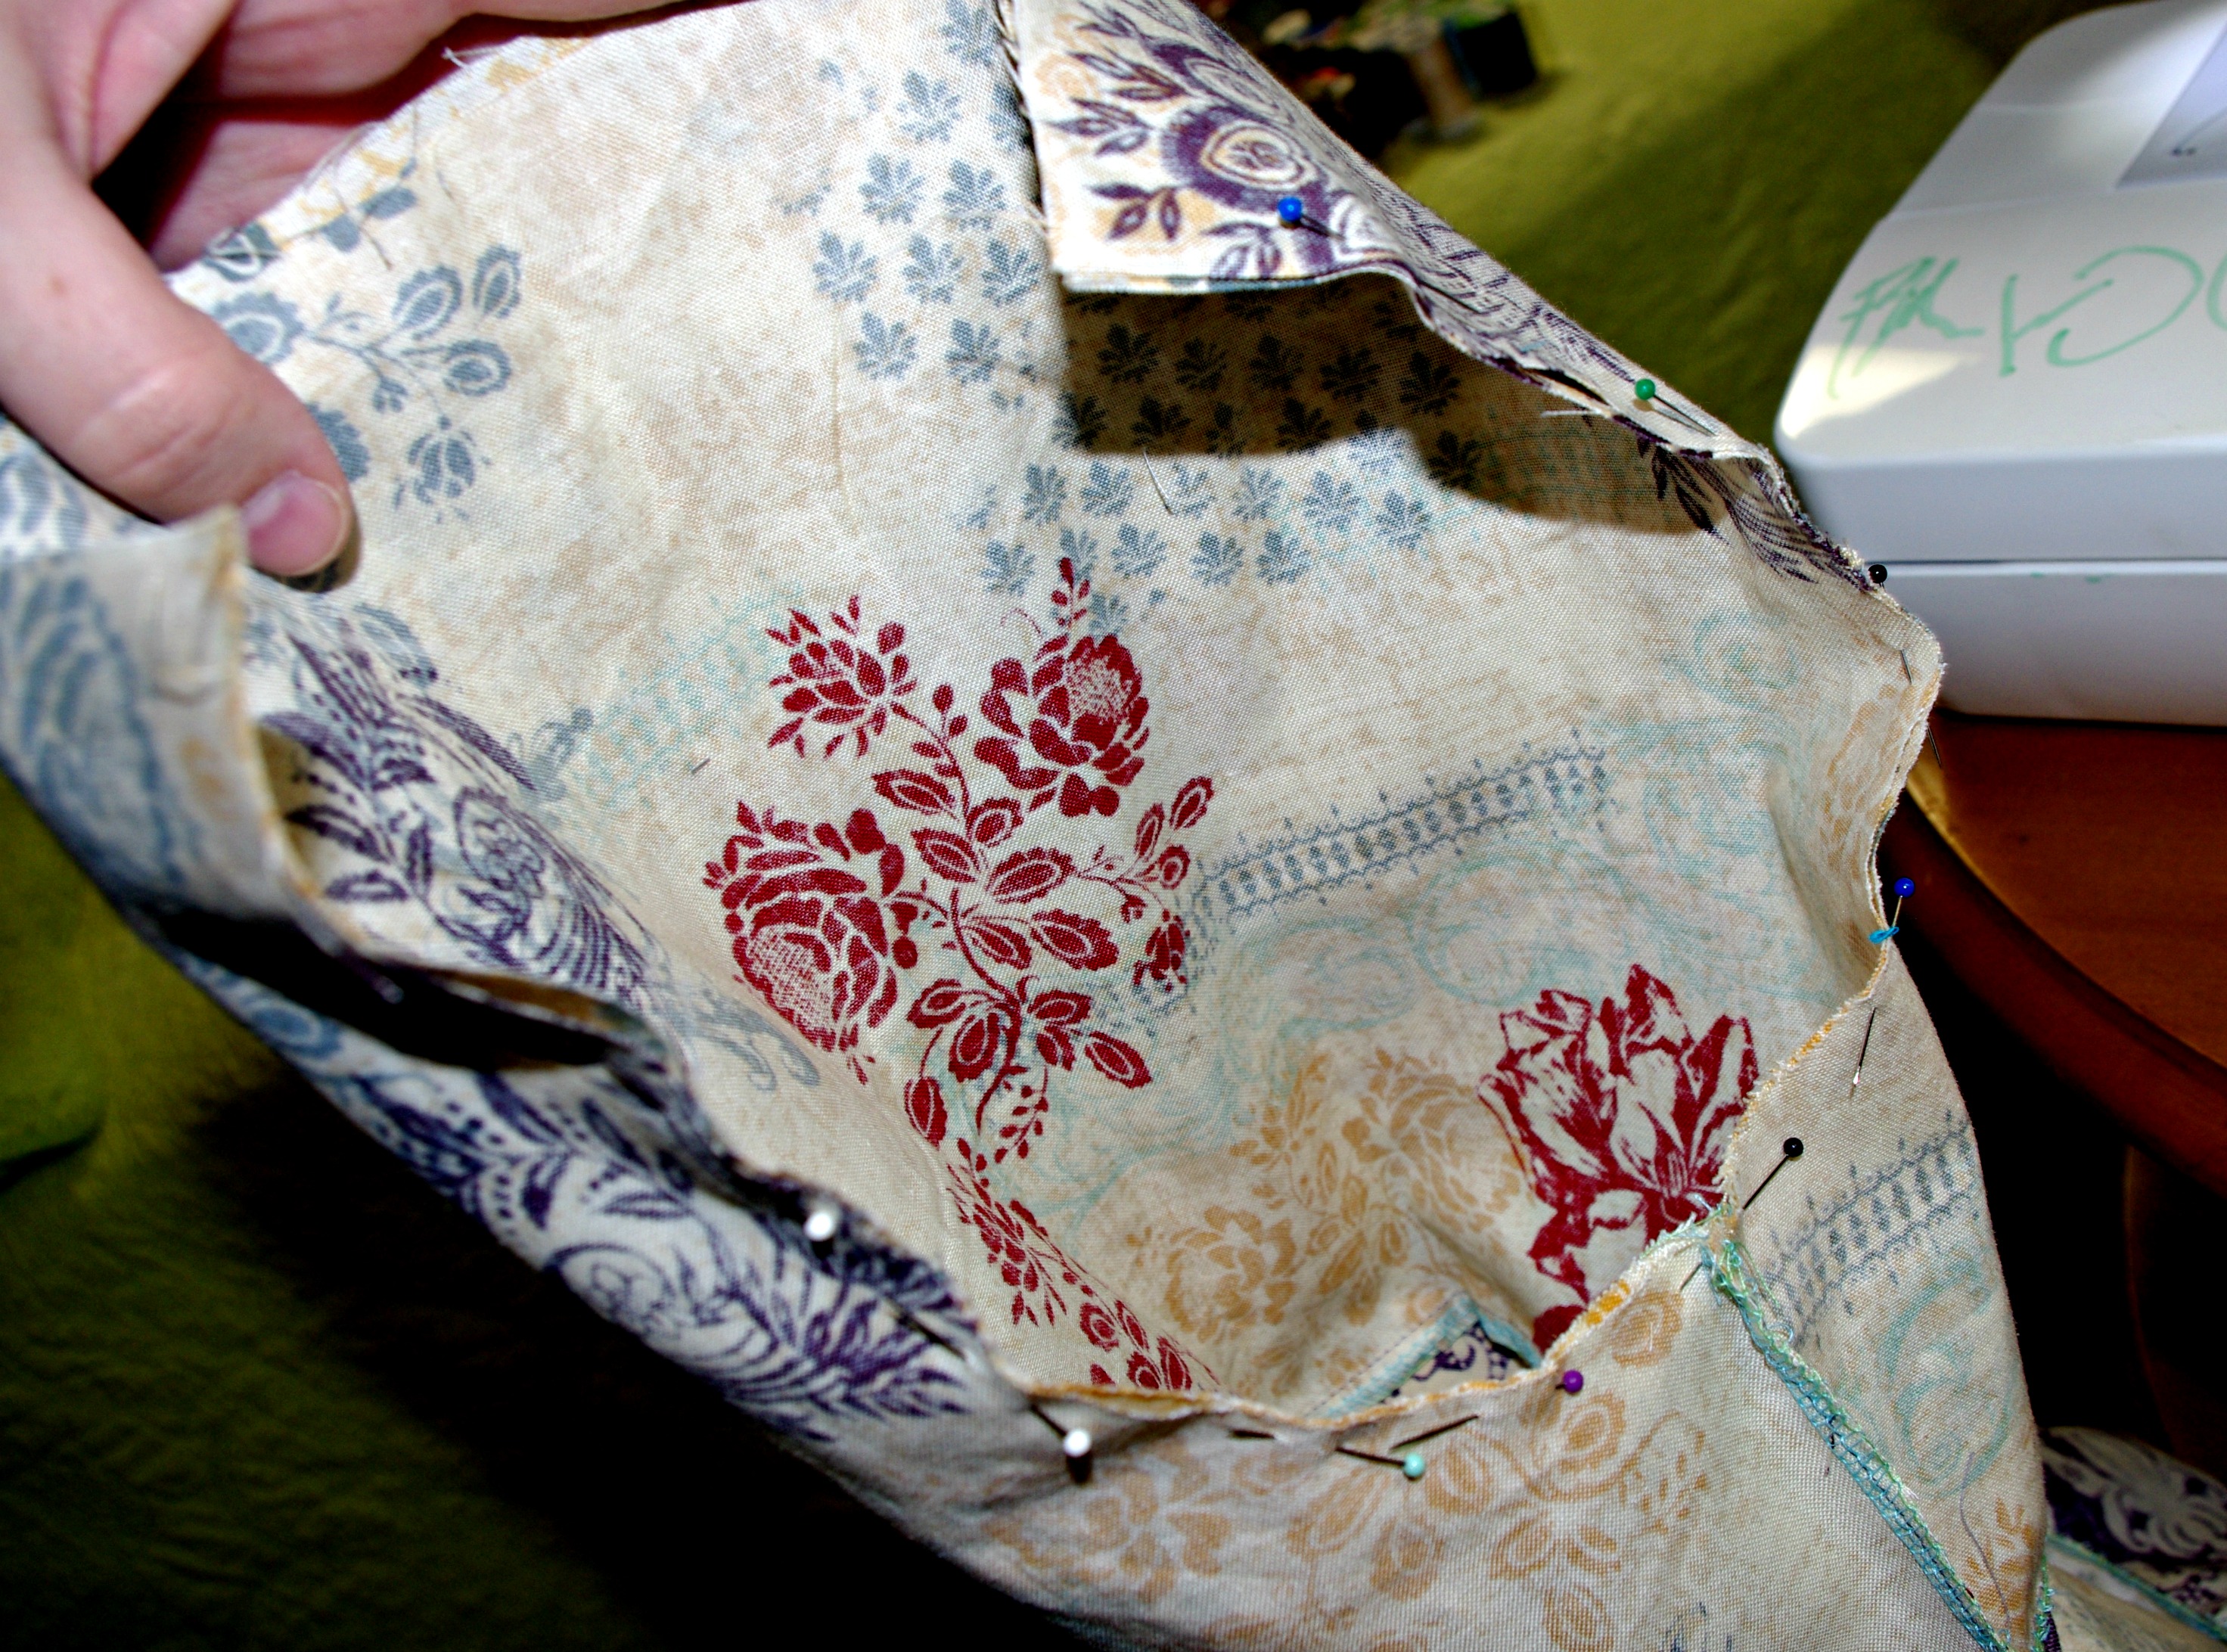
Turn your attention back to this gathered edge. You’re going to encase the raw edge of the gather into the double folded strip you just pressed.

Pin the edges of the apron body to the edges of the center section of the long strip/tie. You can stretch out your gathers or gather them more as needed to fit the section. Pin as needed. Try to eyeball and see that your gathers are evenly gathered and you don’t have a bare spot.

Sew along the edge of the double folded strip, catching the apron body, encasing the raw gathered edge. Start at the seam where the apron body is attaching. You’ll go back and finish the rest of that side later.

When you get to the end of the apron body, keep sewing. Sew all the way to the end of the tie.

Flip the apron over and finish the tie on the other side.
Finishing the Half Yard Apron

Tie a knot at the end of each tie.

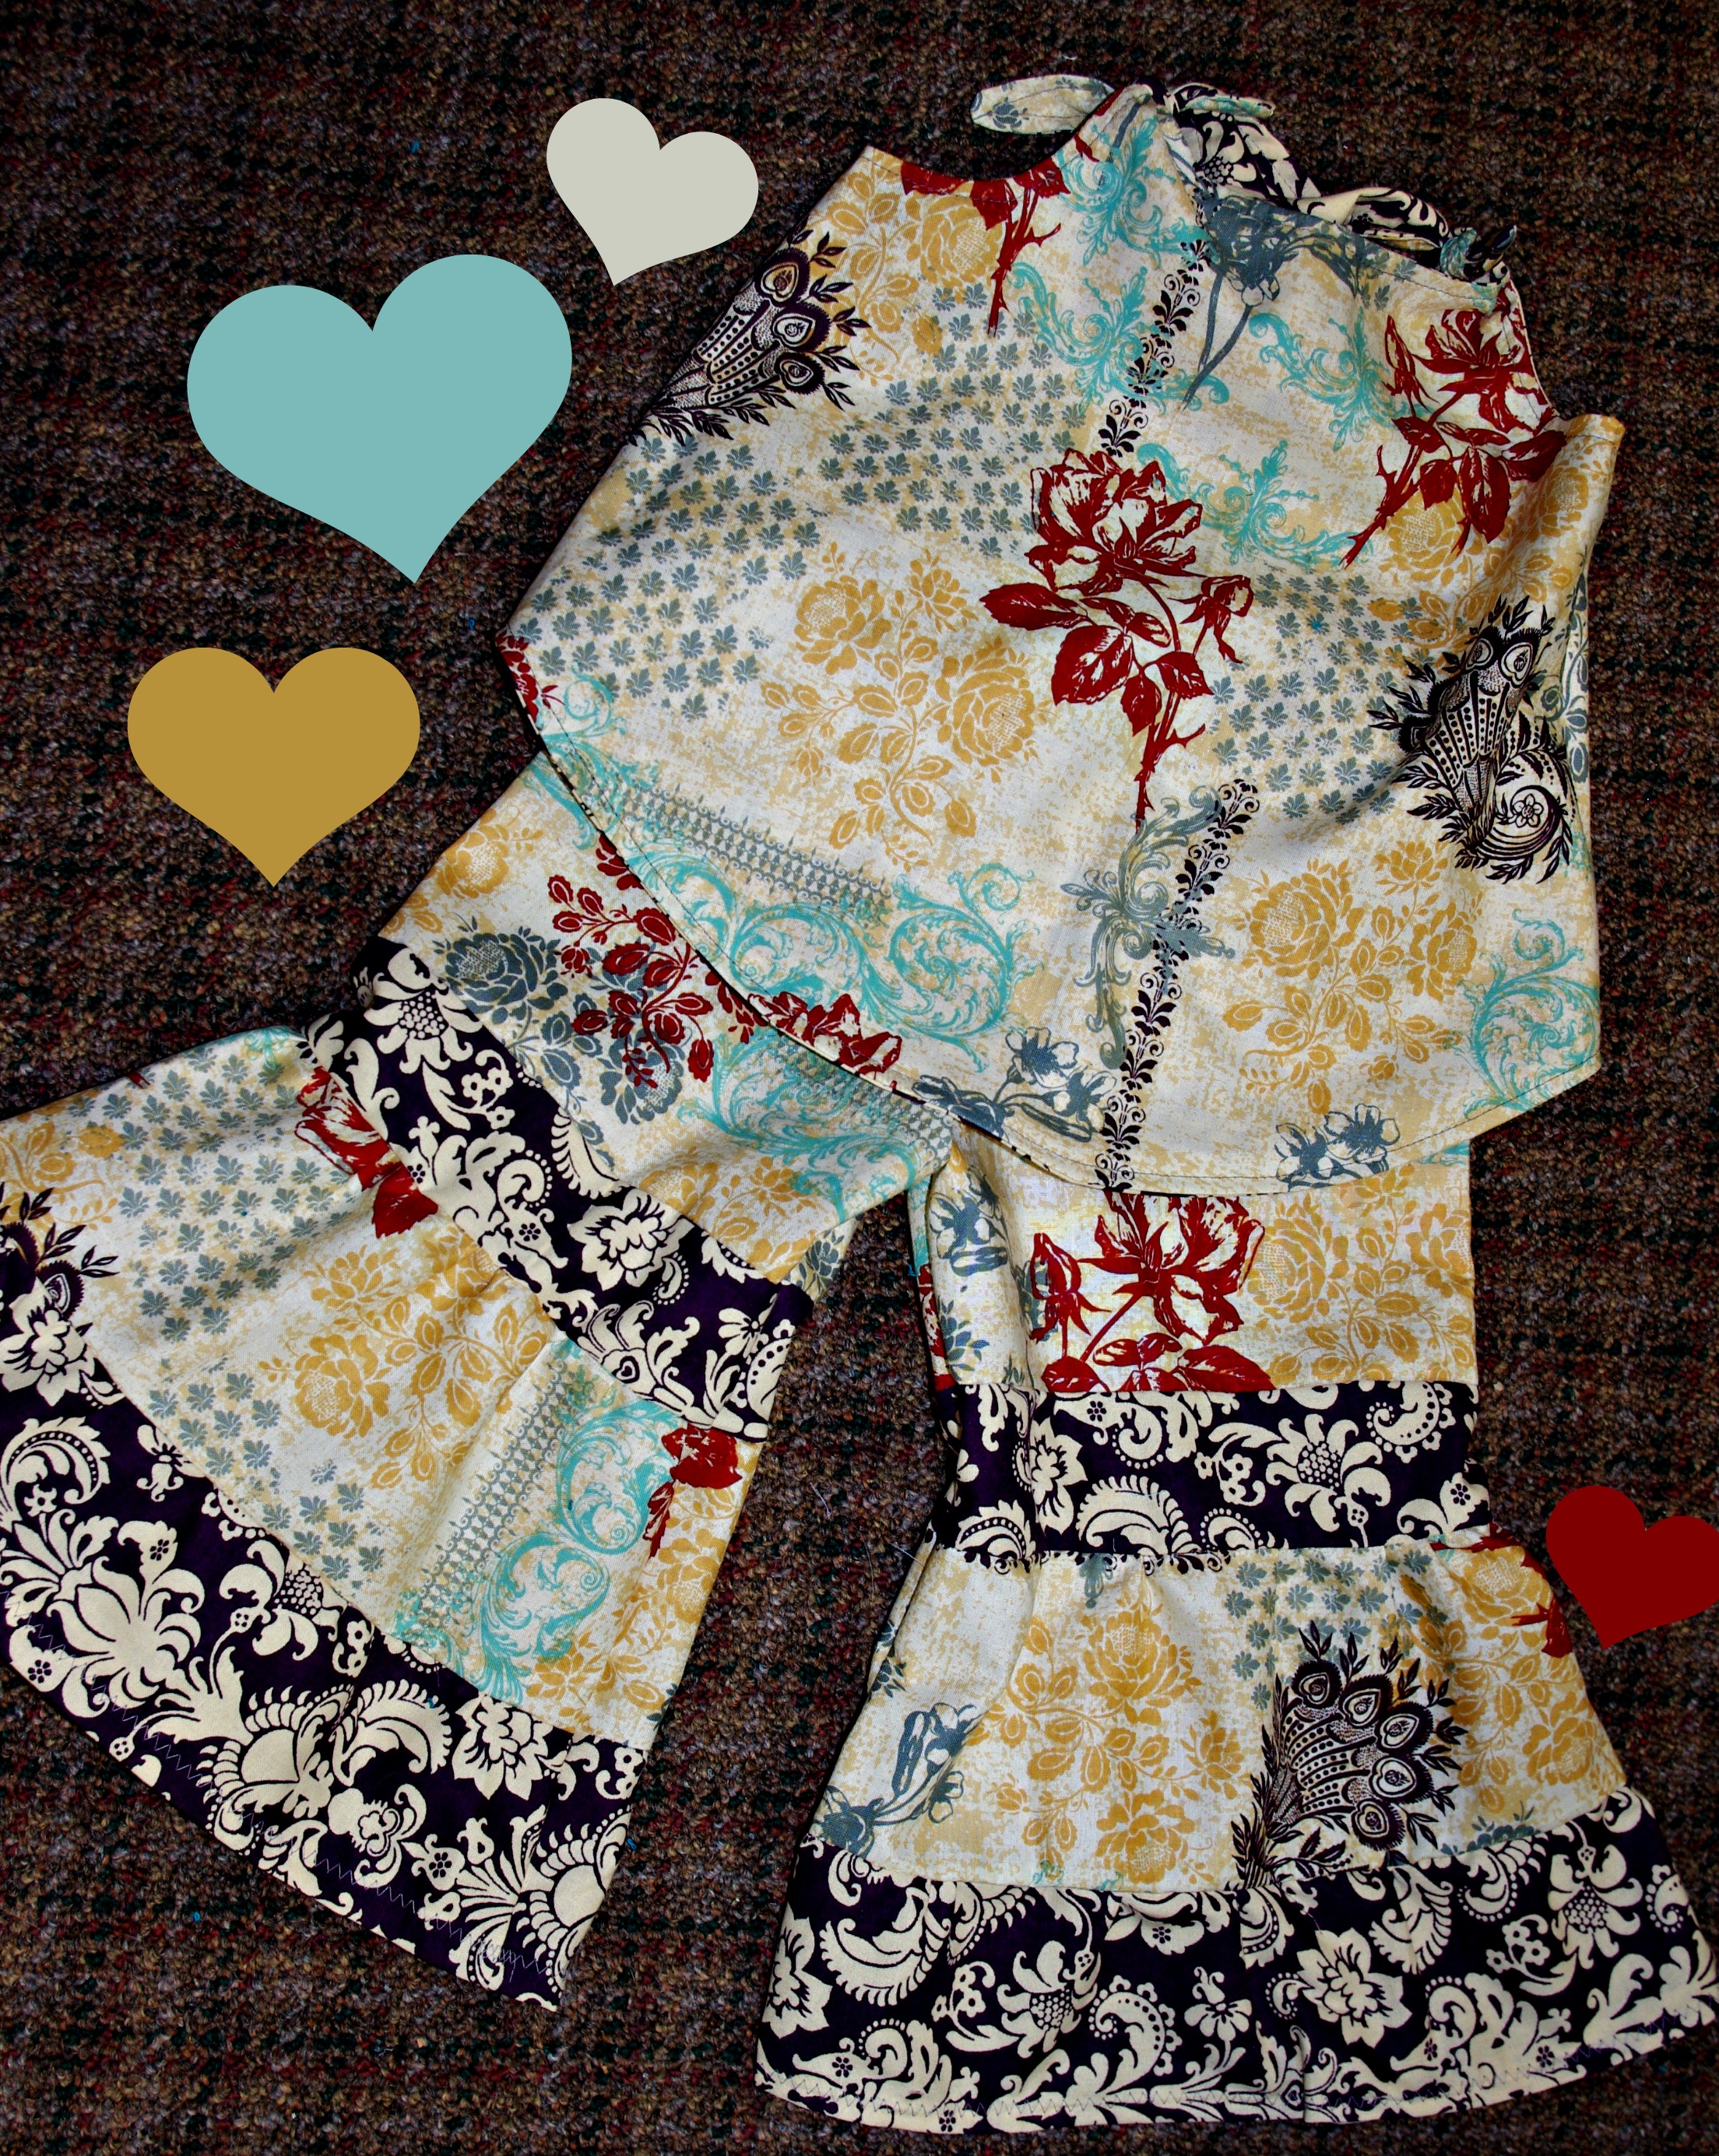
And you’re done! And yes, my friends, that is me.

Enjoy your new apron. Or give it as a gift. Or sell it for some cash. Whatever.